background image

2

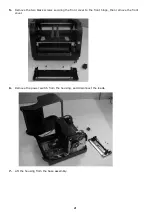
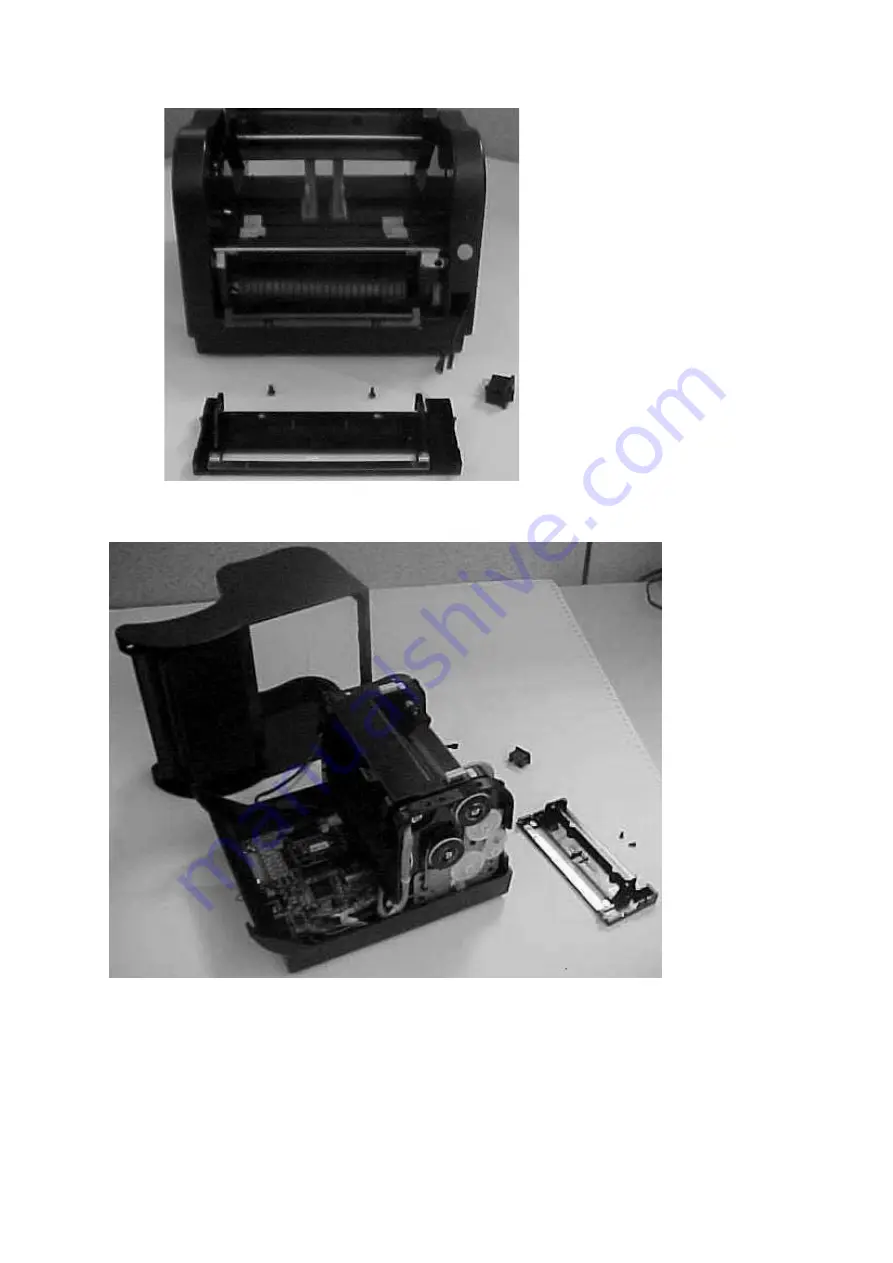
5.

Remove the two black screws securing the front cover to the front hinge, then remove the front 

cover. 

6.

Remove the power switch from the housing, and disconnect the leads. 

7.

Lift the housing from the base assembly.  

Содержание OKIPOS X400

Страница 1: ...isconnect the power supply cord 2 Remove the two silver screws from the rear underside of the unit that secure the housing to the base assembly 3 Lift the grey cover to expose the print assembly 4 Sim...

Страница 2: ...ove the two black screws securing the front cover to the front hinge then remove the front cover 6 Remove the power switch from the housing and disconnect the leads 7 Lift the housing from the base as...

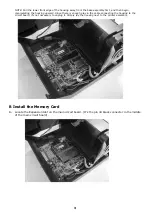
Страница 3: ...ward Since there is enough play in the cable connecting the housing to the circuit board it s not necessary to unplug it Simply lay the housing next to the printer assembly B Install the Memory Card 1...

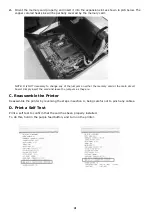
Страница 4: ...any of the jumpers on either the memory card or the main circuit board Simply insert the card and leave the jumpers as they are C Reassemble the Printer Reassemble the printer by reversing the steps i...

Страница 5: ...as l arri re de l unit fixant le bo tier l assemblage de base 3 Soulevez le capot gris pour exposer l assemblage d impression 4 Appuyez simultan ment sur les deux boutons violets situ s sur le dessus...

Страница 6: ...e de base NOTE Tirez d abord le bord avant inf rieur du bo tier pour l loigner de l assemblage de base puis soulevez le Puisqu il n existe pas assez de jeu dans le c ble fixant le bo tier la carte de...

Страница 7: ...dans la figure ci dessous Le dissipateur thermique de couleur cuivre sera partiellement couvert par la carte m moire NOTE Il N EST PAS n cessaire de modifier les cavaliers de la carte m moire ou de la...

Страница 8: ...8 D Impression de l autotest Imprimez un autotest pour confirmer que la carte est bien install e Pour ce faire tout en maintenant enfonc le bouton d alimentation violet allumez l imprimante...

Отзывы: