English
66
Problem Solving
3
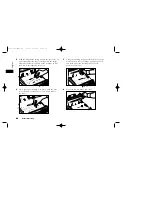
Remove the old image drum unit (with its toner
cartridge), wrap it in the packaging materials from
your new image drum unit, and throw it away.
4
Insert the new image drum unit into your fax machine.
Warning:
Never expose the image drum unit to light
for more than 5 minutes. Never expose the image drum
unit to direct sunlight. Always hold the image drum
unit by the ends. Never touch the surface of the green
drum inside the image drum unit.
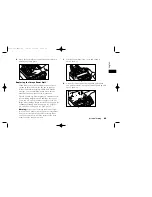
5
Ensure that the tabs on both sides of the image
drum are inserted correctly as shown below. Then
press down firmly on both ends of the image drum
until it snaps into place.
6
Install a new toner cartridge. Follow Steps 4-9 in
Replacing the Toner Cartridge in this chapter.
7
Wait until the time and answering mode appear on
the display. Then press the Select Function key.
8
Press the 7/Counter Display One Touch key. The
display will show DRUM COUNT.
9
Press the Yes
§
key to clear the image drum unit
counter.
10
Press the Select Function key to finish.
4100 Fax ENGLISH 15/1/97 9:38 am Page 66

