


- 149 -
7. Fax
Setting for Receptions
This section describes various settings when receiving a fax.
•
•
• Setting a Tray to Print Received Documents (Advanced Manual)
•
•
• Setting a Print Method for When a Received Image Exceeds Paper Size (Advanced
Manual)
• Duplex Printing (Advanced Manual)
• Setting So That You Can Hear Line Monitor Sound (Advanced Manual)
• Forwarding a Fax to Another Fax Number (Advanced Manual)
• Setting When to Ring the External Telephone (Tel Priority Mode) (Advanced Manual)
• Setting Fax Detection Mode (Advanced Manual)
• Setting the T/F Timer (Advanced Manual)
• Setting TAD Mode (Advanced Manual)
• Block Junk Fax (Advanced Manual)
• Previewing a Received Fax (Advanced Manual)
[Fax Ready Mode] is set by factory default.
Change the setting according to your environment.
• [Fax Ready Mode] : Select this mode if you use this machine for fax only.
• [Tel/Fax Ready Mode] : Select this mode if you want to receive both phone calls and faxes
with the machine detecting automatically.
• [Ans/Fax Ready Mode] : Select this mode if you want to use the answering phone function
of an external telephone as well as the fax function of the machine.
• [Tel Ready Mode] : Select this mode if you often use the external telephone that is
connected to the machine.
• [DRD] : If you use the distinctive ring detection (DRD) function that is provided by a
telephone company. Refer to "
1
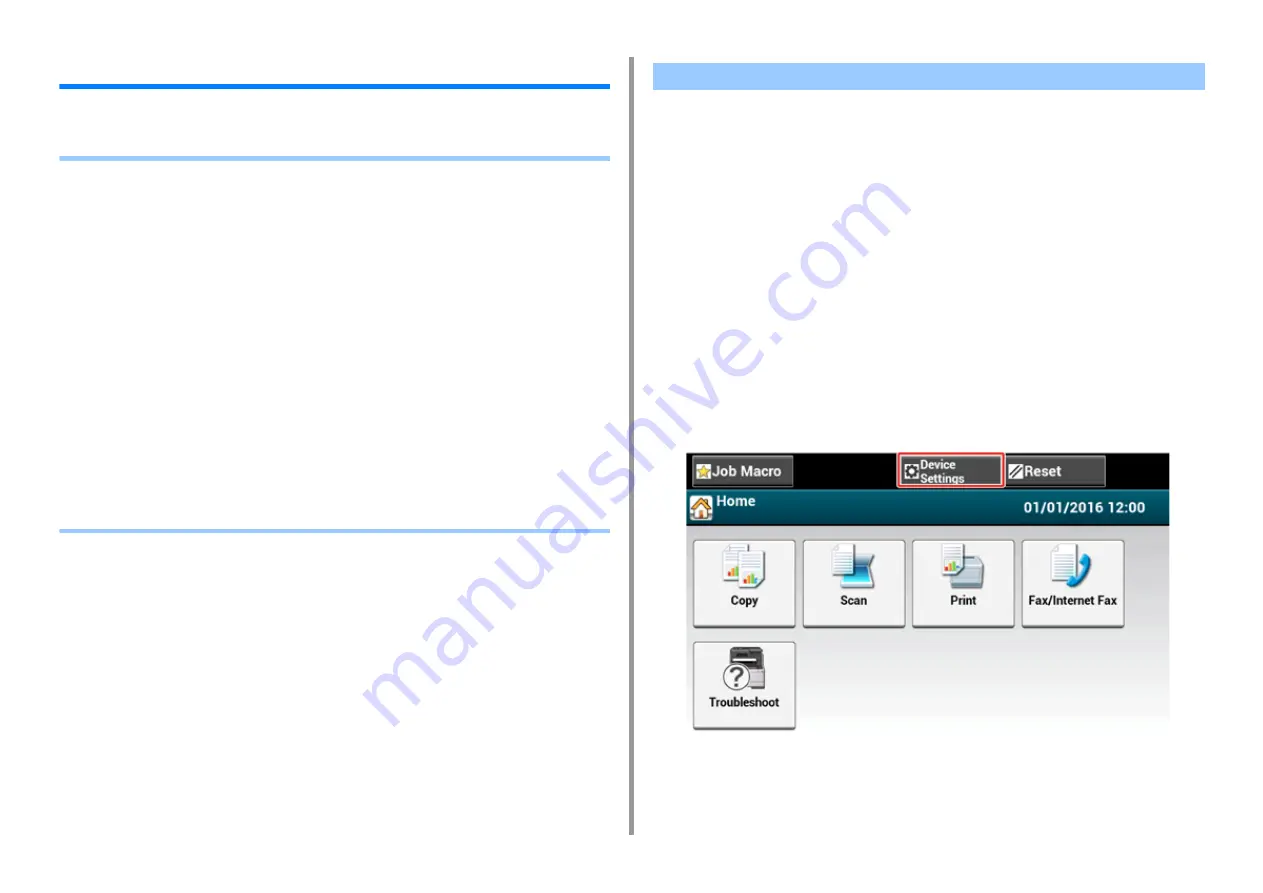
Check that the machine is turned on.
2
Press [Device Settings] at the top of the home screen.
Setting the Reception Mode
Содержание MC573dn
Страница 1: ...MC573 ES5473 MFP User s Manual...
Страница 12: ...12 1 Before starting ENVIRONMENTAL INFORMATION...
Страница 17: ...17 2 Setting Up Side view when the additional tray unit is installed...
Страница 22: ...22 2 Setting Up 13 Hold the handle B to close the scanner unit...
Страница 35: ...35 2 Setting Up 1 Plug the power cord into the power connector 2 Plug the power cord into the outlet...
Страница 41: ...41 2 Setting Up 7 Replace the paper cassette into the machine Push the paper cassette until it stops...
Страница 80: ...80 2 Setting Up 10 Click Complete 11 Click Next If the following dialog is displayed click Yes...
Страница 108: ...4 Copy Copying Cancelling Copying Specifying the Number of Copies Descriptions of Screens for Copy...
Страница 132: ...132 6 Print 5 Change the settings in each tab to suit your needs 6 Click OK 7 Click Print on the Print screen...
Страница 145: ...7 Fax Basic Operations of Fax Functions Setting for Receptions Descriptions of Screens for Fax...
Страница 148: ...148 7 Fax A fax that is being sent is displayed on the top of the list 5 Press Yes on a confirmation screen...
Страница 227: ...46472402EE Rev5...


