52
2
Placing an original on the original glass
1
Place paper in the drawer(s).
• For the types and sizes of paper selectable, see
When the desired size or type of paper is not in any of the drawers or the Large Capacity Feeder, see the follow-
ing pages.
-
P.32 “Setting copy paper (size change)”
-
P.37 “Placing paper in the Large Capacity Feeder (optional)”
-
2
Place the original(s).
• See the following pages to set the originals.
-
-
P.45 “Placing originals on the glass”
The originals are copied in the order of being scanned.
3
Select the copy modes as required. When you want to copy more than
one set, key in the desired number of copies.
• Press the [CLEAR] button on the control panel to correct the number keyed in.
• Note that some combinations of copy modes are restricted. (
P.338 “4.Copying Function Combination
P.340 “5.Image Quality Adjustment Combination Matrix”)
• Once the [START] button on the control panel has pressed, any change in copy modes (including setting of the
previously divided sets of originals) cannot be applied afterward.
4
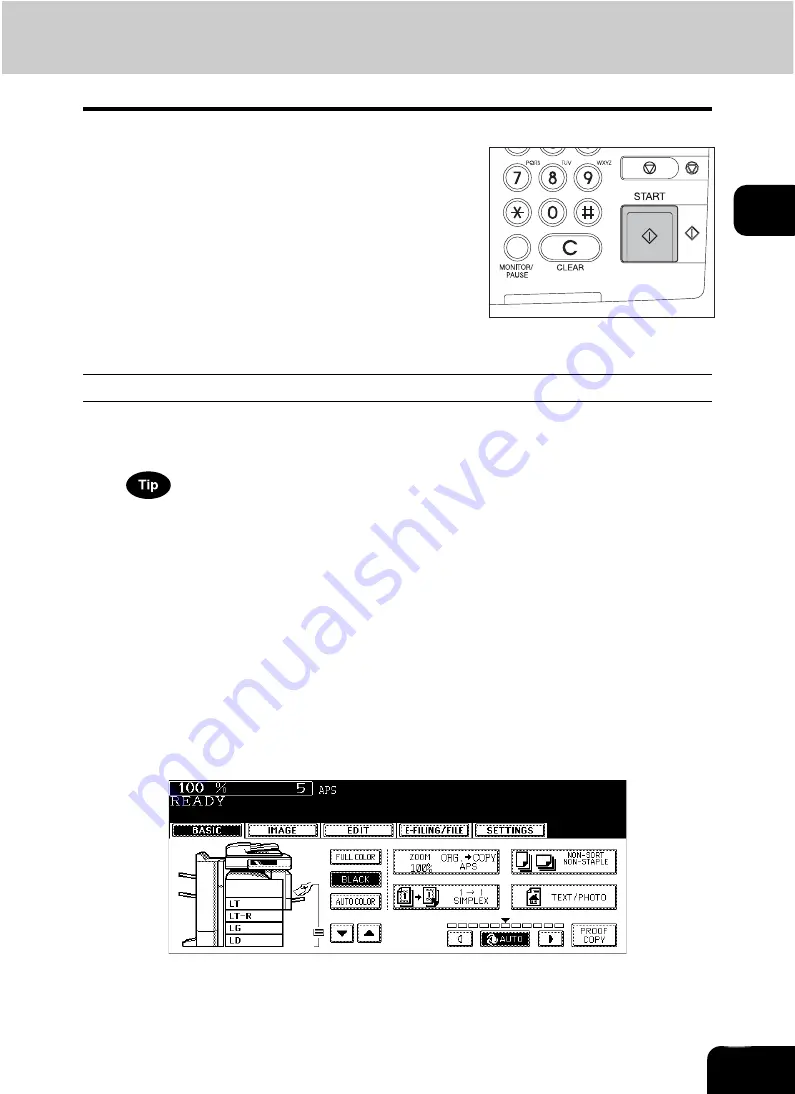
Press the [START] button.
• Copying starts. The paper exits with its copied side down.
• When the drawer runs out of paper during copying, a paper
source of the same size and direction is automatically selected
and copying continues.
• When the drawer runs out of paper during copying, the corre-
sponding drawer on the touch panel and the [JOB STATUS] but-
ton on the control panel blink. Add paper to this drawer or select
another one with the same paper size.
• Be careful because the paper exit area and paper just after exit-
ing are hot.
Содержание CX 1145 MFP
Страница 1: ...Operator s Manual for Basic Functions CX1145 MFP 59315701 Rev 1 0...
Страница 5: ...5 CONTENTS Cont...
Страница 41: ...41 1 BEFORE USING EQUIPMENT 4 Setting Copy Paper Cont 1...
Страница 69: ...69 2 HOW TO MAKE COPIES 4 Proof Copy Cont 2...
Страница 72: ...72 3 2 Press the APS button 4 Press the START button...
Страница 86: ...86 3 4 Press the SORT or GROUP button Set other copy modes as required 5 Press the START button...
Страница 126: ...126 5 4 Press the ENTER button Set Book type original 2 sided copy P 102 in duplex copying as well...
Страница 171: ...171 6 e FILING 3 Changing Data of User Boxes Cont 6 7 Press the ENTER button The box settings are updated...
Страница 189: ...189 6 e FILING 8 Appendix Cont 6...
Страница 259: ...259 8 JOB STATUS 6 Error Code Cont 8...
Страница 270: ...270 9 4 Set a new toner bag and then close the front cover Check that the model name TB 281C is written on the toner bag...
Страница 321: ...10 321 10 WHEN THIS MESSAGE APPEARS...
Страница 322: ...322 11 11 MAINTENANCE 1 Daily Inspection 323 2 Simple Troubleshooting 324...
Страница 341: ...12 341 12 SPECIFICATIONS OPTIONS...


