


Replacing consumable items> 95
C
LEANING
THE
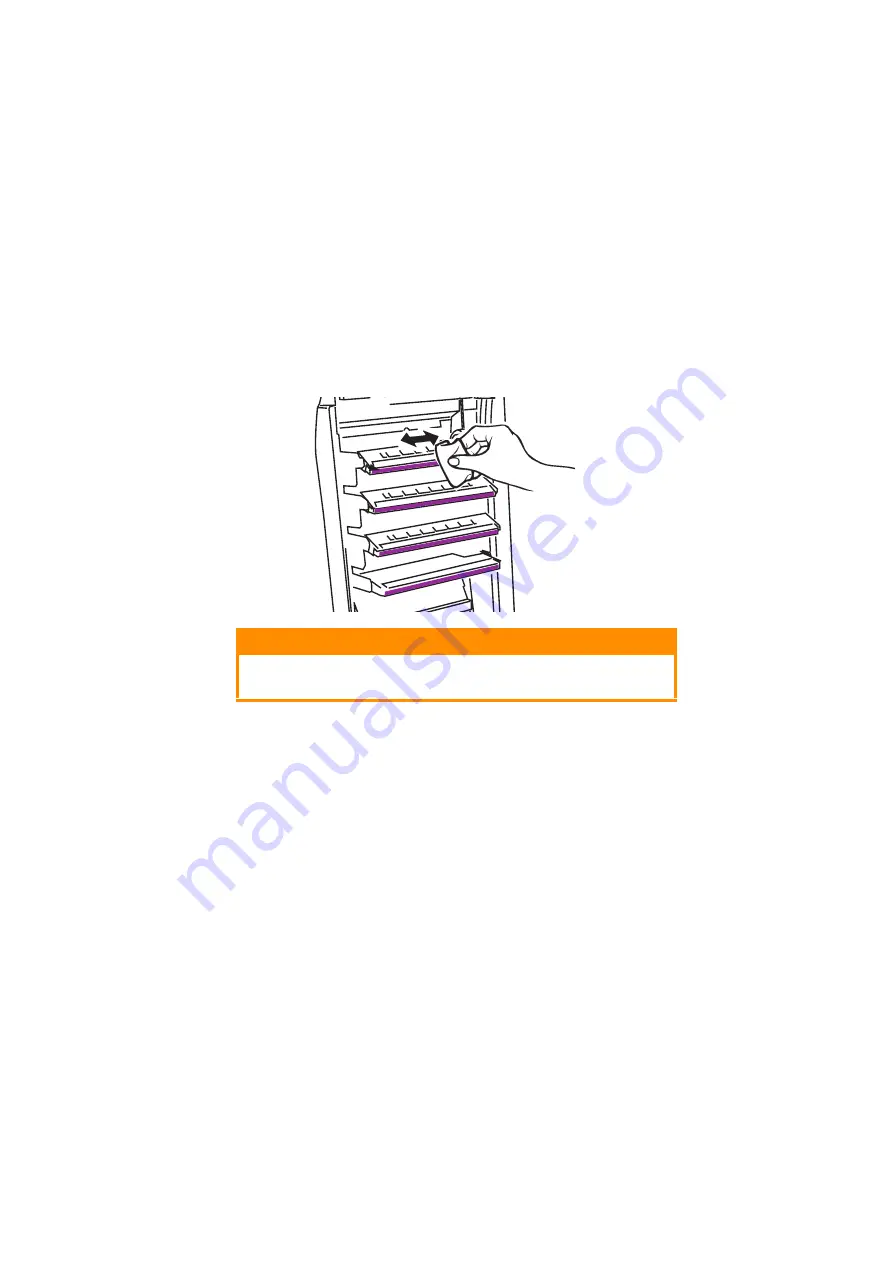
LED
HEAD
Clean the LED head when printing does not come out clearly, has
white lines or when text is blurred.
1.
Switch off the printer and open the top cover.
2.
Gently wipe the LED head surface with a soft tissue.
3.
Close the top cover.
CAUTION!
Do not use methyl alcohol or other solvents on the LED
head as damage to the lens surface will occur.
Содержание C8600
Страница 1: ...User s Guide C8600 ...


