


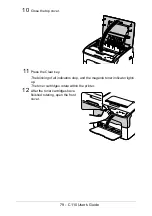
74 - C110 User’s Guide
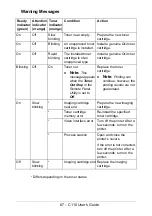
3
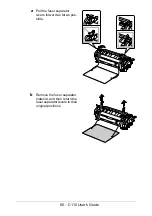
Pull down the handle on the
toner cartridge until the toner
cartridge is unlocked and moves
out slightly toward you.
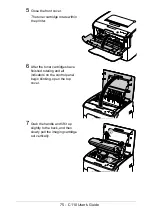
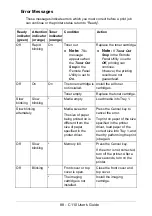
4
Remove the toner cartridge.
Note
When the magenta toner
cartridge is removed, a
gap is created within the
printer so that the print
head window can easily
be cleaned.
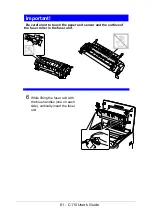
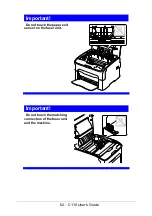
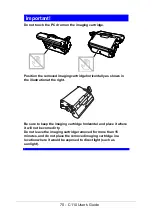
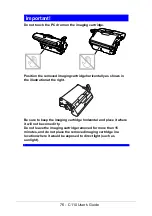
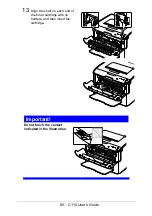
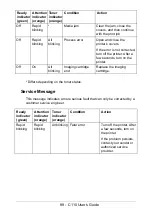
Important!
Do not touch the contact
indicated in the illustration.
Содержание C110
Страница 1: ...User s Guide 59318501 my okidata com C110...
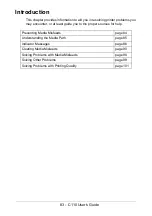
Страница 7: ...7 C110 User s Guide Introduction...
Страница 10: ...10 C110 User s Guide Rear View 1 Power switch 2 Power connection 2 USB port 1 2 3...
Страница 17: ...17 C110 User s Guide Using the Printer Driver...
Страница 24: ...24 C110 User s Guide Remote Panel Utility...
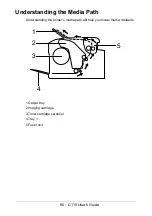
Страница 29: ...29 C110 User s Guide Media Handling...
Страница 44: ...44 C110 User s Guide Replacing Consumables...
Страница 64: ...64 C110 User s Guide Maintenance...
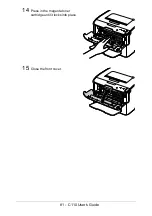
Страница 81: ...81 C110 User s Guide 14 Press in the magenta toner cartridge until it locks into place 15 Close the front cover...
Страница 82: ...82 C110 User s Guide Troubleshooting...
Страница 94: ...94 C110 User s Guide 4 Remove any misfed media Note Raise the fuser unit cover and remove the media M M...
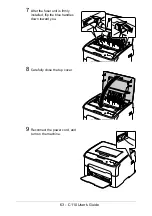
Страница 97: ...97 C110 User s Guide 7 Carefully close the top cover...
Страница 107: ...107 C110 User s Guide Specifications...