Oki B6250 Series Скачать руководство пользователя страница 46

B6250/B6500 User’s Guide> 46

C

LEANING


THE

 I

NTERIOR

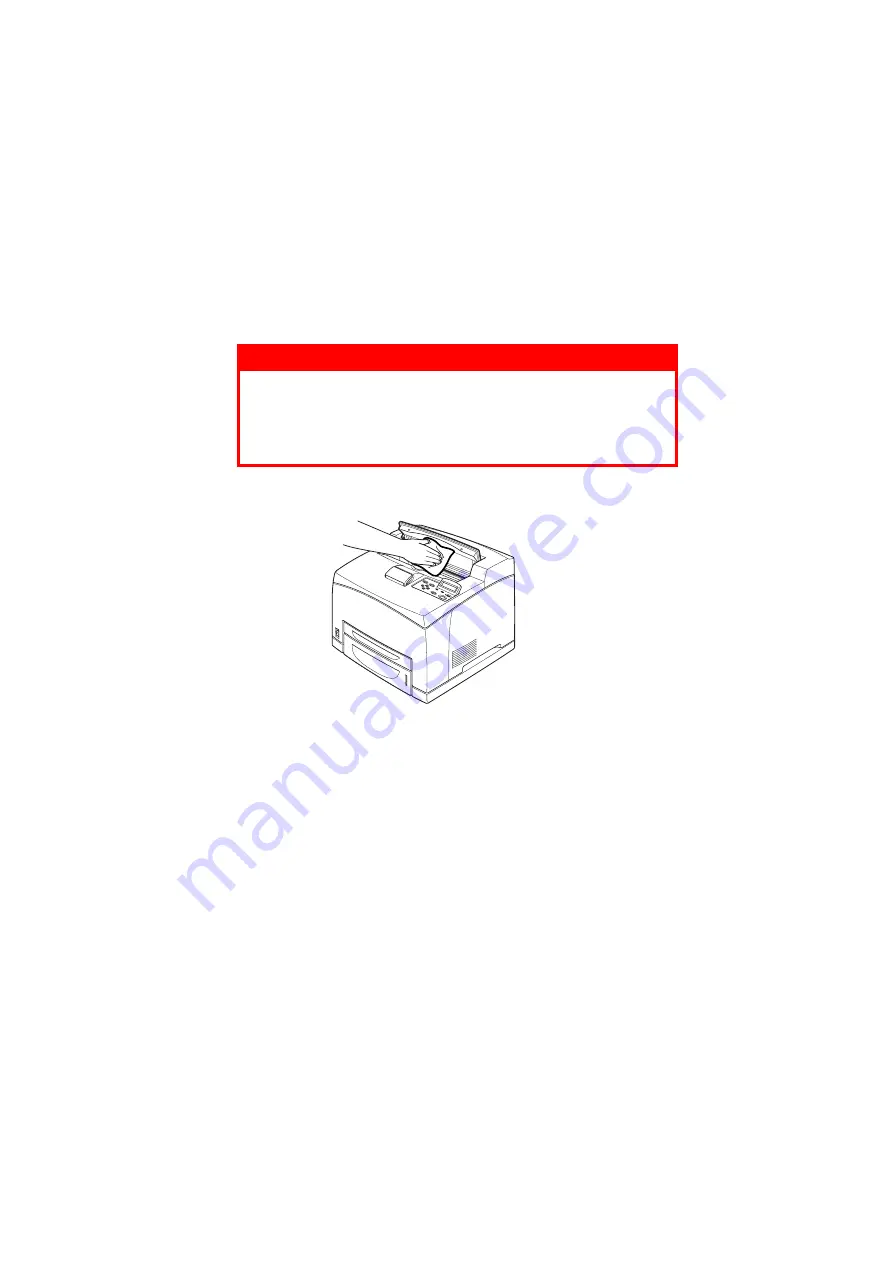
After clearing paper jams or replacing the drum/toner cartridge, 
inspect the inside of the printer before closing cover A.

>

Remove any remaining pieces of paper.

>

Remove any dust or stains with a clean dry cloth.

WARNING!

Never touch a labelled area found on or near the heat 
roller. You can get burnt. If a sheet of paper is wrapped 
around the heat roller, do not try to remove it by 
yourself to avoid injuries or burns. Switch off the 
machine immediately, and contact service.

Содержание B6250 Series

Страница 1: ...User s Guide B6250 B6500 B6250 B6500...

Страница 2: ...e from the Oki web site http www okiprintingsolutions com Copyright 2009 Oki Printing Solutions Oki Oki Printing Solutions and Microline are registered trademarks of Oki Electric Industry Company Ltd...

Страница 3: ...B6250 B6500 User s Guide 3 ENVIRONMENTAL INFORMATION...

Страница 4: ...g Status of Print Data 13 Displaying Optional Accessory Configuration and Paper Tray Settings 14 Printing 15 Printing From the Computer 15 Useful Print Features In Properties Dialog Box 15 Printing on...

Страница 5: ...0 When Paper Jams 30 Inside Cover A 30 Inside Paper Tray 31 Inside Cover B 32 Inside Cover C Duplex Unit 32 Inside Cover D Offset Catch Trays 32 When Problems Occur 33 When the Print Quality is Poor 3...

Страница 6: ...idges These can be identified by the OKI Printing Solutions trademark Any other print cartridge may not operate at all even if it is described as compatible and if it does work your product s performa...

Страница 7: ...vent the interior of the printer from heating up 4 Paper meter A meter to check the amount of remaining paper Attached to the 550 tray 5 Tray 1 Sets the 150 tray 6 Tray 2 Sets the 550 tray 7 Power swi...

Страница 8: ...r connecting the serial cable NO NAME DESCRIPTION 1 Offset catch tray optional Allows you to stagger the output position for each print job offset output 2 Cover D optional Open this when paper is jam...

Страница 9: ...ve this when installing optional accessories such as hard disk and additional memory NO NAME DESCRIPTION 1 Paper stopper Raise this when printing on paper larger than A4 size 2 Drum toner cartridge Co...

Страница 10: ...5 ATTENTION indicator When the light is on there is a malfunction in the printer 6 On Line button Press to enter the off line status When in the off line status the machine cannot receive data or pro...

Страница 11: ...eft e g Online ready to print printing etc Port receiving data Shown at bottom left Which printer port is currently receiving print data e g USB Net etc Emulation Shown at bottom right Which page desc...

Страница 12: ...rinter is ready for printing Online will be displayed Important If error message is displayed refer to the Message List in the Reference Guide for guidance on how to fix it SWITCHING OFF THE POWER Imp...

Страница 13: ...hen no print data is received within 5 minutes default since the last page is printed the printer will enter Power Save mode An informative message is displayed on the operator panel indicating Power...

Страница 14: ...ol panel However pages being printed at the moment will continue to be printed Cancelling Print Jobs at the Computer Double click the printer icon at the bottom right of the taskbar in Windows From th...

Страница 15: ...ally set the item For paper size and paper type settings you must configure them at the control panel beforehand Even if you change the settings here they will not be reflected on the printer itself N...

Страница 16: ...splay the printer properties dialog box to set the necessary items For details on each item and how to set them refer to the Online Help for the printer driver Important If the paper tray information...

Страница 17: ...lows LOADING ENVELOPES You have to close the flaps of the envelopes and load them with the address side facing up in the orientation shown in the diagram below Envelopes should be loaded with the flap...

Страница 18: ...stom Paper Sizes in the Reference Guide PRINTING ON ENVELOPES To print on envelopes display the Tray Output tab and Basic tab This section explains the procedure using WordPad on Windows XP as an exam...

Страница 19: ...u click the Setup tab This section explains the procedure using WordPad on Windows XP as an example NOTE The way to display the printer properties dialog box differs according to the application softw...

Страница 20: ...ize paper For details refer to Loading Paper P 26 To load long paper in tray 1 follow the procedure below 1 Pull the paper tray out to its maximum NOTE Pull the extendable part out to its maximum For...

Страница 21: ...the contents 1 From the File menu click Print 2 Select Properties then select the Setup tab 3 Select Option as needed Source Media Type etc 4 You may select a previously stored custom size from the li...

Страница 22: ...follows This section explains the procedure using WordPad on Windows XP as an example NOTE The way to display the printer properties dialog box differs according to the application software Refer to t...

Страница 23: ...te the job is automatically deleted STORED JOB A stored job is the same as a secure print job except that it is not deleted from the storage device after it is printed unless you specifically ask for...

Страница 24: ...nted are those created by Adobe Acrobat 4 and Adobe Acrobat 5 except one part of the features added by PS 1 4 NOTE You may not be able to print some PDF files directly by the printer due to the way th...

Страница 25: ...ike some barcode solutions which merely add fonts to a PC or printer this printer actually extends the PCL5 language Barcode formatting error detection and checksum calculation are performed by the pr...

Страница 26: ...id if installed 2 If the base plate of the paper tray is raised push it down 3 When loading paper longer than A4 size slide the left and right lock tabs in the paper tray outwards to unlock them 4 Hol...

Страница 27: ...to configure settings on the control panel Change the paper type when non plain paper such as recycled paper heavyweight paper or transparencies are loaded Configure the paper size when custom size p...

Страница 28: ...gs by pressing the Info button on the control panel CONTROL PANEL FEATURES The control panel is located on the front of the printer and contains the display LCD indicators and push buttons that allow...

Страница 29: ...on to choose the setting you want To move back up a menu level and ultimately to exit the menu system press the Cancel button LCD display Displays the setting items machine status and messages Attenti...

Страница 30: ...l panel 2 Press the button repeatedly to display the System Configuration Menu 3 Press the button to enter the System Configuration Menu 4 Press the button repeatedly to display the Language sub menu...

Страница 31: ...e any jammed paper inside 2 3 Return the drum toner cartridge and cover A to their original positions NOTE When the optional offset catch tray is installed close cover A first before returning the tra...

Страница 32: ...ays 1 Pull out all paper trays and remove any wrinkled paper 2 Examine the inside of the printer and remove any jammed paper After removing paper 1 Push the paper trays completely back into the printe...

Страница 33: ...opening cover B open the cover of the fuser unit 2 and remove any jammed paper INSIDE COVER C DUPLEX UNIT Remove the rear tray when opening the back cover Push up the lever shown in the diagram to ope...

Страница 34: ...nment may also result in printing problems WARNING Never open or remove machine covers that are secured with screws unless specifically instructed in the user guide A high voltage component can cause...

Страница 35: ...EADY indicator is not blinking or on Is the interface cable disconnected Switch off the power and check the connection of the interface cable Is the interface configured Check the port status of the i...

Страница 36: ...llel USB port is used data may be transmitted in the middle of a job depending on when the ON LINE button is pressed In this case subsequent print data received after the FEED SELECT button is pressed...

Страница 37: ...to the printer Is the printer placed on a flat location Place the printer on a flat stable surface Are the paper tray guides set in the correct positions Set the length guide and right width guide in...

Страница 38: ...A open Close cover A securely Is the paper tray set correctly Push the paper tray completely into the printer Are there foreign objects inside the printer Switch off the power and remove any foreign o...

Страница 39: ...um Toner Cartridge Replacement P 42 The Toner Saving feature is on Uncheck the Toner Saving checkbox on the Graphics tab of the printer driver Online Help for the printer driver Levers on both sides o...

Страница 40: ...The whole piece of paper is printed black The drum toner cartridge is defective or damaged Replace with a new drum toner cartridge See Drum Toner Cartridge Replacement on page 42 This may be due to b...

Страница 41: ...e correct positions Set the length guide and the right width guide in the correct positions See Loading Paper on page 26 Transparencies and envelopes are not printed clearly The type of transparency o...

Страница 42: ...ge whose replacement is long overdue it may affect the functions of this machine such as the print quality It is recommended to install a new drum toner cartridge You can set whether to stop printing...

Страница 43: ...rts inside the printer 2 Hold the drum toner cartridge by the grip and pull it out slowly NOTE To prevent the toner from dirtying the floor lay a piece of paper on the floor first before putting the d...

Страница 44: ...tridge by the grip and insert it into the slot inside the printer Important Do not touch any parts inside the printer Ensure that the drum toner cartridge is firmly set After opening cover A remove an...

Страница 45: ...ry soft cloth For stubborn stains moisten a soft cloth with a small amount of neutral detergent and gently wipe the stain off Important Do not spray the detergent directly on the printer The liquid de...

Страница 46: ...sing cover A Remove any remaining pieces of paper Remove any dust or stains with a clean dry cloth WARNING Never touch a labelled area found on or near the heat roller You can get burnt If a sheet of...

Страница 47: ...ur tray module one location and paper tray one location Follow the cleaning procedure page 48 to clean the feed rolls at each location Inside of Machine Two Locations Open cover A and after removing t...

Страница 48: ...OTE The feed roll is a regular replacement part 1 Pull the paper tray out of the printer 2 While pushing the retard part see right diagram down 1 widen the tab on the feed roll to loosen it 2 and then...

Страница 49: ...ser s Guide 49 By aligning the slot of the feed roll with that of the shaft push the feed roll completely in so that the short tab fits into the slot of the shaft 5 Push the paper tray completely into...

Страница 50: ...moving the printer If these are not fixed securely to the printer they may fall to the ground and cause injuries When lifting the machine be sure to observe the following points failure to do so may c...

Страница 51: ...ay completely into the printer 6 Open cover A but do not touch any parts inside the printer 7 Hold the drum toner cartridge by the grip and pull it out slowly 8 Close cover A securely 9 Lift the print...

Страница 52: ...rs at equal intervals 39 missing characters throughout the length of the paper 41 nothing is printed 40 printed image smudges when rubbed with your finger the toner is not fixed on the paper 40 printi...

Страница 53: ...is wrinkled 37 light of Error indicator is blinking 35 light of Error indicator is on 35 network related troubles 41 no power 34 paper cannot be fed paper jam multiple papers are fed papers are fed a...

Страница 54: ...stems Ireland Limited The Square Industrial Complex Tallaght Dublin 24 Ireland Tel 353 1 4049590 Fax 353 1 4049591 http www oki ie Technical Support Tel 353 1 4049570 Fax 353 1 4049555 E mail tech sup...

Страница 55: ...Oki Europe Limited Blays House Wick Road Egham Surrey TW20 0HJ United Kingdom Tel 44 0 208 219 2190 Fax 44 0 208 219 2199 www okiprintingsolutions com 07083401 iss3...

Отзывы: