9 • Setup and Configuration
Setup and Configuration ________________
Immediately following installation, the PSV setup tool is launched. Follow the step by step process
to configure PrintSuperVision. Keep in mind that many of the configuration options are also
available from within the PSV application so it is not imperative to complete all settings during the
setup process.
You may also return to the PSV Setup Tool at any time. It is available from the Windows Start menu
by going to
All Programs > PrintSuperVision > PrintSuperVision Setup
.
Selecting a Default Location/Language
1.
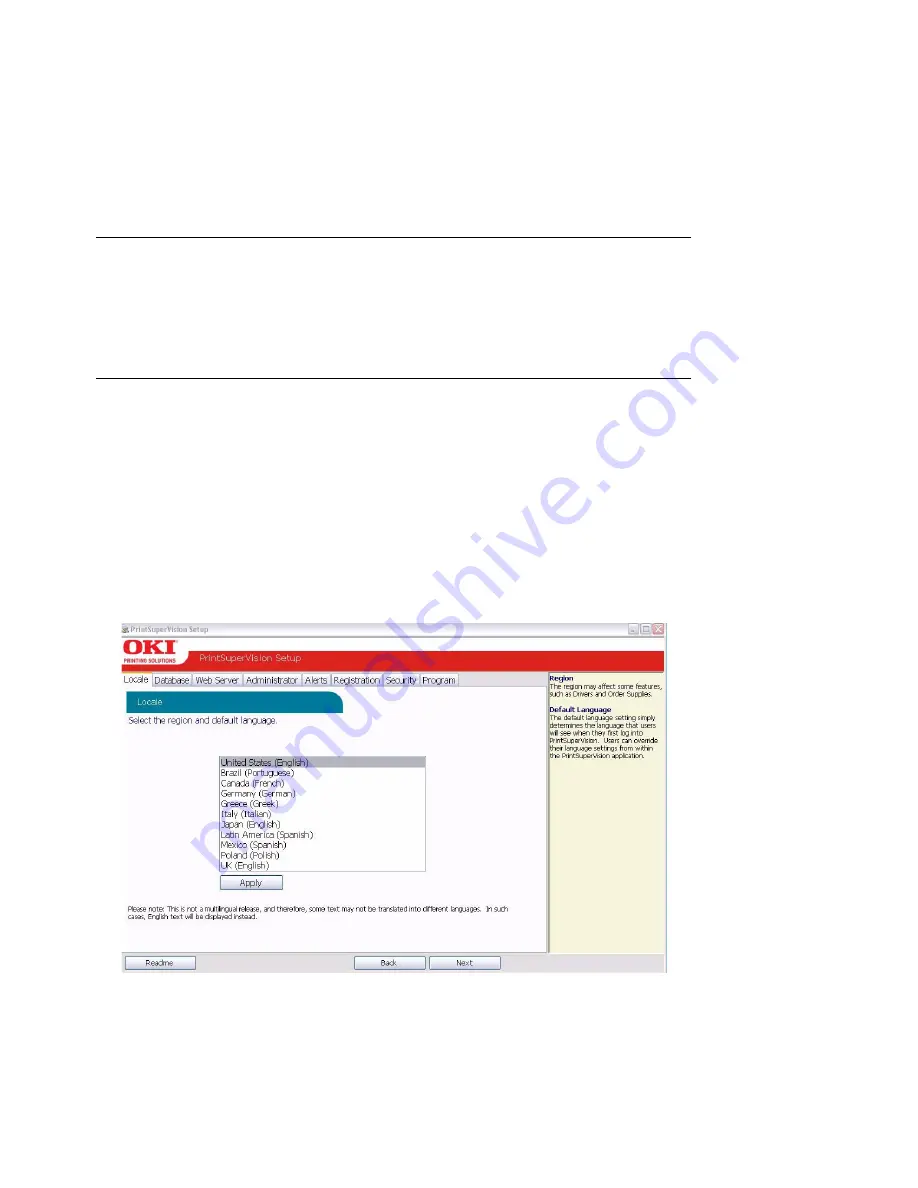
The PSV setup tool displays the location/language selection screen first.
2.
Select a default location/language for all users.
3.
Click
Apply
and
Next
.
Each user can later change his/her language preference from their browser. Use caution when
selecting the desired language since it is changed immediately (but will not be applied until the
user clicks
Apply
). If you are not familiar with the language selected, it may be difficult to return
to your native language.
Note
Certain changes using the PSV setup tool can only be made
when the web application and “PSV Engine” services are not
running. For example, in order to change the web server
component from “embedded” to “IIS” the web service
application must not be running.


