5 Operation
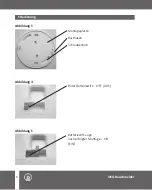
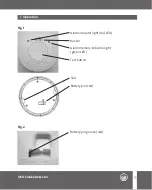
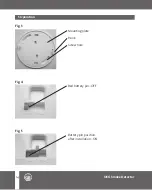
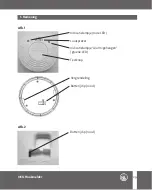
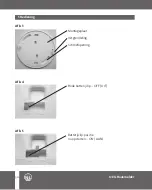
1. Remove the product from the packaging and detach the mounting plate from the
device by turning it counterclockwise.
2. Fit the mounting plate to the desired position at the ceiling. Drill matching holes
into the ceiling. Use plastic dowels and screw the plate into the ceiling.
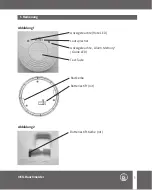
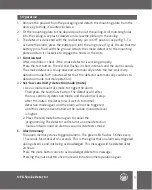
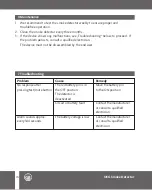
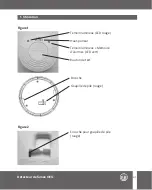
3. The detecor is delivered with the red battery pin in OFF position as per fig. 3. To
activate the alarm, press the battery pin into the pin groove (Fig. 4). Ensure that the
battery pin is flush with the groove. Attach the smoke detector to the mounting
plate and turn it clockwise to engage the hooks in the slots.
4.1 Function test
After installation, check if the smoke detector is working properly.
Press the test button. The red LED flashes in short intervals and the alarm sounds.
The smoke detector is ready now and automatically enters the low-sensitivity
detection mode for 9 minutes. After that, the detector automatically switches to
detection mode (normal operation).
4.2 Set “low sensitivity“ detection mode (mute)
1. Use a small amount of smoke to trigger the alarm.
Then press the test/mute button. The detector will enter
the low-sensitivity detection mode, and the alarm will stop.
After 9 minutes, the detector will switch to normal
detection mode again, and the alarm will not be triggered
until the smoke concentration or the carbon monoxide level
is higher.
2. Press the test/mute button again to cancel the
programming. The detector will return to normal detection
mode and will sound an alarm as soon as it detects smoke.
5. Alarm
memory
The alarm memory stores triggered alarms. The green LED flashes 3 times every
1.3 seconds for a total of 43 seconds. This is the signal that an alarm was triggered
during absence and not being acknowledged. This message will be deleted after
24 hours.
Press the mute button once to acknowledge/delete this message.
Pressing the mute button once more will initiate normal operation again.
OEG Smoke Detector
GB
15
Содержание 305 120 090
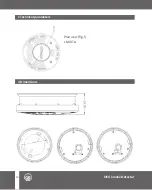
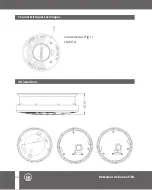
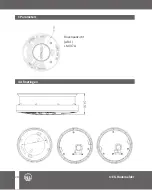
Страница 4: ...3 Technische Daten Draufsicht Abb 1 LM 107A 4 Abmessungen OEG Rauchmelder D 4...
Страница 12: ...3 Technical parameters Plan view Fig 1 LM 107A 4 Dimensions OEG Smoke Detector GB 12...
Страница 20: ...3 Caract ristiques techniques Vue de dessus Fig 1 LM 107A 4 Dimensions 20 D tecteur de fum e OEG FR...
Страница 28: ...3 Parameters Bovenaanzicht Afb 1 LM 107A 4 Afmetingen OEG Rookmelder NL 28...
Страница 36: ...3 Caratteristiche tecniche 4 Dimensioni Rilevatore di fumo OEG IT 36 Vista dall alto fig 1 LM 107A...
Страница 44: ...3 Dane techniczne Widok z g ry rys 1 LM 107A 4 Wymiary 44 Czujnik dymu OEG PL...
Страница 50: ...F r Ihre Notizen Notes Pour vos notes Voor uw aantekeningen Spazio per prendere appunti Miejsce na notatki 50...
Страница 51: ...51 F r Ihre Notizen Notes Pour vos notes Voor uw aantekeningen Spazio per prendere appunti Miejsce na notatki...


