


ODYS DPF-Shine
EN
Thumbnail View
Select
to enter the thumbnail view mode.
Press
,
,
and
to select a picture.
Press the
“Mode”
button to confirm your selection and enlarge the photo to full
screen.
Press the ESC button to return to the main menu.
Set brightness of the screen
When you are viewing a photo, you can press the
or
button to activate the
brightness setting.
Step 6:
Press the ESC button to exit and return to the main menu.
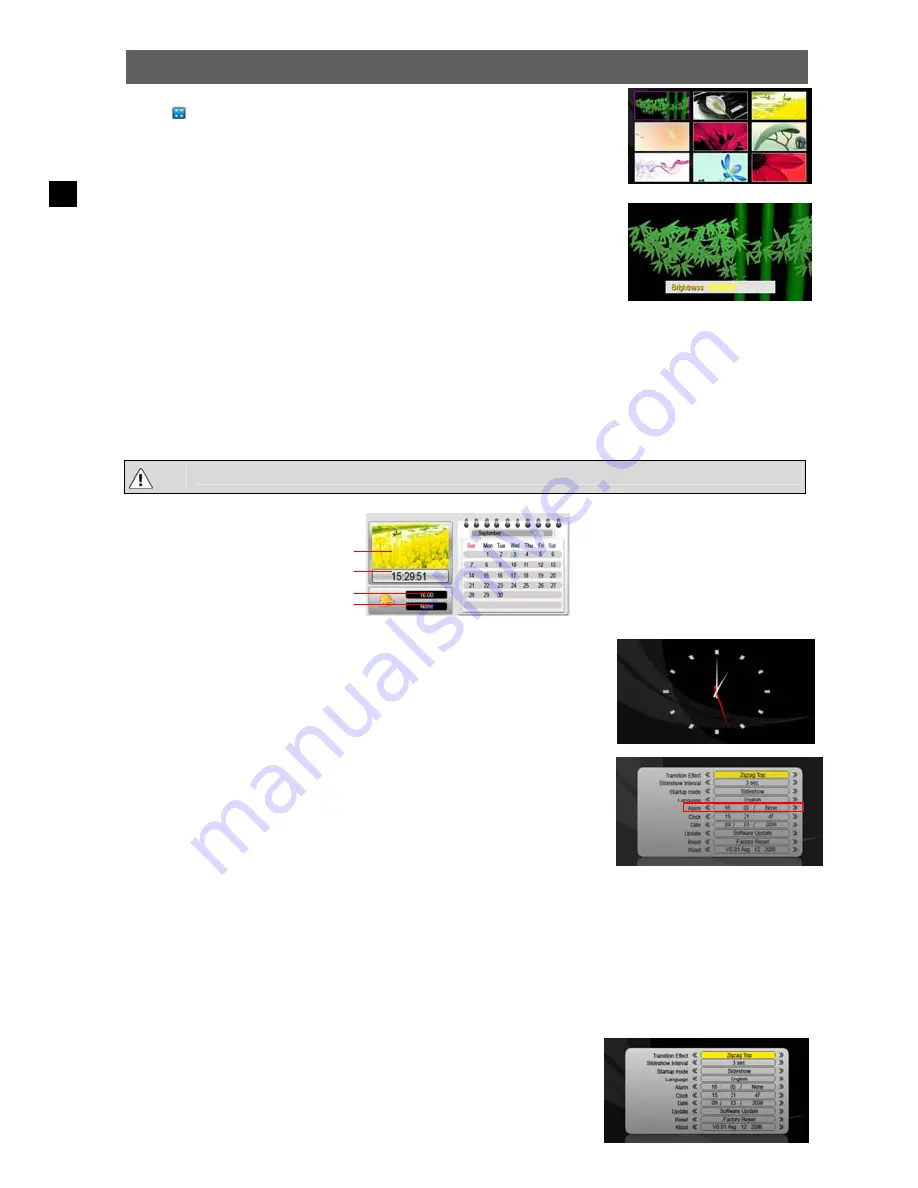
Calendar
The Digital Photo Frame can be used as a tabletop calendar and an alarm clock.
Calendar View
To enter the calendar view mode, on the main menu, select the “Calendar” from the main menu, and then press the
“Mode” button to confirm. The calendar and the time should display. At the same time, all photos are displayed in
slide show at the left top corner.
Press the
and
button to change the year.
Press the
and
button to change the month.
Press the ESC button to exit and return to the main menu.
Clock View
When you are viewing the calendar, you can press the
Mode
button to display
the time as a clock.
Press the ESC button to exit from the clock.
Set the Alarm
To enable the alarm,
(1)
On the main menu, press the “Setting” button to enter the system setting
mode.
(2)
Press
and
button to select “Alarm”.
(3)
Press the
and
button to select the hour, minute and day setting.
(4)
Press the
/
button to decrease or increase the level of hour, minute and day.
Alarm day options:
None
– Disable the alarm.
Everyday
– Alarm rings everyday.
Once
– Alarm rings once.
System Settings
On the main menu, select “Setting” and then press the
“M”
button to enter the
system setting mode.
Please note: To insure proper display, the date and time must be set in the system settings.
Slide Show
Current Time
Alarm Time
Alarm Day


