


www.odu.de
ODU MEDI-SNAP®
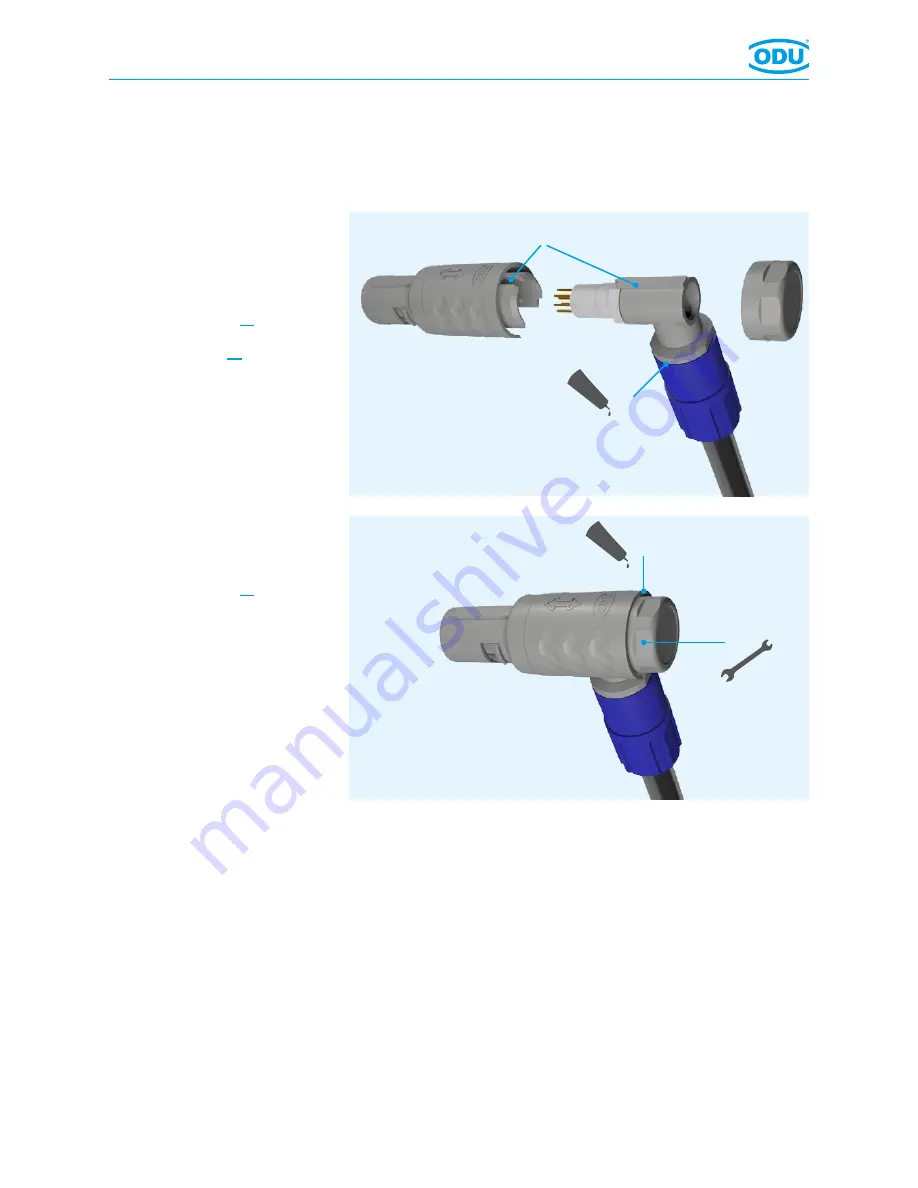
B
C
D
E
Page 5
7. Slide the assembled cable
considering the guidings (B) into
the housing. Slide the cable collet
into the right-angled part and
screw it with the back nut.
If necessary, secure thread (C) with
adhesive (see page 10).
Caution! Consider tightening
torque (see page 10).
8. Screw back screw on the
assembled plug and fasten it with
ODU spanner wrench (D).
If necessary, secure thread (E) with
adhesive (see page 10).
The assembly is finished.
010.013.003.000.000
Assembly Instructions