Octave Systems Inc.
-
2
–
Quick Start Guide
To get started follow steps as shown.
1.
Install WEB CAM drivers and application
Insert the supplied installation CD into the computer's CD-ROM
drive. Click the
WEB CAM driver
button and click the
eDVR Create
button to install the
eDVR Create
application for file transferring.
2.
Charging
Turn on your computer and connect the Multipod 5 in 1 to your
computer’s USB port. It will begin to charge the battery. Charge
your Multipod 5 in 1 a minimum of 2.5 hours before using it.
3.
Web Cam Mode
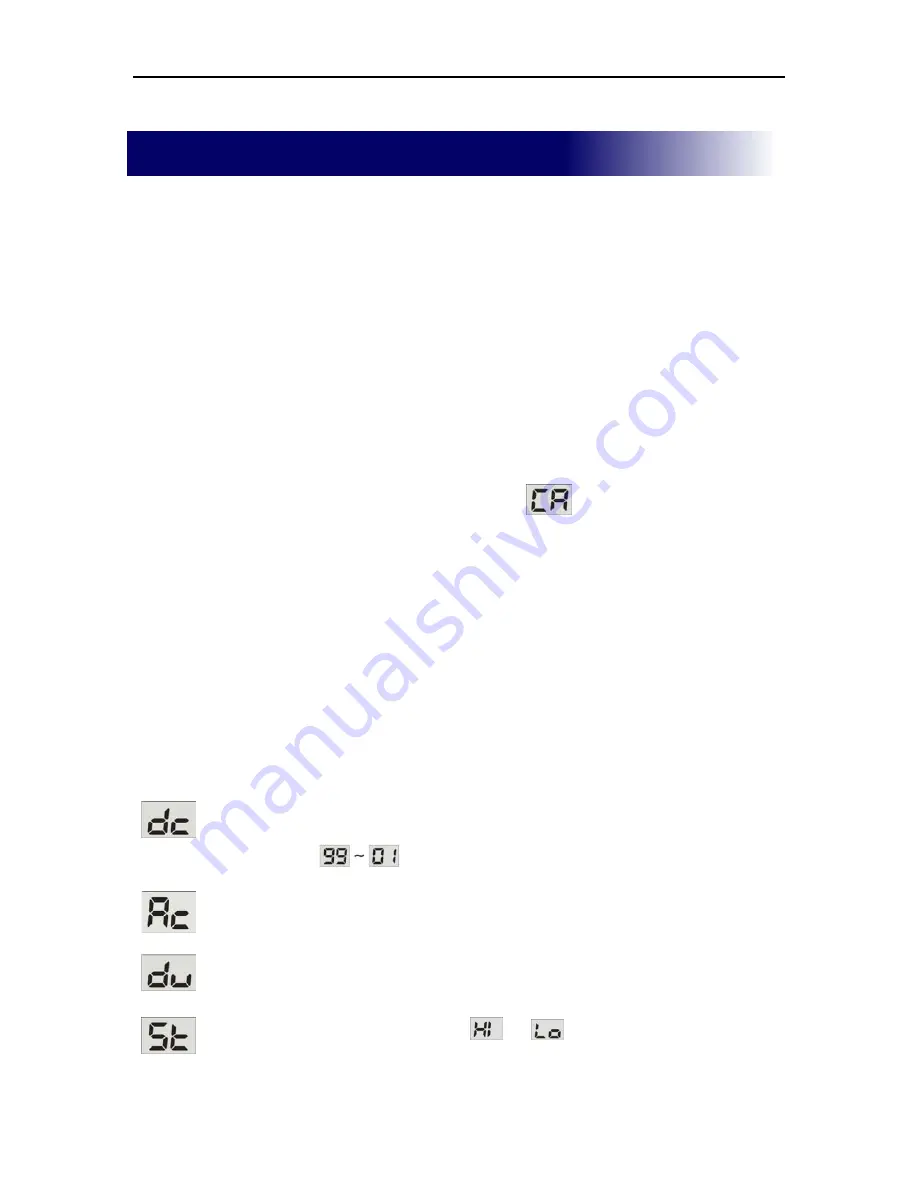
Make sure camera power is off, then hold the power / mode button
down until a small 'BEEP' is heard and
is displayed. Plug the
Multipod 5 in 1 into your USB port.
Caution:
You must install the Web Cam Driver before using your
Multipod 5 in 1 as a Web Cam.
4.
Transferring files to your PC
Connect the Multipod 5 in 1 to your computer's USB port to transfer
your files.
Caution:
Do not unplug the Multipod 5 in 1 during file transferring.
5.
Taking Pictures, Recording Audio and Movie Clips
Press
Power
to turn on the Multipod 5 in 1. Press the
Mode
button
to change operating modes.
Displayed =
Digital Camera
–Press the
Snap
button to take a
picture. When you take a picture, LCM will show
to indicate the percentage of free memory
remaining.
Displayed =
Audio Clip Recorder
-Press the
Snap
button to begin
recording an audio clip and press the
Snap
button to
stop it.
Displayed =
Digital Video Recorder
-Press the
Snap
button to
begin recording video and press the
Snap
button
again to stop it.
Displayed =
Settings
-Change
or
settings by pressing the
Snap
button.
Содержание Multipod
Страница 18: ......


