DOC-24000 Rev. C
6–9
Objet30 User Guide
Job
History
The
History
section
of
the
Job
Manager
screen
lists
details
of
the
last
15
jobs
sent
for
printing,
showing
the
job’s
final
status.
A
job
can
be
returned
from
the
History
section
to
the
queue
in
order
to
the
tray
again.
To move a job from
History
to the print queue:
1. Select
the
job
in
the
History
section.
2. Click
the
Resume
icon
.
The
job
moves
from
the
History
section
to
the
end
of
the
queue.
Note:
Alternatively, you can drag the job
from
the
History
section
to
the
queue.
Job Manager
Operations
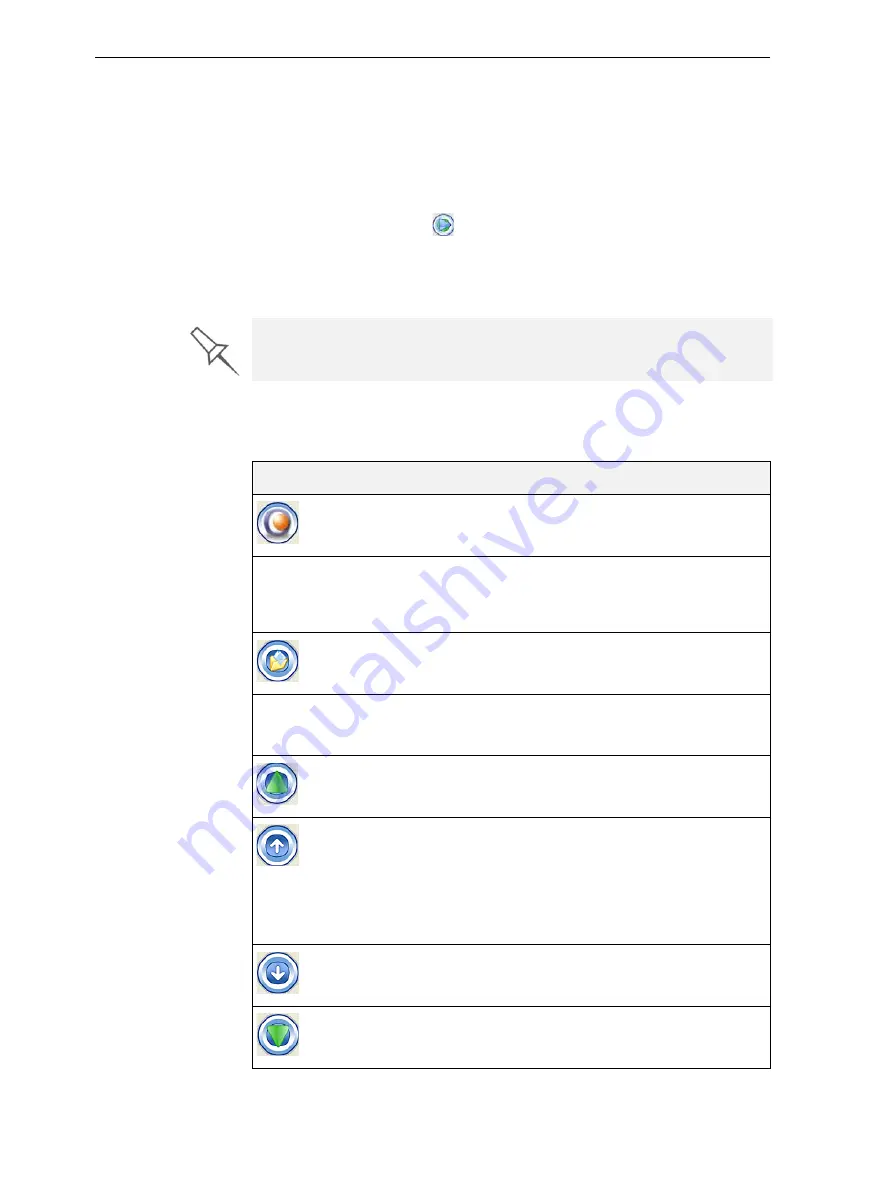
The
following
table
summarizes
the
main
operations
available
from
the
server
Job
Manager
interface.
Many
of
the
icons
are
active
only
if
a
job
is
selected.
To manipulate jobs in other ways, see “Job Manager Operations,” below.
Icon
Menu Option
Purpose
3
‐
D
Printer
>
New
Job
Launches
Objet
Studio
for
preparing
new
trays.
3
‐
D
Printer
>
Set
Printer
Displays
a
network
‐
browsing
dialog
box,
to
connect
to
an
Objet
server
computer.
To
specify
a
computer,
it
must
be
operating
and
connected
to
the
local
network.
3
‐
D
Printer
>
Add
Job...
Enables
you
to
load
previously
‐
saved
jobs
(
objtf
files).
3
‐
D
Printer
>
Report Displays
options
for
user
messages
and
alerts
(paper
printer,
e
‐
mail,
SMS—see
5).
———
Moves
the
selected
job
to
the
head
of
the
queue.
———
Moves
up
the
selected
job
by
one
step
in
the
queue.
Note:
It
is
recommended
that
you
group
together
jobs
to
be
printed
with
the
same
type
of
model
material.
This
way,
the
need
for
changing
model
material
between
jobs
is
reduced.
———
Moves
down
the
selected
job
by
one
step
in
the
queue.
———
Moves
the
selected
job
to
the
end
of
the
queue.
Содержание Alaris30
Страница 1: ...User Guide English Objet30 3 D Printer System ...
Страница 2: ......
Страница 8: ......
Страница 20: ......
Страница 29: ...DOC 24000 Rev C 4 1 Installing Objet Software How to Install Software for the Objet30 3 D Printing System 2 ...
Страница 34: ......
Страница 68: ......
Страница 138: ......
Страница 142: ......


