Operating & Maintaining the Objet30 3-D Printer
7–32
DOC-24000 Rev. C
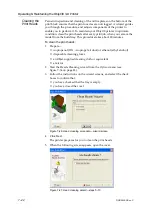
7. In
the
wizard
screen,
select
the
check
box
to
confirm
that
the
transparency
sheet
is
on
the
build
tray,
and
click
Next
.
The
Objet30
printer
prints
the
head
alignment
test
on
the
transparency.
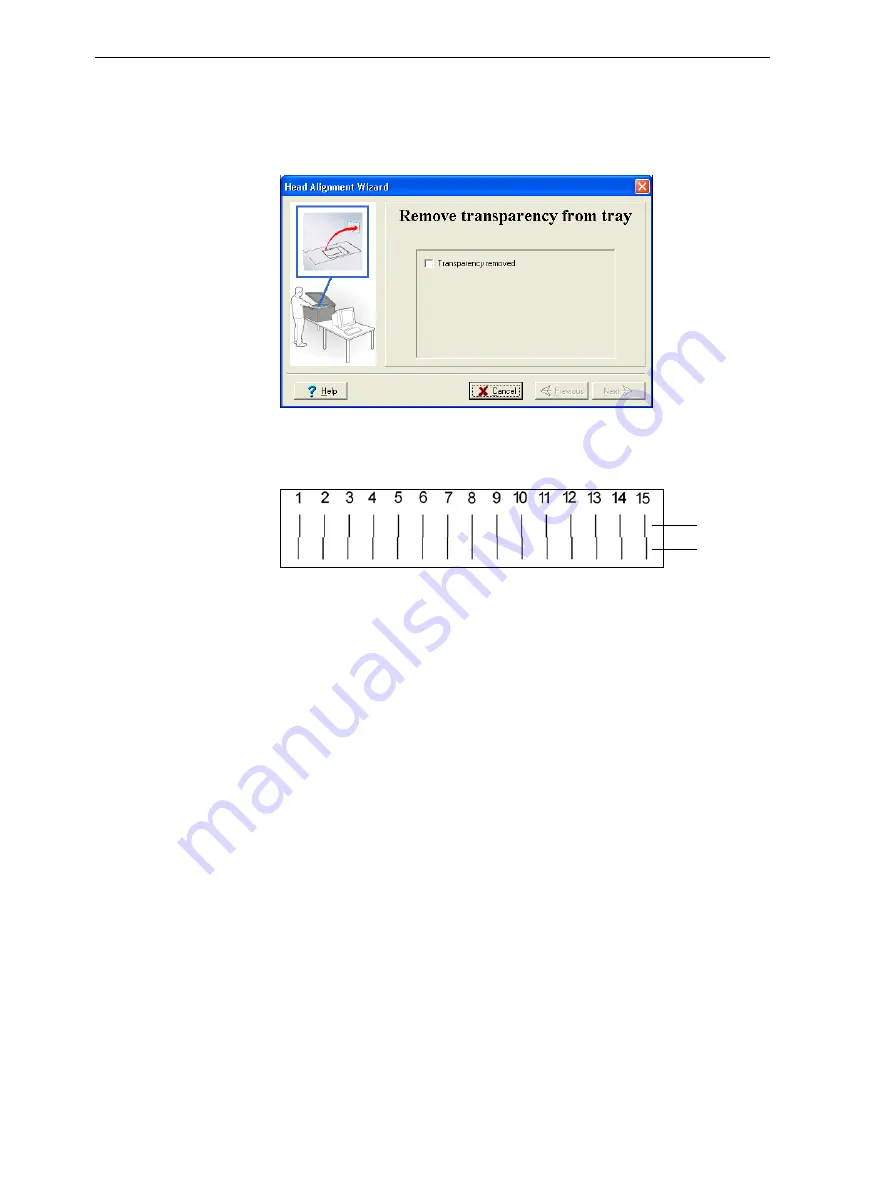
8. When
the
following
screen
appears,
remove
the
transparency.
Figure 7-45: Head Alignment wizard—steps 8–10
The
transparency
sheet
is
printed
with
sets
of
vertical
lines
in
two
rows,
each
showing
the
results
from
a
different
head.
Figure 7-46: Sample head-alignment test
•
The
top
row
was
printed
by
the
head
used
for
applying
model
material
when
producing
models.
•
The
bottom
row
was
printed
by
the
head
used
for
applying
support
material.
9. Use
a
magnifying
glass
or
loupe
to
inspect
the
transparency.
Optimum
head
alignment
is
shown
when
the
two
#8
lines,
in
the
upper
and
lower
rows,
are
aligned,
as
in
In
the
example
shown,
no
change
to
the
head
alignment
is
necessary.
If
other
lines
in
the
set
are
aligned,
you
need
to
change
the
alignment—in
the
next
wizard
screen.
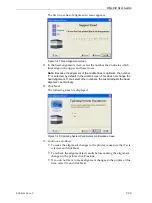
10. In
the
shown
in
select
the
Transparency
removed
check
box,
and
click
Next
.
Model head
Support head
Содержание Alaris30
Страница 1: ...User Guide English Objet30 3 D Printer System ...
Страница 2: ......
Страница 8: ......
Страница 20: ......
Страница 29: ...DOC 24000 Rev C 4 1 Installing Objet Software How to Install Software for the Objet30 3 D Printing System 2 ...
Страница 34: ......
Страница 68: ......
Страница 138: ......
Страница 142: ......


