4
5
Top Tip:
Some batteries
perform best after several
full charge and discharge
cycles. There’s two ways to
charge the battery:
– you can connect your
Xda Orbit directly to an
electrical outlet using
the AC adapter
– you can plug the sync
cable to the USB port
on your PC and to the
sync connector on your
Xda Orbit.
3. Install and charge
the battery
You will receive the new
batteries partially charged. But
before you start using your Xda
Orbit, you will need to install and
fully charge the battery.
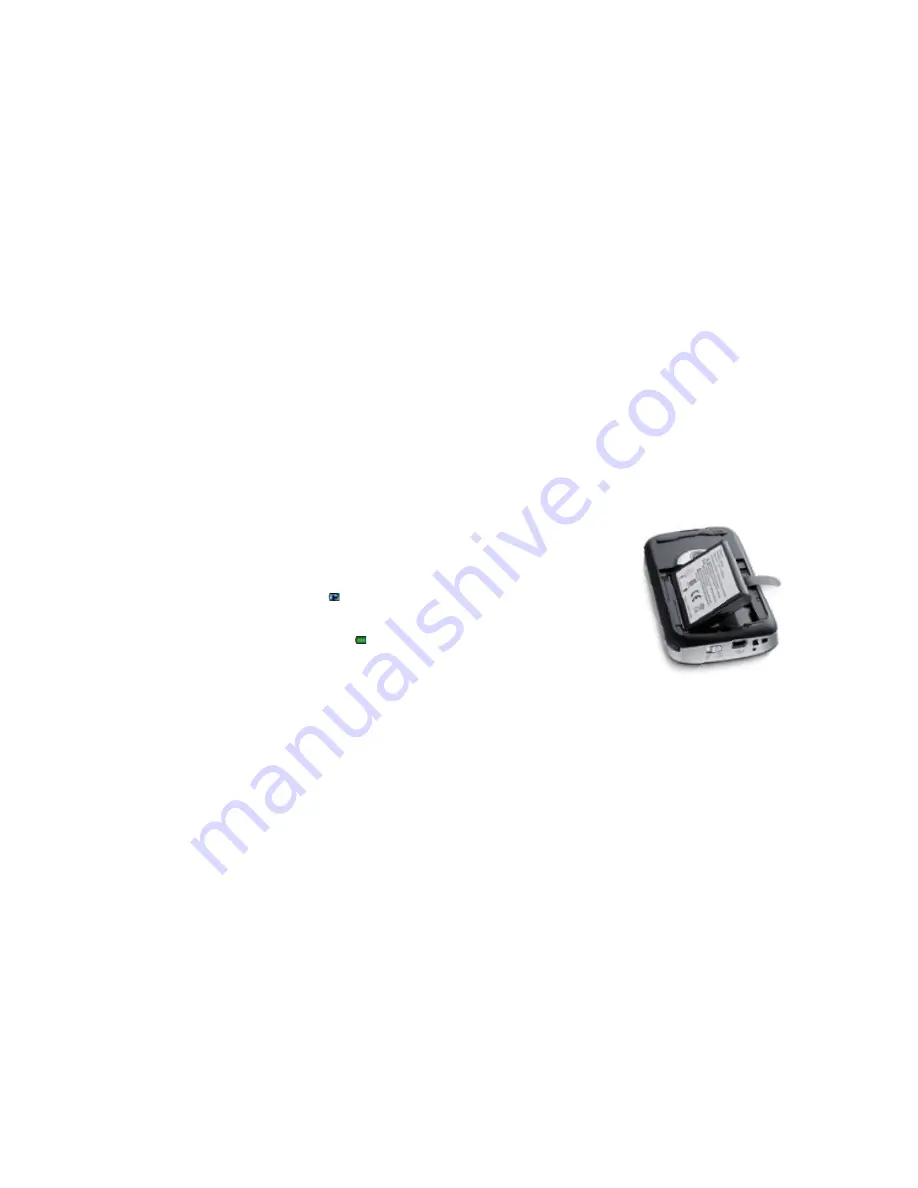
To install the battery, remove the
battery cover first and insert the
battery. The gold connectors on
the battery should meet with the
row of connectors on the left
side of the battery slot. Insert the
left side of the battery first, then
gently push it down into place
(there will be a small click as it is
locked into position) and replace
the battery cover.
Lights on the LED indicator on
your Xda Orbit will show the
battery status:
When your Xda Orbit is off a
solid amber light shows when
it is charging
When your Xda Orbit is on, a
solid amber light and a charging
icon
on the Today screen will
show when it is charging
After the battery has been fully
charged, a green light and full
battery icon
appears on the
Today screen.
Содержание Xda Orbit
Страница 1: ...A quick guide to your Xda Orbit ...
Страница 7: ...Section 2 ...
Страница 17: ...Section 3 ...


