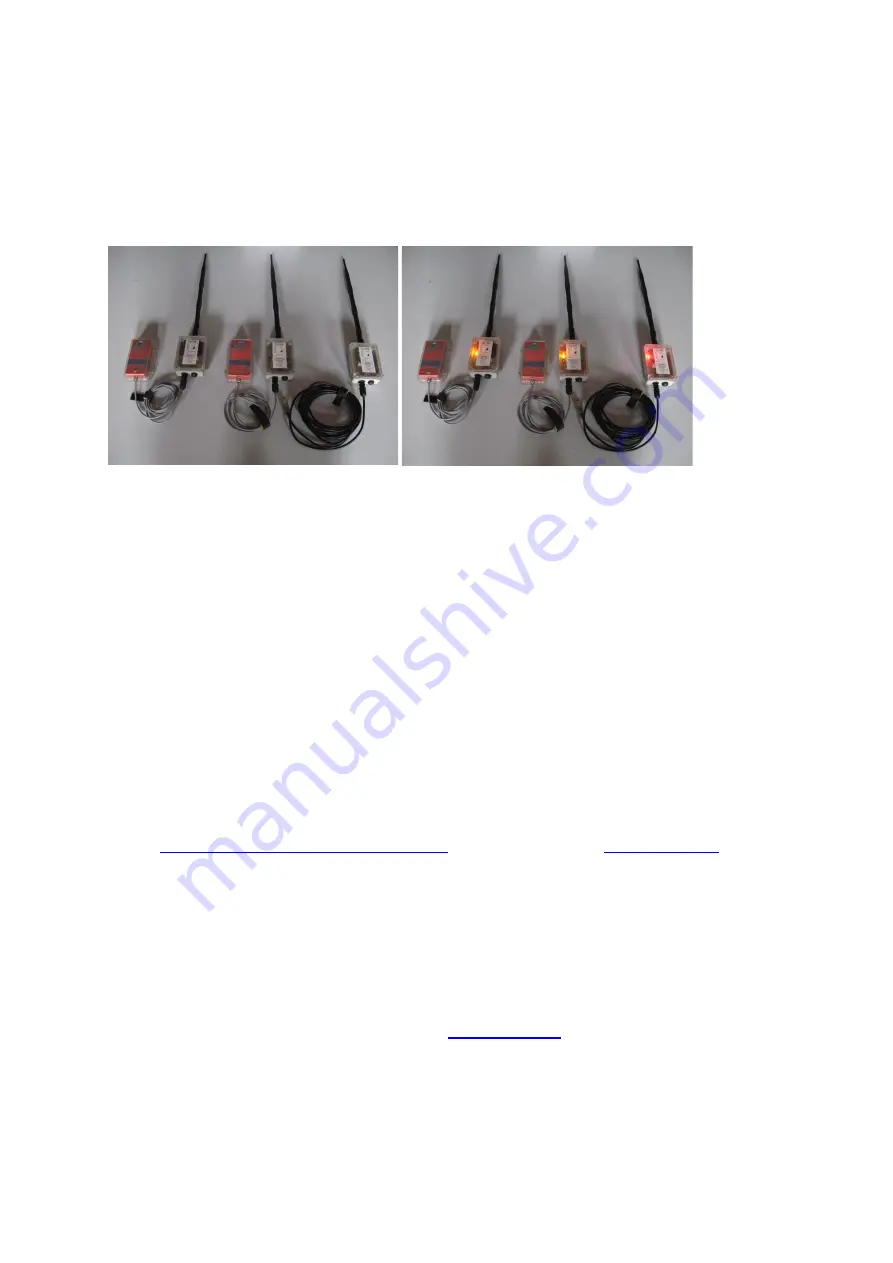
Connect up the Sportident units and Master USB cable to the sockets in the base of the radios. These
connectors are keyed to be inserted the correct way around. Once inserted all the way, turn the
locking ring to secure the connection.
Turn on the “Control” radios and with the “Master” “Heartbeat” switch in the down position, you
shoul
d see the Receive (RX) LEDs on the “Control” radios light up in time to the
heartbeat signal.
Figure 3: Heartbeat lights off and on.
If 3 of the Rx LEDS light up, it indicates a very strong signal while just one LED means the signal is still
OK
–
if it is regular. If the occasional heartbeat is missed, or no heartbeat signal shows up at all when
you are setting up at the event then a repeater “Control” radio will be needed to reach the location.
If you have a SI card, you should also be able to punch the SI stations and see the TX LED light up on
the “Control” radio along with the RX LED on the “Master” radio to indicate the punch information is
getting sent to the Master.
Setting up a computer for O-Lynx.
Installing the driver for the Master connection.
The serial to USB cable used to connect the “Master” radio requires a software driver to be installed
on the PC. This may be supplied with the O-Lynx software or the latest version can be downloaded
http://www.ftdichip.com/Drivers/VCP.htm
. Use the “
Available as
setup executable
” link if
downloading from this web page for easiest installation.
The install file will usually be a file with a name similar to “CDM208
28
_Setup.exe” and can be run be
double clicking on the file. This should launch a window which will initially show “In
stalling driver
….”, followed by a message “Installation Successful” before the window disappears.
Installing the O-Lynx software.
The O-Lynx software can be downloaded from the
software link in the web pages menu for the downloads page. Download O-Lynx Event and the O-
Lynx Event manual.


