


NXP Semiconductors
AN12306
A71CL Quick start guide for A71CLARD-BAI and Kinetis
515910
All information provided in this document is subject to legal disclaimers.
© NXP B.V. 2018. All rights reserved.
Application note
COMPANY PUBLIC
Rev. 1.0 — 14 December 2018
515910
21 of 32
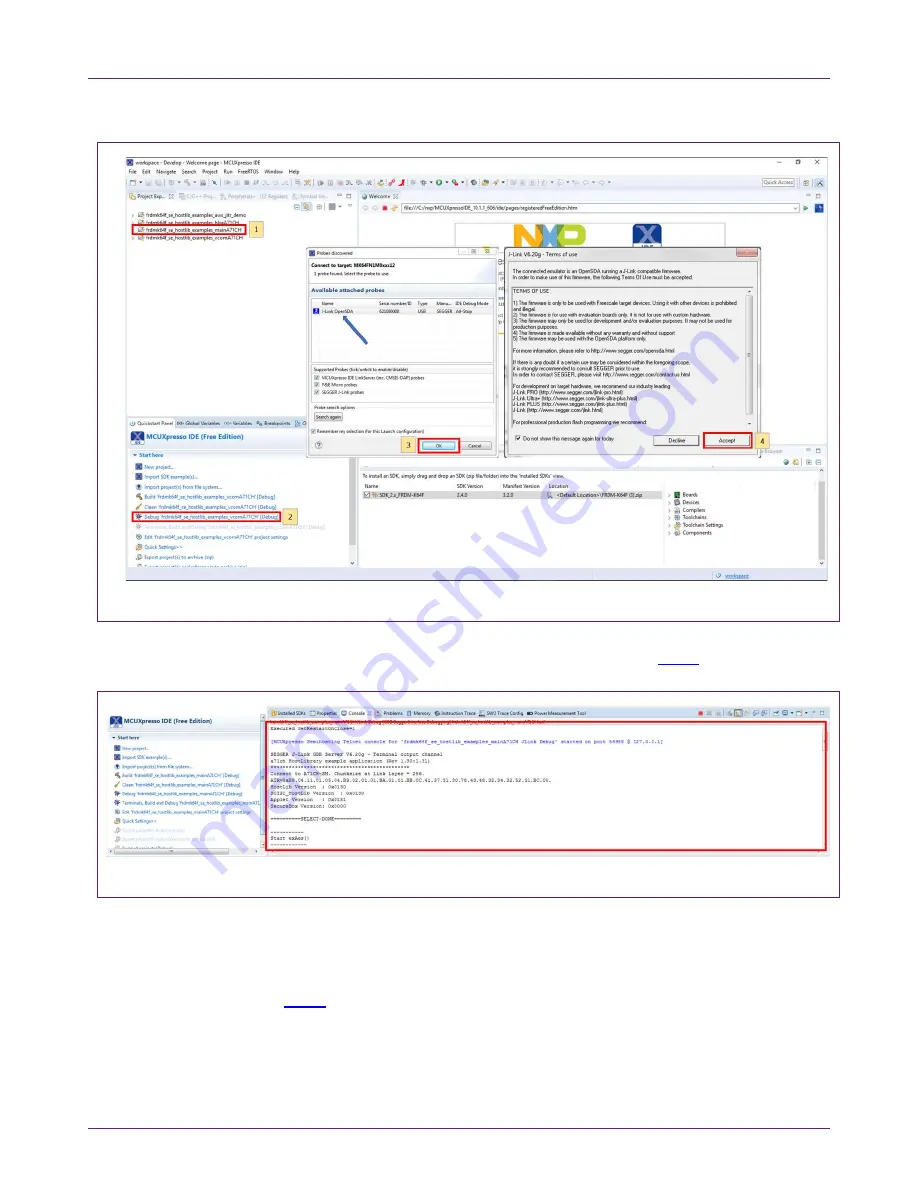
Fig 26. Configuration steps to debug using MCUXpresso IDE Console
After that, the project will start to compile and execute automatically. Once the process is
finished, the user should press the ‘
F8’
key to run the program.
Fig 27
shows the output
in the console tab.
Fig 27. Example of generated output printed in MCUXpresso IDE Console (output from A71CL example)
7.1.2 Printing the output on UART console using Tera Term
The output of the A71CL example execution can be switched to be seen by using Tera
Term. For this, the SDK Debug Console should be configured to be in ‘
UART Console’
mode.
Fig 28
illustrates the process; simply click on ‘
Quick Settings’
, ‘SDK Debug
Console’ and finally choose ‘
UART Console’
.