


NUQLEO - QUANTUM TABLET
7
Chapter 4 - Data transfer modes
Chapter 5 - Productivity applications
1.
Insert the micro-USB end of the cable into the port located on the side of the tablet and
the standard USB end into the corresponding port of your computer.
2.
Once the device is detected, the
Turn on USB storage button
will pop up on the lower
right section of your screen, in order to enable the connection to the PC. Tap on this button
to continue. The Android icon will turn orange.
3.
On your computer, the tablet will be displayed as a hard drive.
4.
Now, you are able to copy, delete or share files between your computer and the tablet
Important note:
to safely disconnect your tablet from the computer, you must touch the
Turn off USB storage
button on the tablet screen.
1.
Insert the micro-SD card into the slot located on the side of the tablet.
2.
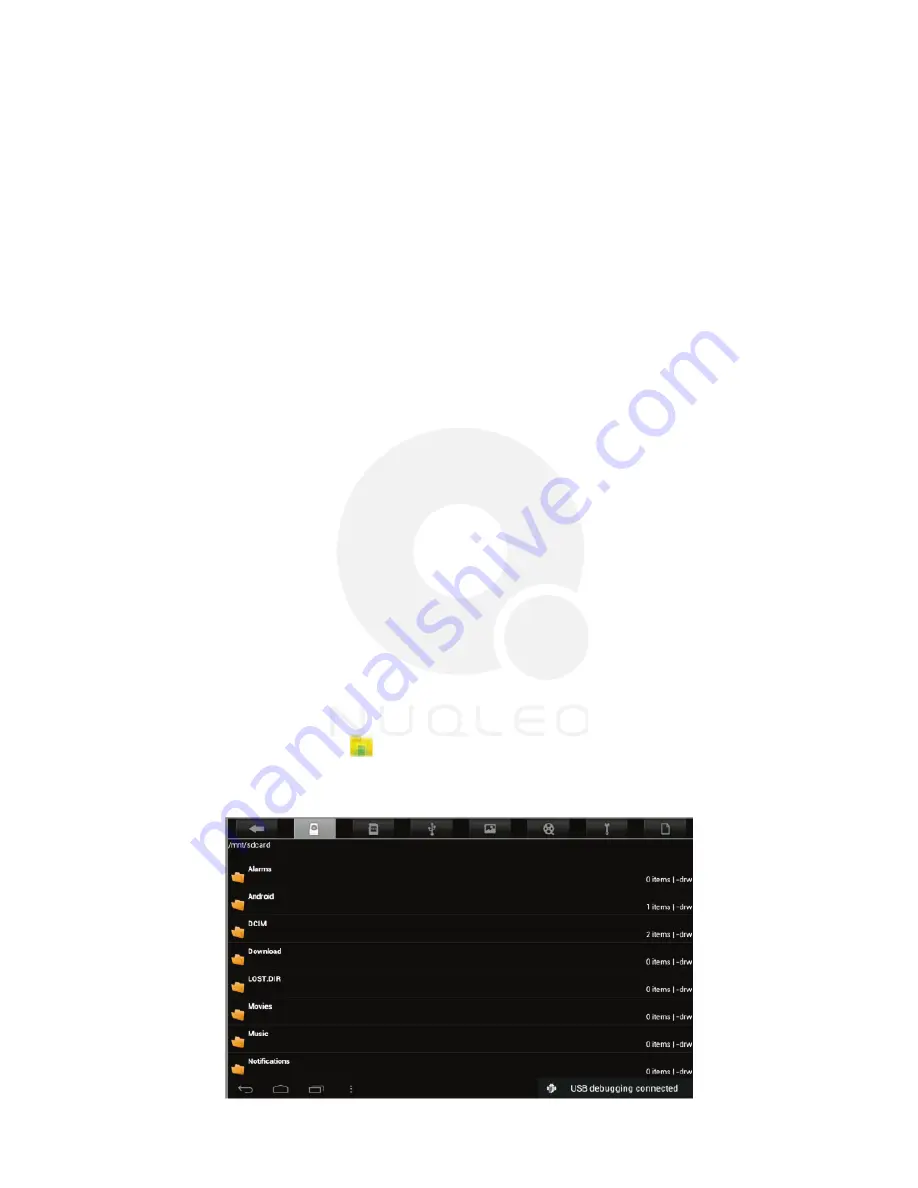
Open the
File manager
application on your tablet. The SD-card tab will become illuminated,
and you will be able to visualize the folders and files stored in the external memory attached
to the device.
In addition to creating, deleting or sharing files, the file manager allows you to keep all your
data properly organized and conveniently stored in your memory.
1.
Select the File manager icon on your main screen.
2.
After opening the file browser interface, users will be able to copy, paste or delete files
stored in the local memory, SD card, or USB external storage device.
You can transfer data to and from your tablet PC using the micro-USB connection or the
micro-SD card slot.
4.1 Connection to a PC
4.2 Micro-SD card
5.1 File manager
Содержание Quantum7
Страница 1: ......


