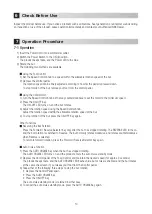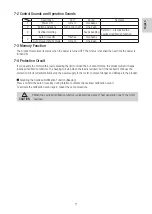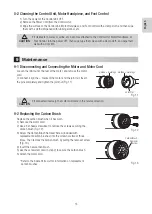
12
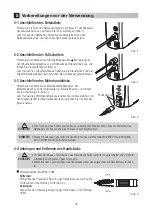
8-1-3 Attaching the Chuck
1) Turn the bur lock ring or lever to the OPEN position.
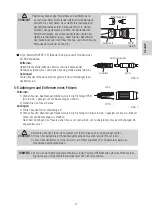
2) Insert the bur in the chuck, then insert the chuck until it stops.
3) Turn the chuck clockwise with your finger until it stops (Fig. 10).
Then lock the bur lock ring to securely hold the bur.
• Neglecting to clean the chuck for a long time is very dangerous because wax, gypsum, etc., will
accumulate in the chuck, causing the bur to be insecure and causing runout.
CAUTION
8-1 Cleaning and Replacing the Chuck
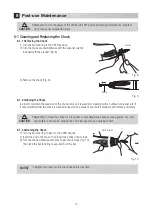
8-1-1 Removing the Chuck
1) Turn the bur lock ring to the OPEN position.
2) Turn the chuck counterclockwise with the spanner wrench
included with the product (Fig. 8).
3) Remove the chuck (Fig. 9).
8-1-2 Cleaning the Chuck
In order to maintain the precision of the chuck, remove it regularly for cleaning with an ultrasonic cleaner, etc. It
is recommended that the chuck is cleaned at least once a week to ensure the product performance and safety.
8
Post-use Maintenance
Loosen
Fig. 8
Chuck
Fig. 9
• Make sure to turn the power of the Control Unit OFF before performing maintenance. Failure to
do so may cause unexpected injury.
CAUTION
• Apply a thin layer of oil to the chuck before insertion.
NOTICE
Until it stops
Fig. 10


