background image

II

III

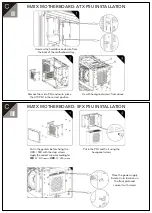
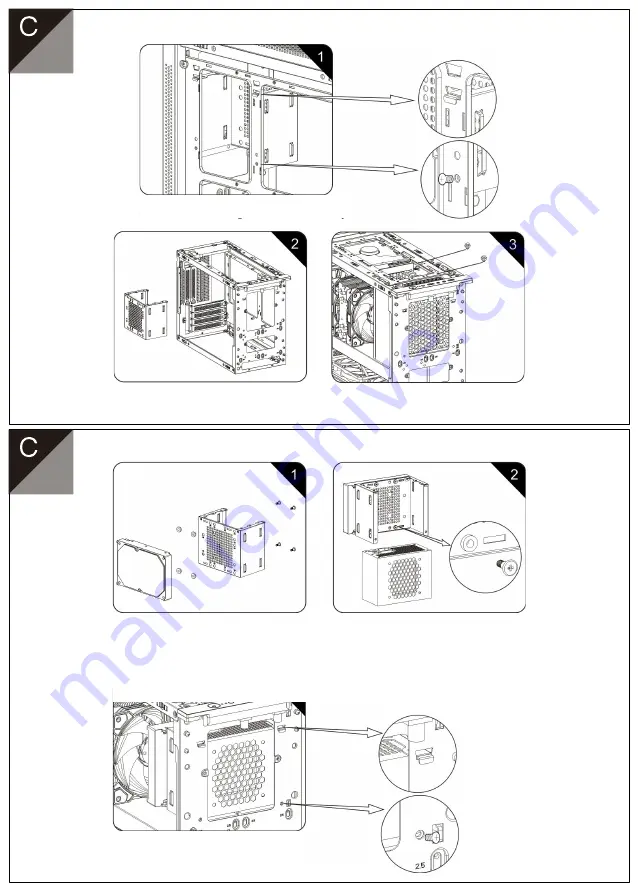
Unscrew the hard drive enclosure from 

the back of the motherboard tray

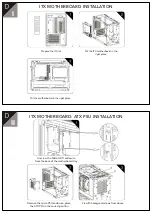
Remove the micro PSU enclosure, place 

the ATX PSU in the correct position

Fix with hexagonal screws from above

MATX MOTHERBOARD: ATX PSU INSTALLATION

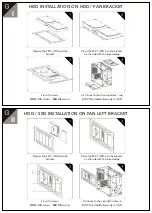
Put in the gaskets before fixing the 

HDD / SSD with the step screws.

Apply the correct screws according to:

SSD 

2.5’’ SSD screws | 

HDD 

3.5’’ HDD screws

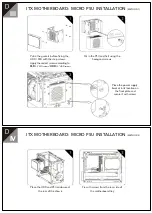
Put in the PSU and fix it using the 

hexagonal screws

Place the power supply 

bracket in its location on 

the front plate and 

secure it with screws

MATX MOTHERBOARD: SFX PSU INSTALLATION

Содержание Hummer Vault

Страница 1: ...INSTALLATION GUIDE...

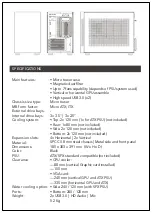
Страница 2: ...ed USB 3 0 x2 Micro tower Micro ATX ITX 3x 3 5 3x 2 5 Top 2x 120 mm 1x for ATX PSU not included Rear 1x 80 mm not included Side 2x 120 mm not included Bottom 2x 120 mm not included 4x Horizontal 2x Ve...

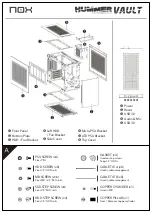
Страница 3: ...2 5 SSD units CABLE TIE B x8 Used in cable management COPPER CYLINDER x1 Used in MB COPPER PILLAR x1 Fixes Removes copper cylinder SSD STEP SCREW x4 Fixes 2 5 SDD units HDD STEP SCREW x4 Fixes 3 5 HD...

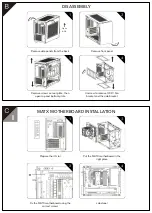
Страница 4: ...rear plate then open top and bottom plate Unscrew to remove HDD Fan bracket and the side bracket Open lift DISASSEMBLY MATX MOTHERBOARD INSTALLATION Prepare the IO slot Put the MATX motherboard in the...

Страница 5: ...s from above MATX MOTHERBOARD ATX PSU INSTALLATION Put in the gaskets before fixing the HDD SSD with the step screws Apply the correct screws according to SSD 2 5 SSD screws HDD 3 5 HDD screws Put in...

Страница 6: ...emove the micro PSU enclosure place the ATX PSU in the correct position Fix with hexagonal screws from above ITX MOTHERBOARD ATX PSU INSTALLATION Prepare the IO slot Put the ITX motherboard in the rig...

Страница 7: ...n the PSU and fix it using the hexagonal screws Place the power supply bracket in its location on the front plate and secure it with screws ITX MOTHERBOARD MICRO PSU INSTALLATION METHOD 1 ITX MOTHERBO...

Страница 8: ...LATION Up to 155mm when the GPU is installed horizontally and without the left side bracket Up to 88mm when the GPU is installed vertically Lift the magnetic PCI bay Unscrew and remove the PCI bay Ins...

Страница 9: ...with screws then connect it with the cable 245mm with Micro PSU when PSU is fixed to the front panel 245mm with ATX PSU ITX MOTHERBOARD MAXIMUM GPU LENGHT 335mm with Micro PSU when Micro PSU is fixed...

Страница 10: ...to the side of the chassis ATX PSU installed allows only x1 HDD Prepare the SSD HDD and the bracket Place the SSD HDD into the bracket on the side with the raised edge Fix with screws HDD HDD screws...

Страница 11: ...it FRONT PANEL DUAL SSD INSTALLATION Fix the 120 240mm water cooler to the bracket as shown in the picture Fix the bracket back to the bottom of the chassis water cooler installations on the bottom ar...

Страница 12: ...to t he chassis FANS INSTALLATION ON BOTTOM HDD FAN BRACKET Fix 12cm fans to the bracket with the air outlet facing the bottom Fix the bracket back into the chassis Fix 12cm fans to the bracket with t...

Страница 13: ......

Отзывы: