VX2U/VX4U User's Manual
-6-
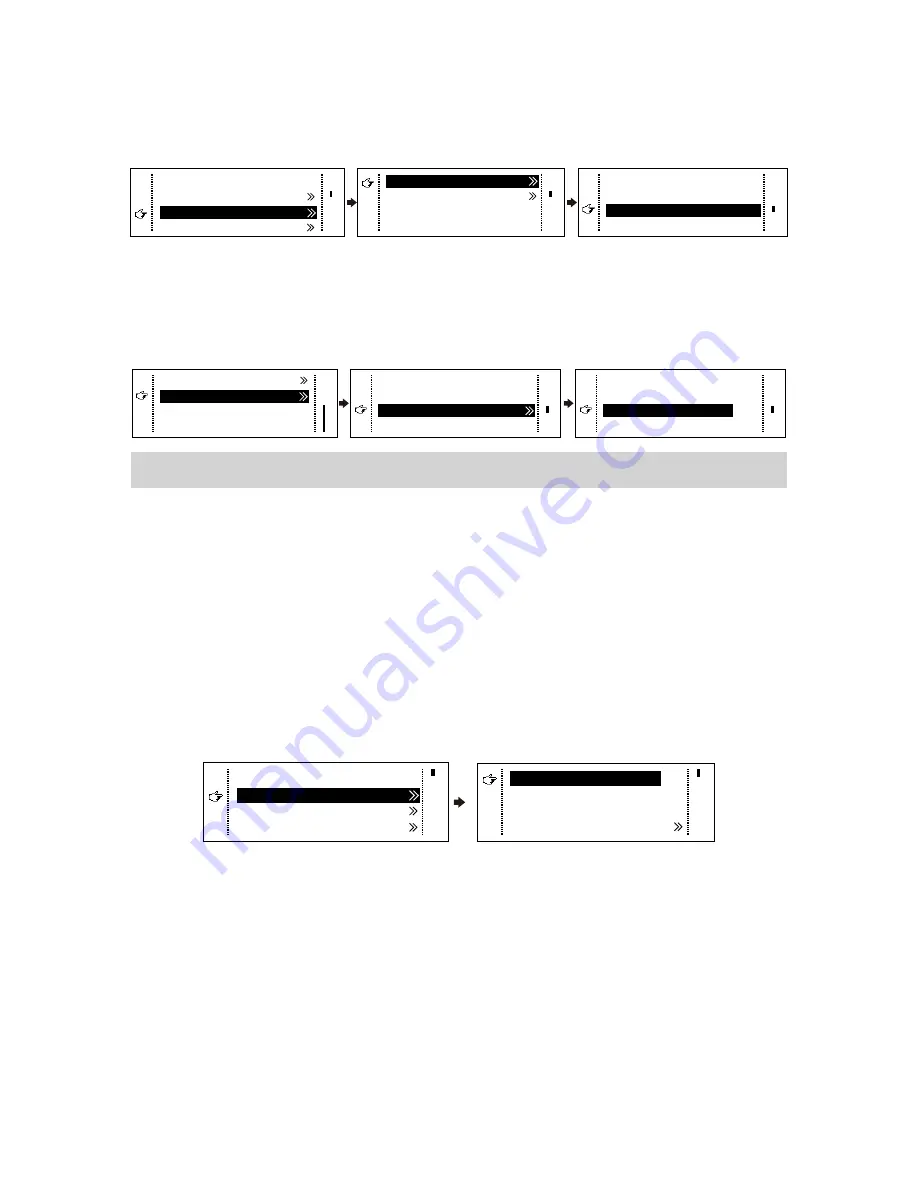
Method I:
Preset Resolution.
Selection is made in preset resolution of the controller. If there is no preset
resolution, you can select the second method and customize resolution.
Brightness
Output Settings
25%
Screen Settings
Input Settings
1024x768
1280x1024
1366x768
1440x900
Preset Resolution
Custom Resolution
Method II:
Custom Resolution.
Set Horizontal Res, Vertical Res and Custom· refresh rate and then select "Apply" and
press the knob for application. If the application is not confirmed, custom resolution
is invalid.
Width (H)
Height(V)
Custom Refresh Rate
Apply
1920
1080
60Hz
59.94Hz
50Hz
30Hz
Preset Resolution
Custom Resolution
Step2: Screen Settings
The precondition of Screen setting in shortcut is that the screen must be regular
rectangle (not special-shaped), cabinet must be regular rectangle and the size of
each cabinet are identical.
Step 1 The screen being power-on, if the cabinet is in normal display, enter into
Step 2; if the cabinet is in abnormal display, first, load the cabinet file, and
save it to the receiving card; see detailed operation in
Advanced Settings
;
Step 2 Return to the “Screen Settings” submenu. Rotate the button to switch to
submenus of other options respectively to perform configurations, as shown
in the following figures:
Brightness
25%
Input Settings
Cabinet Row Qty
Cabinet Column Qty
Port 1 Cabinet Qty
Data Flow(Front View)
3
3
4
Screen Settings
Output Settings
Step 3 Set Cabinet Row Qty and Cabinet Column Qty according to the actual
situation of the screen;
Step 4 Set Port1 Cabinet Qty. The device has some limitations on the cabinet
quantity of ports. For details, see precautions for screen settings;
Step 5 Set the Data Flow (Front View). Pay attention to precautions for screen
settings c), d) and e) below.
XI'AN
NOVASTAR
TECH
CO.,
LTD.


