InstallatIon GuIde
Page 2
uG_PPR Issue01
Mounting
the reader has been designed to fit into a standard door entry panel with an aperture of
approximately 40mm x 40mm. It must be mounted behind a polycarbonate window.
avoid mounting readers directly beside each other or back to back; we recommend a
separation of approximately 0.5 metres where possible for best performance.
the mounting holes of the reader are 48mm apart. use M3 nuts with appropriate fixings.
Connections should be made either directly to the host controller or in a suitable terminal
box inside the building.
Wiring
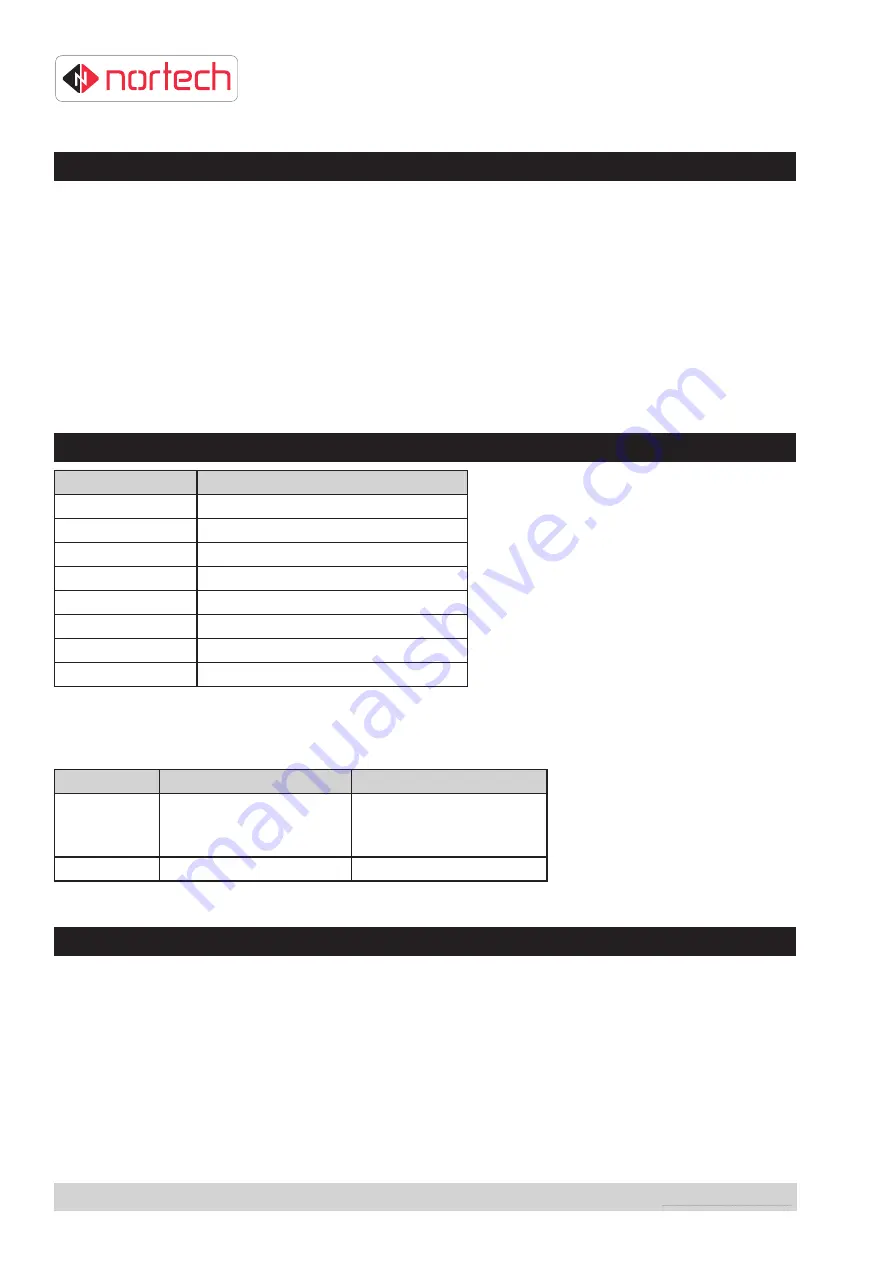
Core colour
Function
Red
+VDC
Black
Ground
Yellow
LED input
Green
Wiegand Data 0 / Data
White
Wiegand Data 1 / Clock
Brown
Not used
Orange
Format select (see below)
Blue
Serial Data Output
Format Select:
The output format is selected by connecting ‘Format Select’ to either Ground or +VDC as follows:
Models
Connect to Ground
Connect to +VDC
PP1-EM1
PP1-HT1
PP1-HT2
10-Digit Clock & Data
26-Bit Wiegand
PP1-DP1
26-Bit Wiegand
44-Bit Wiegand
Reader Operation
The LED lights red when power is connected.
When a token or card is presented, the LED blinks green briefly.
The LED changes to green while the LED input line (yellow) is pulled low (typically indicates that the
door is unlocked).
NOTE:
the output lines of the reader are fed by an open collector transistor – a biasing resistor
may be required on some host controllers for correct operation. Please refer to the
controller reference documentation.
Содержание PP1
Страница 4: ...Installation Guide Page 4 UG_PPR Issue01 ...


