24
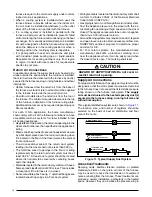
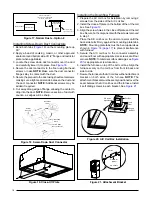
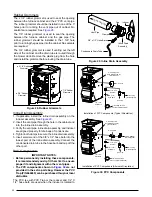
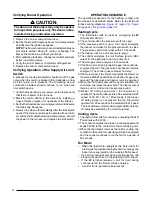
Figure 32
Filter Retainer Brackets
Furnace Flanges
Bent up 90°
(3 places)
Furnace Filter
NOTE:
For downflow models only.
Figure 32.
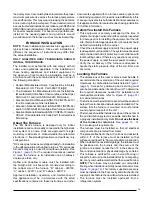
Filter Retainer Brackets
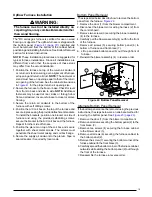
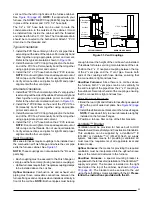
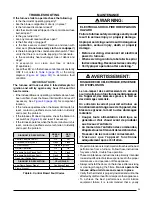
Figure 33
Figure 33.
VentilAire™ Bracket
VentilAire™
Bracket
NOTE:
For downflow models only.
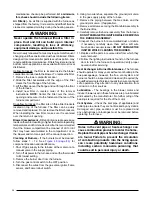
Condensate Drain Lines
IMPORTANT NOTE:
If the furnace is installed in an area where temperatures
fall below freezing, special precautions must be made
for insulating condensate drain lines that drain to the
outdoors. If condensate freezes in the lines, this will
cause improper operation or damage to the furnace. It
is recommended that all drain lines on the outside of
the residence be wrapped with an industry approved
insulation or material allowed by local code.
The placement of the condensate drain lines will depend
on the configuration selected in
. The
drain lines can be routed out the left or right side of the
furnace, but must maintain a downward slope to ensure
proper condensate drainage. The J-trap may need to be
rotated to the side that matches your setup in
loosen the clamp on the drain tube, rotate the J-trap to
either side, and retighten the clamp
Three general rules apply:
• Each condensate drain line must be separately trapped
using a J-Trap or field supplied loop. After individually
trapping the condensate lines, it is acceptable to combine
the drains.
• A drain must always be attached to the collector at the
outlet of the secondary heat exchanger.
• A drain must always be at the lowest point of the venting
system. NOTE: If using a condensate pump, the furnace
drain line must be installed above the pumps water line.
Exceptions & clarifications to the general rules:
• If venting out the left or right side of the cabinet, the
vent must be turned vertically with a tee. The drip leg
formed by the tee, reducer, and hose barb must be
drained as shown in Options 2, 3, 5, 6, 8, 9, 11, & 12.
• In certain cases, the inducer may be drained back into
the collector pan (Options 1, 2, 4, 5, 7, 8, 10, & 11). Take
care that this drain tube does not sag in the middle.
• Sometimes the lowest point in the vent system is where
it connects to the inducer (Options 3, 6, 9, & 12). If the
distance between the exhaust pipe and the cabinet is 6
inches or less, one drain at this location is sufficient. If
the distance is more than 6 inches, then another drain
will need to be added to the bottom of the tee.
Alternate Vent Pipe Installation
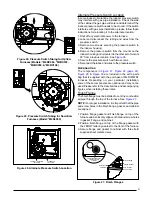
When running the 2” PVC pipe out through the top of the
*RC upflow furnace, there may be possible clearance
issues when transitioning the PVC pipe from 2” to 3”.
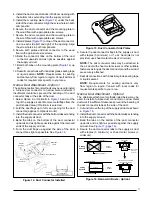
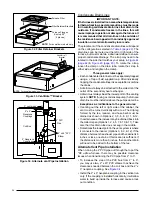
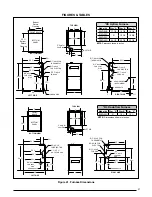
• To increase the size of the PVC flue from 2” to 3”,
you may use two, 2” x 45° PVC elbows to achieve the
clearances needed between the coil box and the 2” x
3” neoprene coupling. See
.
• Install the 2” x 3” neoprene coupling in the vertical run
only. If the coupling is installed horizontally, it will allow
water to build up inside the furnace and cause a lock
out condition.
Figure 34
2” PVC
Pipe
3” vent pipes
2” x 3”
Neoprene
Couplings
Coil Box
2” Neoprene
Couplings
2” x 45
0
PVC
Elbow
Figure 34.
Alternate vent Pipe Installation
Содержание M4RC-072D-35C
Страница 47: ...47...

