15
HOW TO USE PRESET PROGRAMS
The console offers twenty-six preset programs. Each
preset program automatically controls the grade and
speed of the hiker to simulate a hiking trail as it guides
you through an effective workout. You can choose a
moderate, challenging, or extreme program. Follow the
steps below to use a preset program.
Insert the key fully into the console.
See GETTING STARTED on page 12.
Put on the heart rate monitor if desired.
See HOW TO PUT ON THE HEART RATE
MONITOR on page 8.
Enter your age and a target heart rate if desired.
See step 3 on page 13.
Select the desired preset program.
When the key is inserted, the manual mode will be
selected. To select a preset program, press the
Moderate, Challenging, or Extreme button repeat-
edly. Refer to the
trail display. The
three trails in the
display are di-
vided into sec-
tions; each sec-
tion represents a
different preset
program. For ex-
ample, the mod-
erate trail (the Delta Lake Trail) is divided into
seven sections. As you press the Moderate,
Challenging, or Extreme button repeatedly, indica-
tors will flash in the trail display to show which trail
section you have selected. You may choose to
complete all sections of a trail in sequence (one
section each day you exercise) or you may
choose to complete sections at random. Note: If
you are completing sections of a trail in sequence,
when the Moderate, Challenging, or Extreme but-
ton is pressed, the most recently completed sec-
tion of the trail will light and the next section to be
completed will flash.
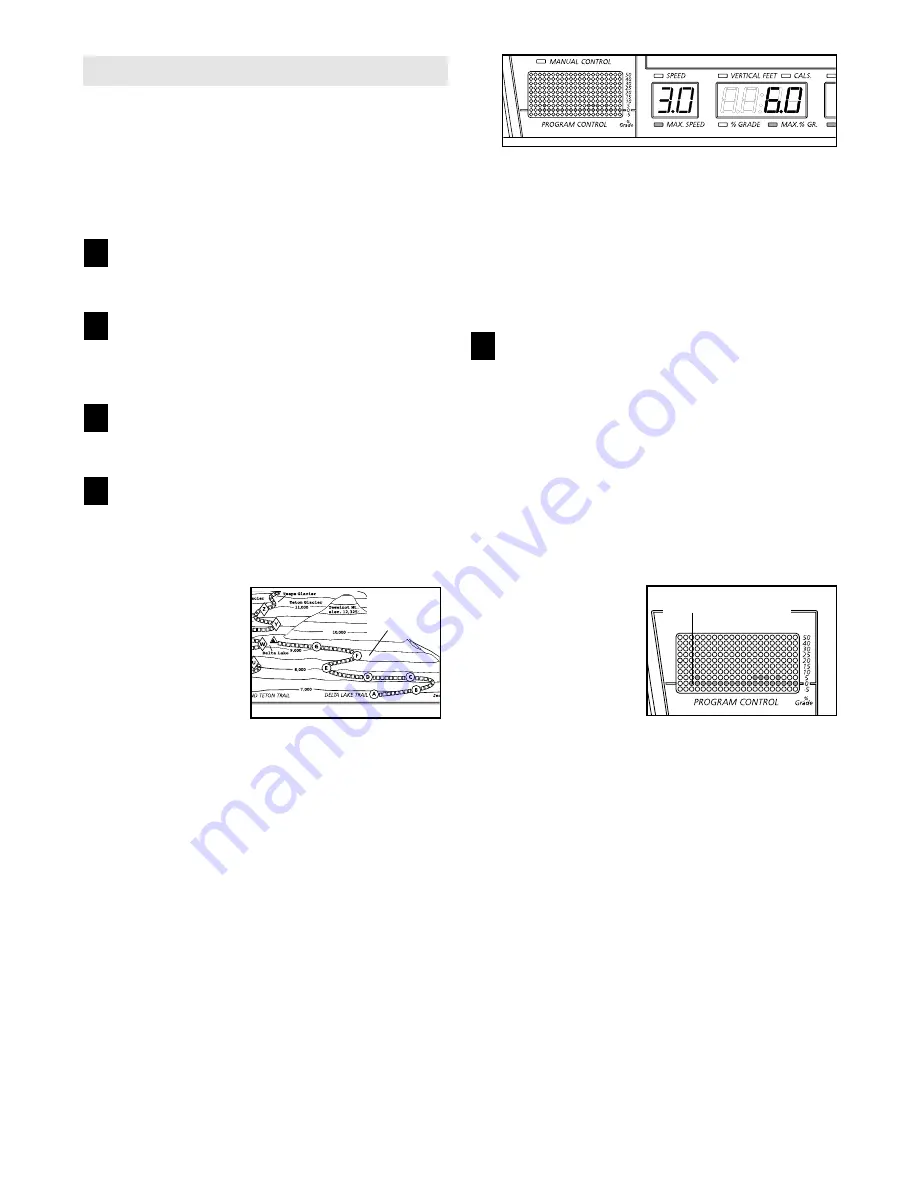
When a preset program is selected, the matrix will
show the grade settings for the program. The
Speed display will show the maximum speed set-
ting for the program and the Vertical Feet/Cals./
Grade display will show the maximum grade set-
ting for the program.
For example, if you select section A of the Delta
Lake Trail, the matrix will show that the grade set-
tings for the program are low. The Speed display
will show that the hiker will reach a maximum
speed of 3 miles per hour during the program and
the Vertical Feet/Cals./Grade display will show
that the hiker will reach a maximum grade of 6%
during the program.
Press the Start button or the Speed + button to
start the program.
A moment after the button is pressed, the hiker
will automatically adjust to the first grade and
speed settings for the program. Hold the handrails
and begin walking.
Each program is divided into several time seg-
ments of different lengths. The Distance/Time dis-
play shows both the time remaining in the program
and the time remaining in the current segment of
the program. One grade setting and one speed
setting are pro-
grammed for each
segment. The
grade setting for
the first segment is
shown in the flash-
ing Current
Segment column
of the matrix. (The
speed settings are
not shown in the matrix.) The grade settings for
upcoming segments are shown in the columns to
the right.
When only three seconds remain in the first seg-
ment of the program, both the Current Segment
column and the column to the right will flash and a
series of tones will sound. In addition, the Speed
display will flash three times if the speed is about
to change and the Vertical Feet/Cals./Grade display
will flash if the grade is about to change. When the
first segment is completed, all grade settings will
move one column to the left. The grade setting for
the second segment will then be shown in the
flashing Current Segment column and the hiker
will automatically adjust to the grade and speed
settings for the second segment.
5
4
3
2
1
Trail
Display
Current Segment


