3. Connect an RF cable between the RF connector of the module test jig and measurement equipment.
Note:
Make sure that all connections are made to the correct RF connector.
4. Set Rx on.
i
Set the phone module to the test jig and start
Phoenix service software
.
ii Initialize connection to the phone. (With the FPS-10 prommer use FPS10_USB or FPS10_TCP drivers,
depending on connection type. When using DAU-9S select FBUS).
iii From the File menu, choose product: File -> Choose Product -> xx-x* (* = type designator of the
phone, eg. RM-164), or press Ctrl + R to scan product.
iv From the toolbar, set operating mode to “Local”.
5. EGSM850/900/1800/1900 troubleshooting
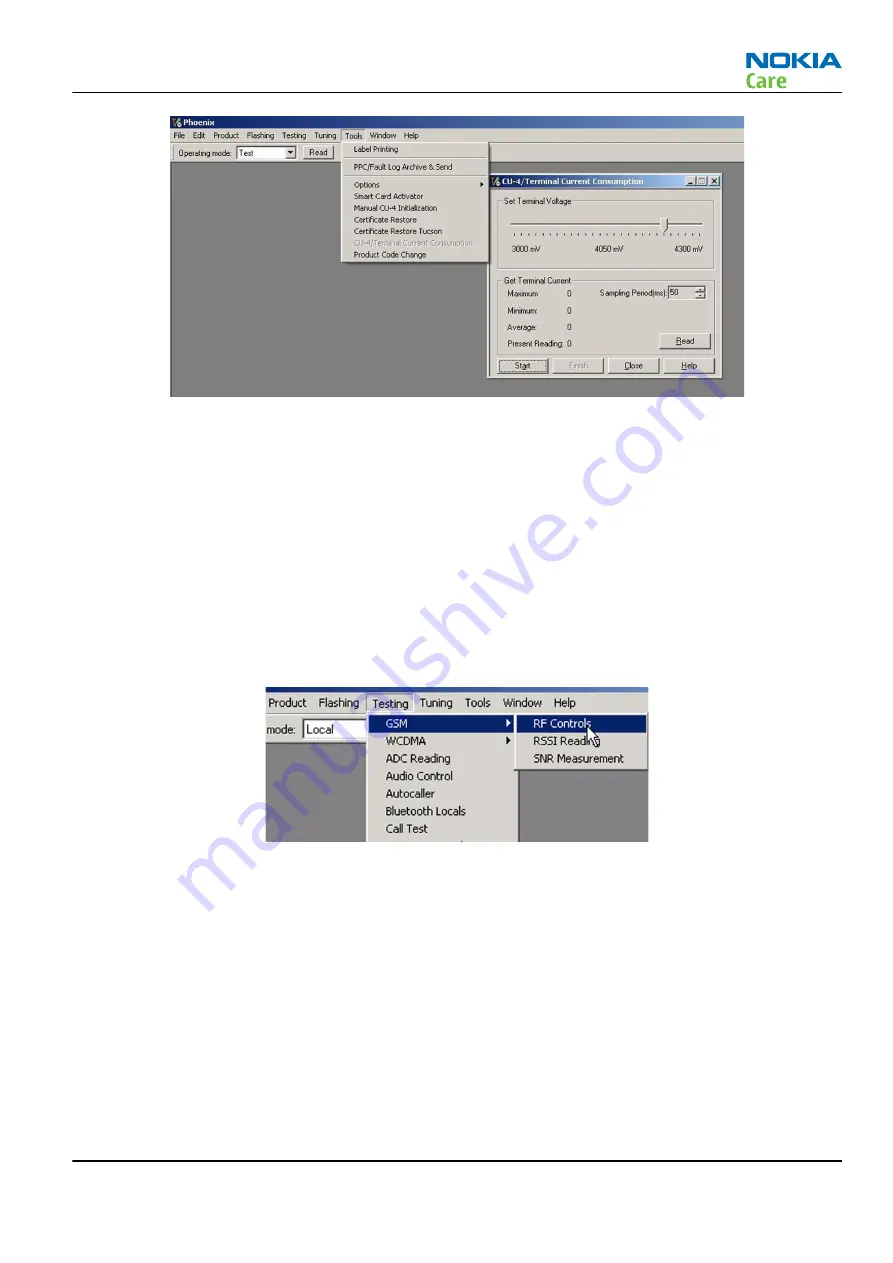
i From the Testing menu, activate the
RF Controls
window: Testing -> GSM -> RF Controls .
ii In the
RF Controls
window:
• Select band (Default = “GSM850”).
• Set Active unit to “Rx” (Default ).
• Set Operation mode to “Burst” (Default).
• Set Rx/Tx channel (see table below).
• Apply a frequency (see table below) to the RF-connector.
Note:
Remember to compensate for cable attenuation. You will find the values in the Service tools
section.
Apply a signal to the RF-connector. See values in the table below.
RM-164
RF Troubleshooting and Manual Tuning Guide
Issue 1
COMPANY CONFIDENTIAL
Page 4 –9
Copyright © 2007 Nokia. All rights reserved.
Содержание RM-164
Страница 135: ...5 System module Nokia Customer Care Issue 1 COMPANY CONFIDENTIAL Page 5 1 Copyright 2007 Nokia All rights reserved ...
Страница 140: ...PWB overview RM 164 System module Page 5 6 COMPANY CONFIDENTIAL Issue 1 Copyright 2007 Nokia All rights reserved ...
Страница 141: ...Flex overview RM 164 System module Issue 1 COMPANY CONFIDENTIAL Page 5 7 Copyright 2007 Nokia All rights reserved ...
Страница 155: ...RM 164 System module Issue 1 COMPANY CONFIDENTIAL Page 5 21 Copyright 2007 Nokia All rights reserved ...
Страница 157: ...Glossary Nokia Customer Care Issue 1 COMPANY CONFIDENTIAL Page Glossary 1 Copyright 2007 Nokia All rights reserved ...


