2
To PC
USB Port
Connec
t
USB Cabl
e
USB Connecto
r
MU-130
1/3.2 CMOS
130
M Pixels
30
Frames/sec.
USB 2.0
Supplied by USB port
WIndows XP
(
SP3
)、
Vista
、
7
、
8
、
10
■
SPECIFICATIONS
INSTRUCTION
MANUAL
Model
Sensor
Pixel Count
Frame Rate
Interface
Power Supply
Supported OS
approx.175g
Weight
(Body + Lens)
Accessories
Software
CD
…1
Bore Adapters:
φ
23.2
→
φ
30.0
mm…
1
φ
23.2
→
φ
30.5
mm…
1
USB
Cable
(
~1.5m
)…
1
●
●
●
Microscope
Insert
Conn.
Conn.
Bore
Adapter
Camera Lens
Camera Body
Camera body
※
Select one of the two adapters to fit the
microscope.
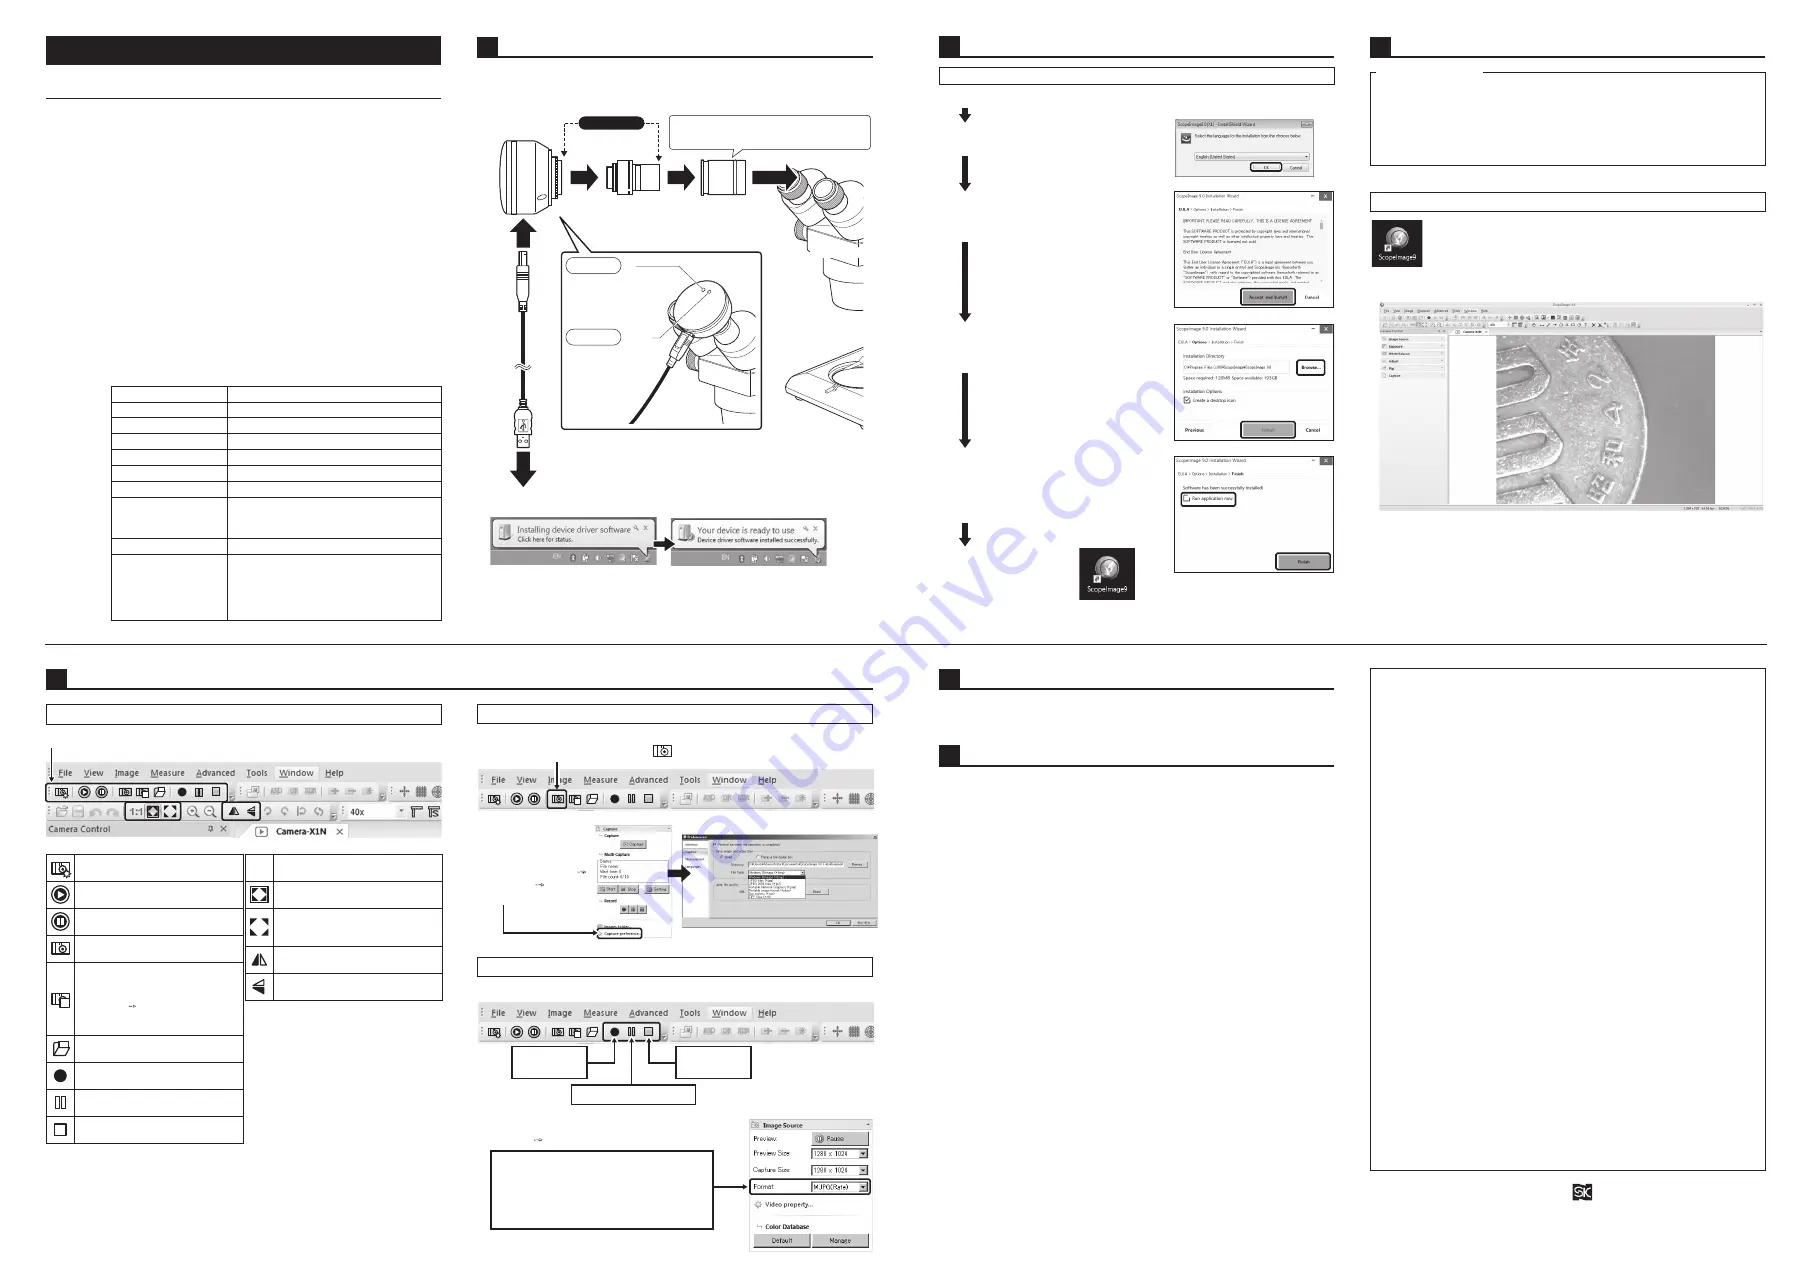
①
Remove the eyepiece from the microscope.
②
Remove the Lens Caps from the Camera Body and the Lens.
③
Follow the diagram below to connect.
PART NAMES & ASSEMBLY
Min. recommended
PC requirements
CPU
: 2.4GHz clock
Memory: 1GB
Hard Drive: 10GB Free space
●
●
●
④
When MU-130 Camera is connected to the PC USB port using the cable, the
following message will appear in the bottom right corner of screen. Please proceed.
※
Screen appearance will vary for different PC settings.
※
Keep the MU-130 camera connected to the USB port and continue
with the additional installation steps.Keep the MU-130 camera connected
to the USB port and continue with the additional installation steps.
③
When the installation guide screen
appears, click on "Accept and Install" to
continue
④
Click on the "Browse" button to specify the
directory for installation; when done click on
"Install" to start the installation.
⑤
※
Click on "Finish" when the installation is
complete.
To start the software immediately once
installation is complete, check the box
labeled "Run application now"
⑥
The icon shown to the
right will be placed on the
desktop when the viewer
software is installed.
Administrator privileges for computer are required for installation.
1
ScopeImage 9.0
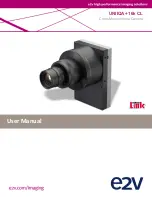
Thank you for purchasing the USB Microscope Camera. Please read this instruction
manual thoroughly before use to insure proper operation and long service.
■
FEATURES
●
1.3M pixel USB Camera designed for easy use on a microscope.
Simply connect to USB port for video image display.
●
Powered by USB port; No separate power supply required.
■
NOTES
●
●
●
This is a precision instrument – Handle With Care. Use caution to avoid
shock or excessive forces on instrument when in use or transport.
Do not use or store in direct sunlight or areas with high temperatures or
high levels of dust. Keep in location where temperature and humidity are
stable.
Keep lens surface clean from dirt and fingerprints. To clean the lens,
wipe gently with lens cleaning cloth or soft cotton cloth.
When not in use, store in supplied case in location which has low
moisture in order to prevent corrosion or internal mold growth.
USB CAMERA FOR MICROSCOPE
MU-130
●
The preview screen image can be frozen and saved as an image file by
clicking on the image capture icon on the toolbar.
●
Image displayed on the Preview Screen can be captured and saved as video.
Start video
capture.
Q.
Display image is dark or blurry.
A.
Insure there is sufficient lighting using microscope lamp or accessory light.
Q.
Driver software does not install. Viewer software does not work properly.
A.
Please confirm PC operating system is compatible; contact distributor.
Q.
Shortcut does not appear on the desktop.
A.
Shortcut will only be created for user with administrator privileges.
If you want to create a shortcut for user without administrator privileges, go to the
application installation directory to create the shortcut.
Note) For default installation, the application is installed in the following
directories:
C:
\
Program Files
\
ScopeImage
\
ScopImage 9.0
C:
\
Program Files (x86)
\
ScopeImage
\
ScopImage 9.0
3
□
Still Image Capture and Save
5
TROUBLESHOOTING
4
UNINSTALL PROCEDURE
3
□
1
Image Preview
●
Double click on ScopeImage9 icon to start the application.
※
Select the device labeled "Camera-X1N"
●
Using the preview screen, follow the microscope instructions for
adjusting focus of the object being viewed.
●
In the Windows Control Panel, Select "Uninstall a program" and then
select ScopImage9.0 and uninstall.
□
2
Image Preview Operation
●
The function toolbar can be used to manipulate the image displayed on the
preview screen.
●
Location and file
type can be
specified in the
Camera control
→
Capture
→
Capture
preferences
menu
●
Image format can be specified in the
Camera
control
→
Image Source
menu.
Select the image format based on your
requirements:
◆
MJPG Select when high frame rate is
desired.
◆
YUY2 Select for high image quality.
Open preview screen. When icon is not
lit, preview can not be opened.
Save the displayed preview as a still
image.
(→
□
3 )
Pause the preview screen display.
Play or resume the preview screen.
Freeze the image displayed on the
preview screen.
※
To save image, click on:
File menu
→
Save
Clicking on the
【×】
in the image
tab closes the image.
Open the destination folder.
Save a video of the image.
(→4
□
)
Display pixels in without scaling for
highest details when adjusting focus.
Display full field of view for adjusting size
of image shown on preview screen.
Flip the preview display along
vertical axis (right and left.)
※1
Flip the preview display along
horizontal axis (up and down.)
※1
Full screen display on monitor (click
on “Close Full Screen” button to
close.
※
1
Depending on PC settings, these features may not be
operable.
※
Will vary for different PC settings
□
4
Video Capture and Save
USING THE VIEWER SOFTWARE (ScopeImage 9.0
)
Feature Support
Viewer Software (ScopeImage 9.0) provides supports for the following
features:
●
Image preview display
●
Preview screen control toolbar
●
Still image capture and save
●
Video capture and save
Other features are not covered. Please note, support for additional
features can not be provided even if requested.
Stop video
capture.
Pause video capture.
1:1
1:1
Pause video capture.
(→4
□
)
Resume video capture.
(→4
□
)
MEMO
Niigata seiki Co., Ltd.
5-3-14, Tsukanome, Sanjo, Niigata, Japan, 955-0055
Tel. : +81-256-33-5522 Fax. : +81-256-33-5518
MAIL [email protected]
URL http://www.niigataseiki.co.jp
①
Double click on the file "SISetupX1N.exe" in the CD-ROM folder.
②
When the language selection screen appears,
select “English” and click “OK”
●
Remove Caps
Conn
.
Blue Light
On
Power is on
(from PC USB)
Red Light
Flashing
Image being
sent to PC
3
Preview Screen
USING THE VIEWER SOFTWARE (ScopeImage 9.0) -
continued
INSTALLING SOFTWARE


