9
LCD
TIME/DATE SET
OFF/REC
Play/Erase :
allows you to listen to and erase messages (see fig. 10)
i. If you have only recorded 1 message, push the button one
time to listen to
recorded Message 1. If you wish to erase it, press the PLAY/ERASE button and hold it
for 3 seconds.
You will hear a series of 2 beeps, indicating the message has been
erased.
ii. If you have recorded 2 messages, push the button one time to listen to the first
message, and push it again to listen to the second message. If you want to erase a
message, select that message, and after listening to it, push the
PLAY/ERASE button and hold it for 3 seconds to erase it.
iii. If message 1 is erased, message 2 will automatically become message 1.
The next message you record will then become the new message 2.
Step 5. Set the Data and Time
:
This will allow the security video taken by NW Surveillance Pro to display the correct date
and time it was taken.
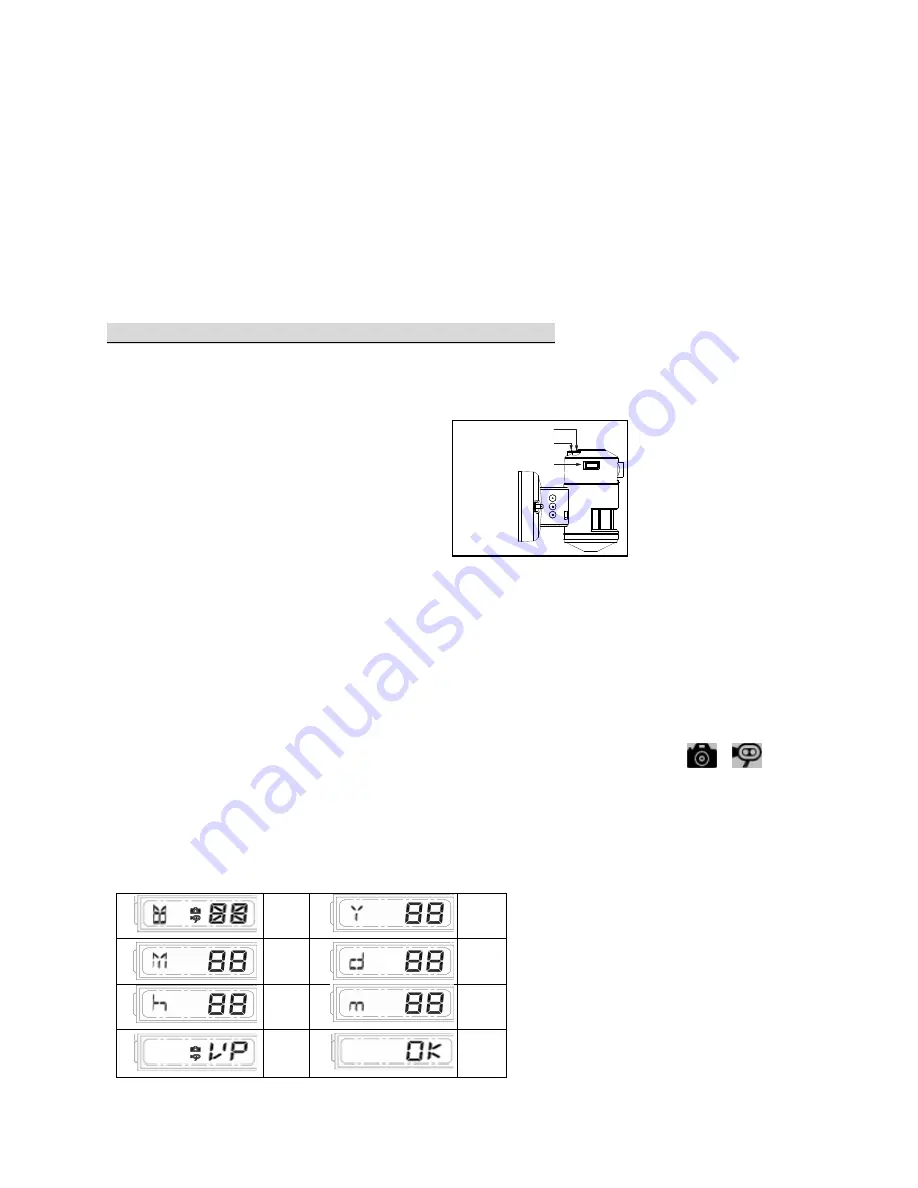
1. Push TIME/DATE SET button (see fig. 11) for 3 seconds, LCD screen will flash 3 times
indicating you have entered Time/Date
setting mode.
1.
“YEAR “setting
:
:
:
:
”Y” and “08” displayed on the screen
;
push the button to set year from“08-
99”, push the button again and hold for 3 seconds to scroll through numbers quickly. If you
have not pressed the button for 3 seconds, it will automatically save the year and go on to
allow you to set the month.
2. Repeat the same setting procedure for
MONTH/DATE/HOUR/MINUTE
.
1.
“VIDEO/PHOTO ”setting
:
:
:
:
when entering this mode, these two icon
and “V” appear on the screen push the button to choose”V”
(
Video or”P”
(
Photo
)
.
If you have not pushed any buttons for 3 second, “OK” will appear on the screen, indicating it
has automatically saved the current settings. The LCD screen will shut off automatically 10
seconds later.
* On the”P” (photo) setting, Smart Tracker will take a series of digital photographs at a rate of 3
photos every second when the motion sensor is triggered
①
Start
②
YEAR
Setting
③
MONTH
Setting
④
DATE
Setting
⑤
HOUR
Setting
⑥
MINUTE
Setting
⑦
VIDEO/
PHOTO
Setting
⑧
Finish
Fig. 11


