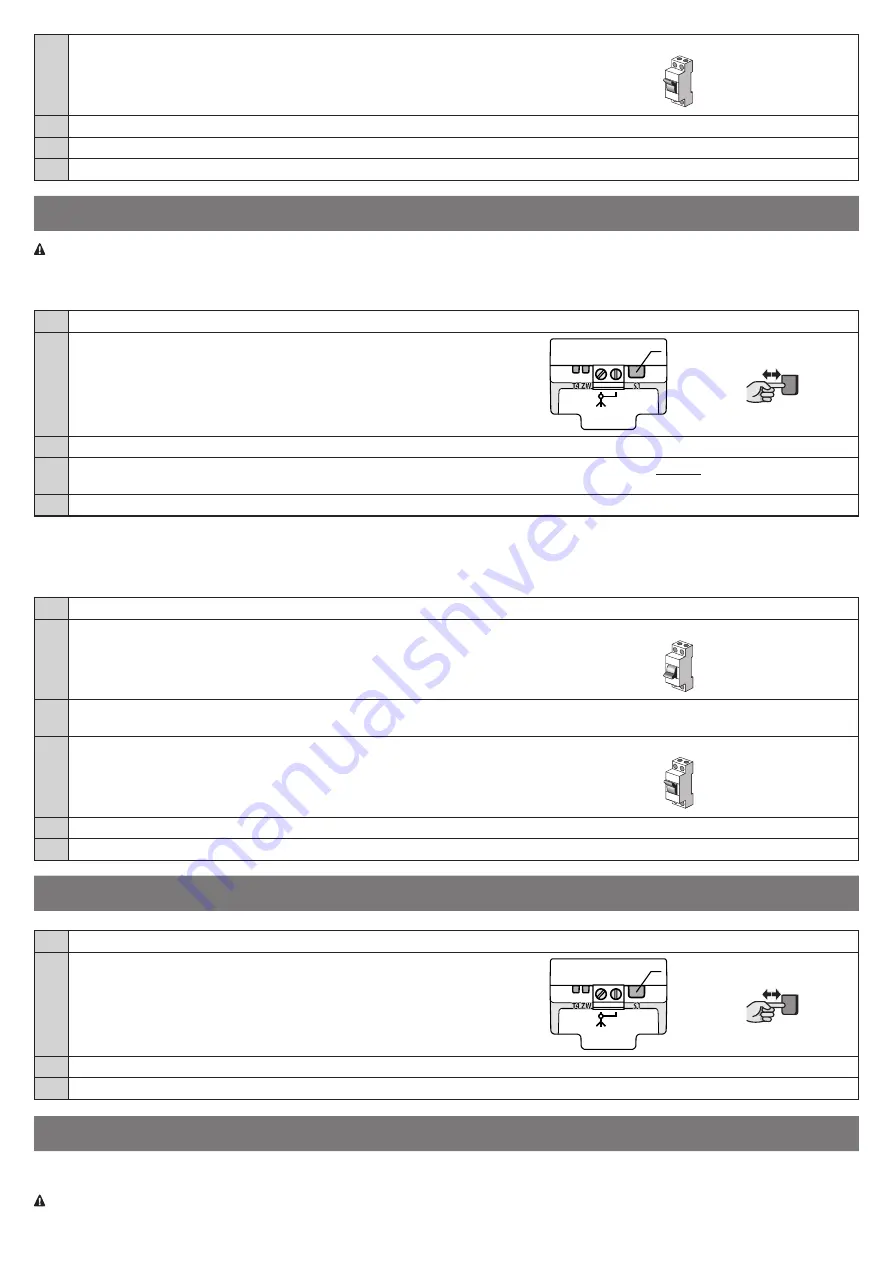
06.
Power the automation’s control unit
ON
07.
LEDs on the BiDi-ZWave will show adding and antenna status (Table 1)
08.
Wait for the BiDi-ZWave to finish initialization sequence (T4 LED flashing green)
09.
Add the device to the Z-Wave network; for the relevant procedure see Chapter 4
4
ADDING TO THE Z-WAVE NETWORK
Install the external antenna before powering the device and adding to the Z-Wave network for the device to automatically
detect and enable it (use only antennas and cables compliant with technical specification – see chapter 10).
4.1 - Adding manually
01.
Set the Z-Wave gateway into adding mode (see the Z-Wave gateway’s manual)
02.
On the BiDi-ZWave press and release the S1 button 3 times
S1
x3
S1
03.
LEDs on the BiDi-ZWave will start slow flashing alternately
04.
If you are adding in Security S2 Authenticated, input the underlined part
of the DSK (label on the box)
DSK: XXXXX-XXXXX-XXXXX-XXXXX
XXXXX-XXXXX-XXXXX-XXXXX
05.
When the adding process ends, the LEDs on the BiDi-ZWave will show adding and antenna status (Table 1)
4.2 - Adding using SmartStart
SmartStart enabled products can be added into a Z-Wave network by scanning the Z-Wave QR Code present on the product with a controller
providing SmartStart inclusion. SmartStart product will be added automatically within 10 minutes of being switched on in the network range.
01.
To use SmartStart your Z-Wave gateway needs to support Security S2 (see the Z-Wave gateway’s manual)
02.
Disconnect the power supply from the automation’s control unit
OFF
03.
Enter the full DSK string code to your Z-Wave gateway. If your controller is capable of QR scanning, scan the QR code placed on the
label on the device and bottom of the box
04.
Power the automation’s control unit
ON
05.
LEDs on the BiDi-ZWave will start slow flashing alternately
06.
When the adding process ends, the LEDs on the BiDi-ZWave will show adding and antenna status (Table 1)
5
REMOVING FROM THE Z-WAVE NETWORK
01.
Set the Z-Wave gateway into remove mode (see the Z-Wave gateway’s manual)
02.
On the BiDi-ZWave press and release the S1 button 3 times
S1
x3
S1
03.
LEDs on the BiDi-ZWave will start slow flashing alternately
04.
Wait for the removing process to end
6
EXTERNAL ANTENNA
The BiDi-ZWave is equipped with an internal antenna, but an external antenna can be connected to improve the Z-Wave network range, e.g.
when the gate is far away from the house.
Check the technical specification to buy the correct antenna and cable (see chapter 10)!


