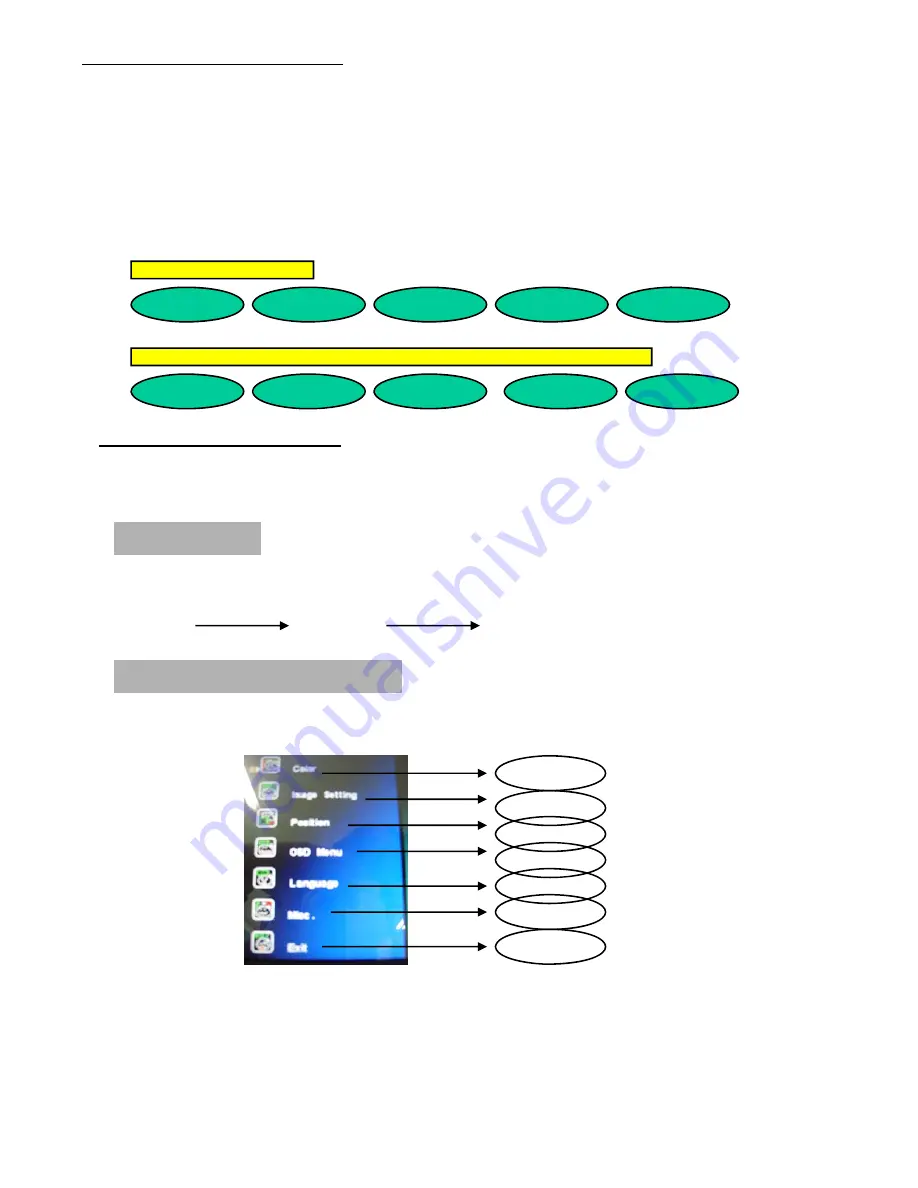
OSD menu functions
Adjusting the displays
The microprocessor in the display has the capability to adjust itself to the computer to
which it is attached. This auto adjustment will take place when the unit is first installed and
connected to a computer and there after. If the video input change, or is user imitated. If
the picture is not satisfactory, the first step is to allow the unit to attempt to re-adjust itself
to your computer.
Located on the rear of unit (MRG Version) or the front of unit (MFG version) is a
membrane keypad used for adjusting the display. Please see the figure below :
OSD (On-Screen-Display) control functions as follows :
To access OSD Menu, press MENU button
OSD Screen for Monitor Mode
Press MENU key, OSD screen appears as below.
Press UP/DOWN Key, you can move between the ten primary functions.
Press Select key at Picture group to highlight this sub menu. You can now
navigate the sub menu using the UP/DOWN keys. To make an adjustment to an
item, use the UP/DOWN buttons to make your adjustments. At anytime, press
the Menu button three times to exit and save your settings.
Display mode
To change the display mode, press the select key each time
Analog
Video
S-Video
Select key
Select key
Color
Image Setting
Position
OSD menu
Language
Misc
Exit
Menu
Select
Power
Down
Up
NEX104MRG, NEX121MRG
NEX104MFG, NEX121MFG, NEX150MR(F)G, NEX170MR(F)G,NEX190MR(F)G
Select
Power
Menu
Down
Up
Содержание NEX104MFG
Страница 14: ...NEX 10 4 ...
Страница 15: ...NEX 12 1 ...
Страница 16: ...NEX 15 ...
Страница 17: ...NEX 17 ...
Страница 18: ...NEX 19 ...


