CA
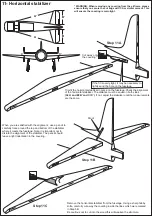
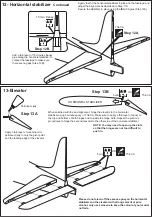
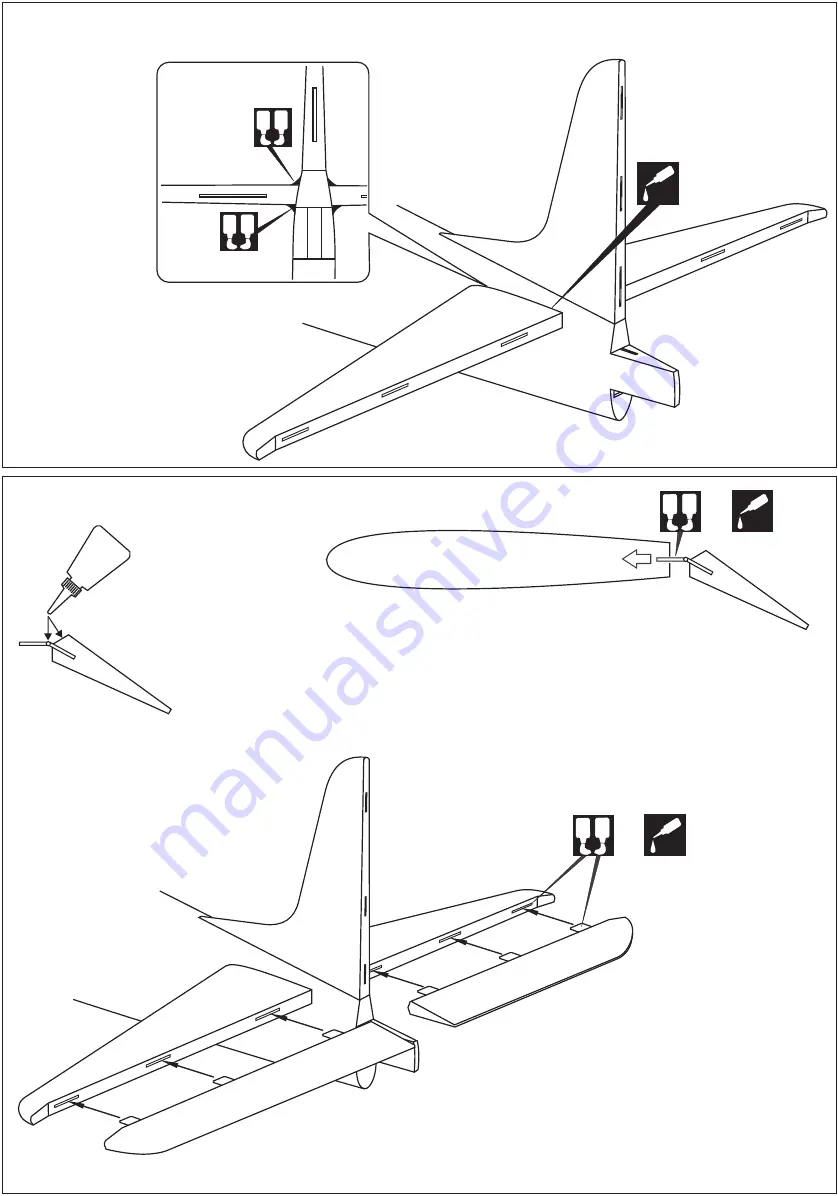
Again, trial fit the horizontal stabilizer in place on the fuselage and
adjust the alignment as described in Step 11A.
Secure the stabilizer in place using the
thin
CA glue (Step 12A).
Thin CA
Petroleum jelly
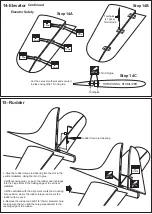
Apply a thin layer of machine oil or
petroleum jelly to only the pivot point
and the leading edge of the elevator.
HORIZONTAL STABILIZER
A B
When satisfied with the and alignment, hinge the elevator to the horizontal
stabilizer using 5 minute epoxy or Thin CA. Make sure to apply a thin layer of epoxy to
the top and bottom of both hinges and to inside the hinge slots. Repeat the previous
procedures to hinge the second elevator to the other side of the horizontal stabilizer.
5 min.
Please do not clean off the excess epoxy on the horizontal
stabilizer and the elevator with strong solvent or pure
alcohol, only use kerosene to keep the colour of your model
not fade.
Step 13A
Step 13B
NOTE: You may need to open up the slots
so that the hinges are not too difficult to
push in.
12- Horizontal stabilizer
Continued
13-Elevator
Add a thin layer of 15 minutes Epoxy
glue along the horizontal stabilizer to
contact the fuselage to make sure
there are no gaps (Step 12B).
A B
A B
15 min. Epoxy
Step 12A
Step 12B
OR
CA
Thin CA
A B
5 min.
OR
CA
Thin CA
Содержание U.S NAVY DIVE BOMBER SBD-5 DAUNTLESS
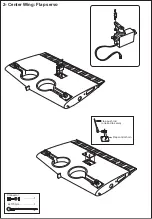
Страница 4: ...Flap push rod one end to servo Flap control horn 2x170mm 1 Connector 1 2 Center Wing Flap servo ...
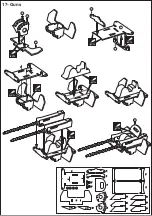
Страница 14: ...C1 C4 1 C4 15 15 17 C1 17 1 2 3 5 6 4 7 4 7 19 19 19 19 19 19 CA 4 4 5 2 3 CA CA 1 CA CA CA CA 6 CA 17 Guns ...
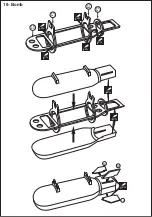
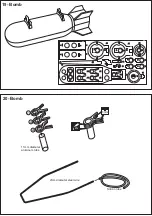
Страница 15: ...19 B01 Bo2 20 Bo2 21 Bo4 22 CA CA CA CA CA CA CA CA 18 Bomb 19 19 19 ...
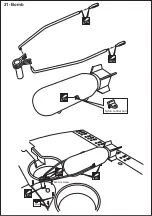
Страница 17: ...CA CA Nylon control horn CA CA 1 5mm CA CA 21 Bomb 25 2x6mm screw ...
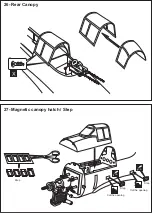
Страница 20: ...27 Magnetic canopy hatch Step Cut the opening CA Cut the opening CA Step Step Step 26 Rear Canopy ...


