


Page | 28
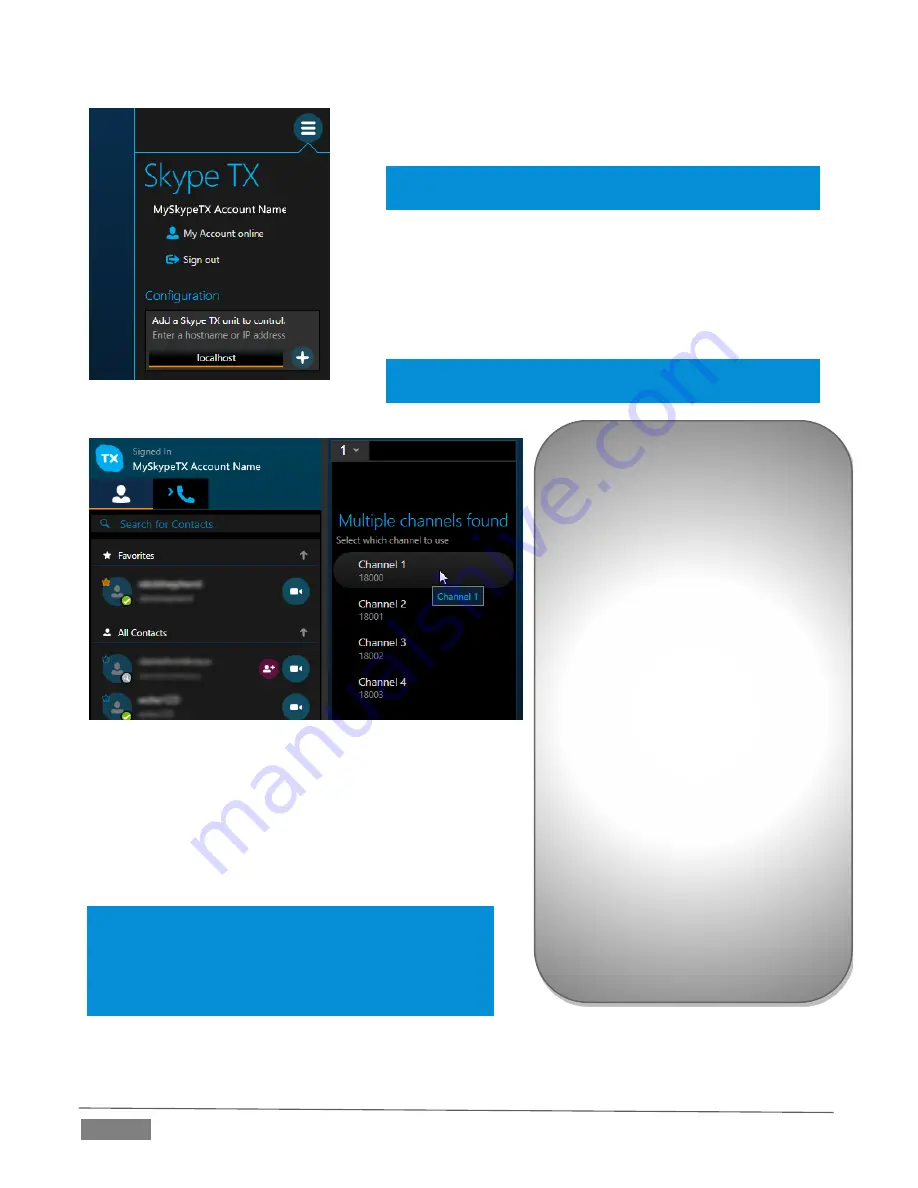
FIGURE 20
Click in the Add a Skype TX Unit to control entry field and
enter the target machine name or its IP address.
Hint: When running Skype TX on a local TalkShow unit, you
can simply enter “localhost” as shown.
Then click the + button at right. A new column will appear in
the Channel pane.
Skype TX will connect to the target TalkShow unit, and list the
available channels (that is, those not already claimed by another
instance of Skype TX).
Note: the Skype TX unit must be on the same network as
Skype TX and able to connect to TCP port 8000.
FIGURE 21
At this point, a new column will be added to the Channels
pane. Typically, when adding a channel, it will resemble
Figure 21.
Click the mouse on a channel entry in this column and
claim it; the controls shown will update as shown in
Figure 22.
Note: If a remote TalkShow target system cannot be
located on the network, Skype TX will show “Skype TX
unit not found” with a retry button. In this case, check
that the target machine is online and connected to the
same network.
Channel Feedback
When adding a channel, at times
you may see one of the status
messages listed below:
Channel not found –
TalkShow has been found, but
the software is not running.
Channel Claimed – The
TalkShow unit has already
been claimed by someone
using a different Skype Name
/ Microsoft account.
Channel in use – Skype TX is
unable to connect to the
TalkShow unit because
another user is currently in a
call.
Unclaimed – The TalkShow
unit is ready to be claimed.
Содержание Talkshow VS-100
Страница 1: ...i...
Страница 5: ...iii APPENDIX E RELIABILITY TESTING 51 INDEX 53 CREDITS 55...
Страница 6: ......
Страница 8: ......
Страница 12: ......
Страница 34: ......
Страница 42: ......
Страница 49: ...47 Watermark Semi transparent graphic that is overlaid on a video signal...
Страница 50: ......
Страница 52: ......
Страница 54: ......
Страница 58: ......


