


NeurOptics® PLR®-3000 Pupillometer System—Instructions for Use © 2018 NeurOptics, Inc.
2
Getting Started
Safety Information
•
Please review the following safety information prior to operating the device.
•
Please read the Operating Instructions fully before attempting to use the Pupillometer. Attempting to operate the
device without fully understanding its features and functions may result in unsafe operating conditions and/or
inaccurate results.
•
If you have a question regarding the installation, setup, operation,
or maintenance of the device, please contact NeurOptics.
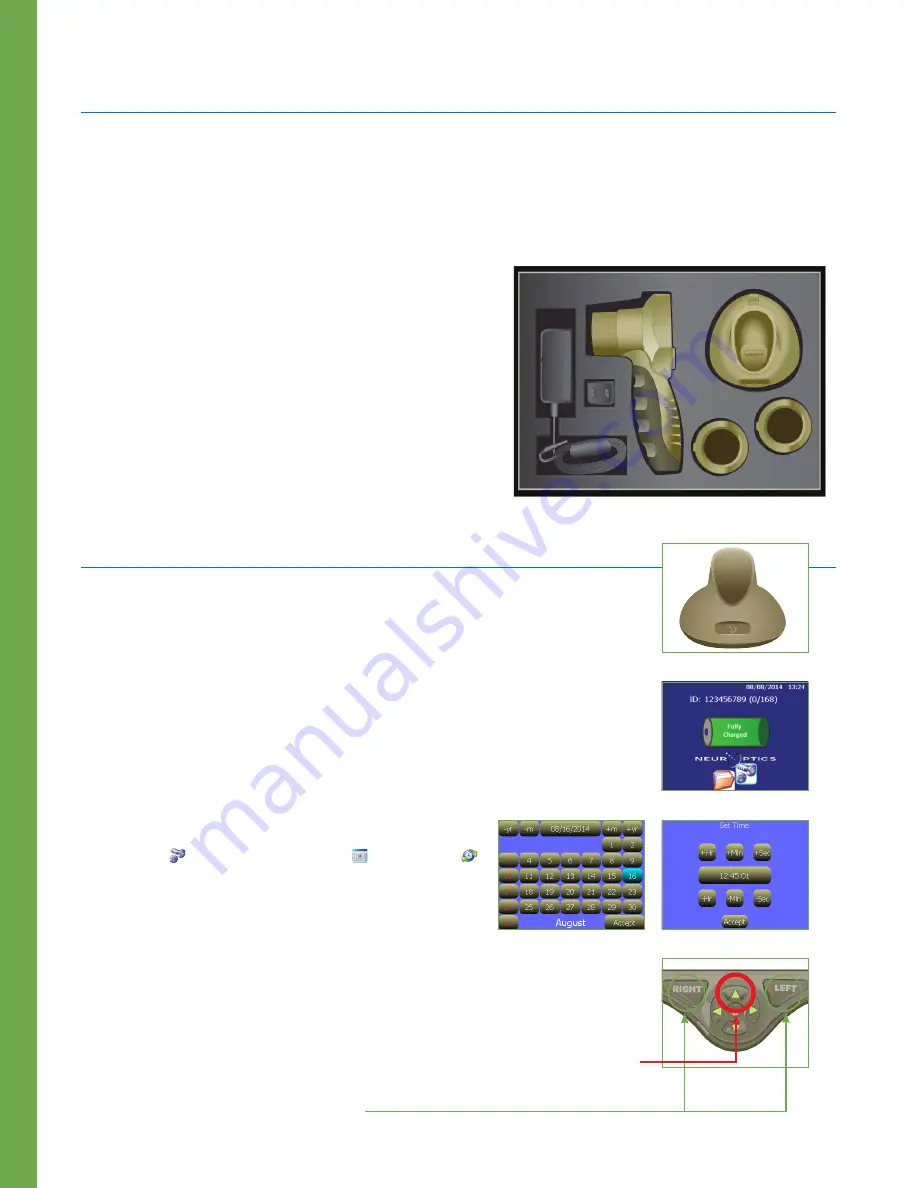
Unpacking the Pupillometer
The NeurOptics PLR®-3000 Pupillometer is packaged
with the following components (Ex. 1):
•
PLR-3000 Pupillometer
•
PLR®-3000 Charging Station
•
Eye Cups (2)
•
PLR®-3000 Power Supply Adaptor
•
PLR®-3000 Instructions for Use
Power Up
Initial Set-up
Connect the PLR-3000 Pupillometer Power Supply to the PLR-3000 Charging Station
and plug into a power outlet. The green light at the base of the Charging Station will
indicate power has been established (Ex. 2).
Place the PLR-3000 into its Charging Station. After powering on, the touchscreen
will display a blue battery icon indicating the PLR-3000 is charging. The battery
icon will turn green when fully charged (Ex. 3).
To modify the date and time, from the main screen, select the
Settings
icon and then select
Set Date
and
Set Time
(Ex. 4 and Ex. 5). Follow the prompts to input the proper date
and time using 24 hour time configuration and select
Accept
.
Turning On the PLR-3000
When not in use, the PLR-3000 should be kept in the Charging Station. If the PLR-3000
is not in the Charging Station, to conserve battery life the Pupillometer will:
•
Go into sleep mode after 5 minutes. Touch the screen to turn on.
•
Power down after 30 minutes. Press and hold the
UP
arrow to turn on (red circle, Ex. 6).
To get to home screen:
•
Press
LEFT
or
RIGHT
Button (green circles)
Ex. 1
Ex. 2
Ex. 3
Ex. 4
Ex. 5
Ex. 6


