


NEULOG WIFI COMMUNICATION MODULE GUIDE
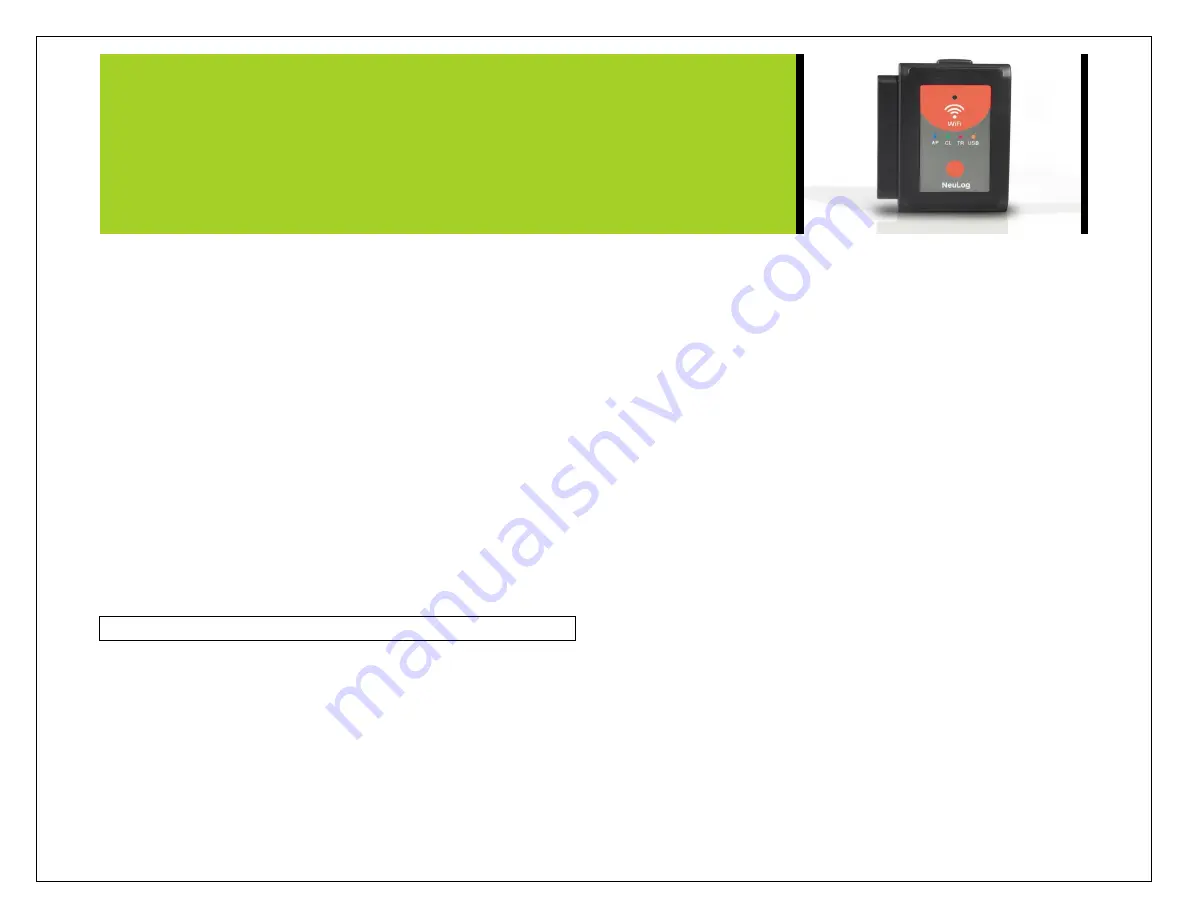
found on the back of the WiFi-202 device (NeuLog1334 for
example).
4. Once the device is connected go to your browser and type in the
website wifi201.com into the URL bar, then wait for 30-60
seconds.
5. Note: Only one device can be in control mode at a time, the
remaining devices must be in “View mode” but switching
between them is both possible and very easy. Control mode
allows the user to change experimental parameters and both
start and stop data collection. View mode allows the user to
view the data being recorded.
6. The browser will then load a new screen and begin to auto
detect the sensors, this can take a minute.
7. Once the sensors are found you will see an icon on the left side
of the screen for any detected sensors. The icon will display
data in real time.
8.
To set the sensors‟ settings click on each sensor‟s icon.
9. To change the experimental settings
click the “Run experiment”
icon (experiment duration for example).
10.
To run an experiment and collect data click “Record”.
Client mode use:
If you have a wireless network and wish to browse the internet while
using the NeuLog WiFi module; you can use client mode to connect
the WiFi module to your local internet. By default the WiFi module
starts in “Access point mode” but can easily be changed to “Client
mode”.
Note:
Before following this procedural guide you must configure your
WiFi module using the “Access Point Mode” guide above. Access
point mode is most commonly used.
1.
Configure your WiFi module as per the “Access point mode”
guide in this document.
2.
Using your connected device, locate and click the “Tools” icon
on the top of the NeuLog web application window in your
browser.
3.
Click on “WiFi options”
4.
Input your local internet connection‟s name and password in
their respective text fields
and click on “Connect” , This step
attempts to connect the NeuLog WiFi module directly to your
local wireless network allowing you to browse the internet.
Note:
During this time the green light on the WiFi module will flash. In
the event that the NeuLog site could not be accessed the blue
light will turn back on and the WiFi module will return to access
point mode.
5. If connection to the NeuLog site is successful; you will be
disconnected from the NeuLog closed wireless network (i.e.
NeuLog1334) and the green light on the WiFi module will
remain on.
6. At this point you must connect to your local wireless
connection (the information you put into the “Client Mode”
boxes).
7. On the new screen you get, click the Connect button to
reconnect the bowser to the wifi202 module


