3
Chapter 2 Quick Start to Wireless Networking
1. Plug the connector of the USB cable, which has been connected to the USB adapter, into any free USB
port on your PC.
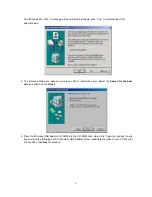
2. Windows will automatically detect the USB Adapter as a new device and display the
Add New Hardware
Wizard
dialog box. Click
Next
to continue.
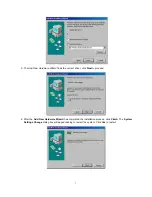
3. Follow the installation wizard to setup step by step.
4. After the Add New Hardware Wizard has completed the installation process, the
System Settings
Change
dialog box will appear asking to restart the system. Click
Yes
to restart.
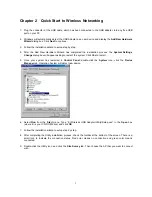
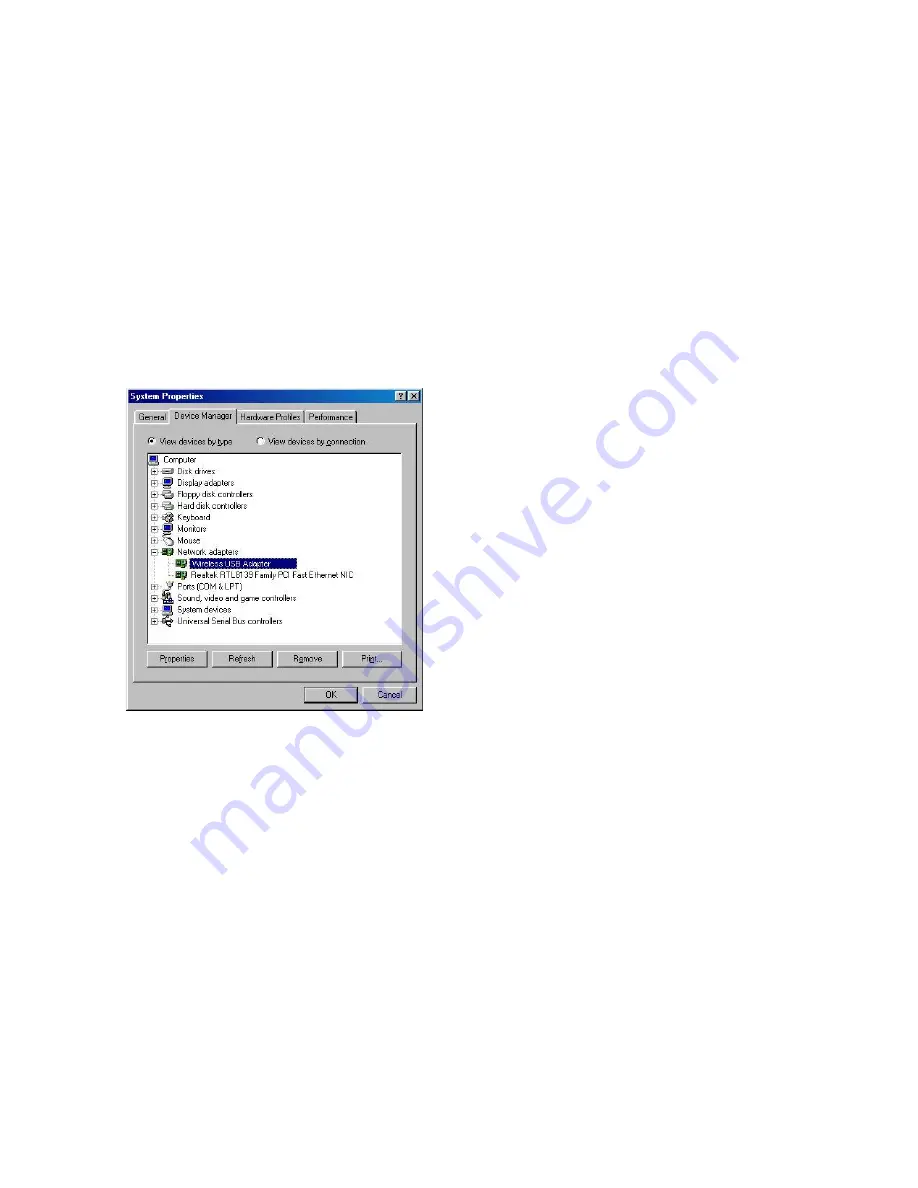
5. Once your system has restarted, in
Control Panel
, double-click the
System
icon, click the
Device
Manager
tab. Operation System will detect new device.
6. Select
Run
from the
Start
menu. Type “E:\Wireless USB Adapter\ Utility\Setup.exe” in the
Open
box
(where E: is your CD-ROM drive) and click
OK
.
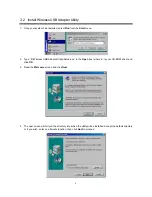
7. Follow the installation wizard to setup step by step.
8. After completing the Utility installation process, check the toolbar at the bottom of the screen. There is a
small icon to indicate the connection status. Red color means no connection and green color means
connected.
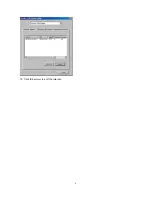
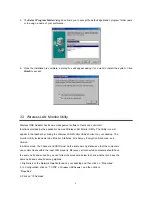
9. Double-click the Utility icon, and click the
Site Survey
tab. Then choose the AP that you want to connect
with.

