350 East Plumeria DriveSan Jose, CA 95134 USA
February 2015202-11455-01
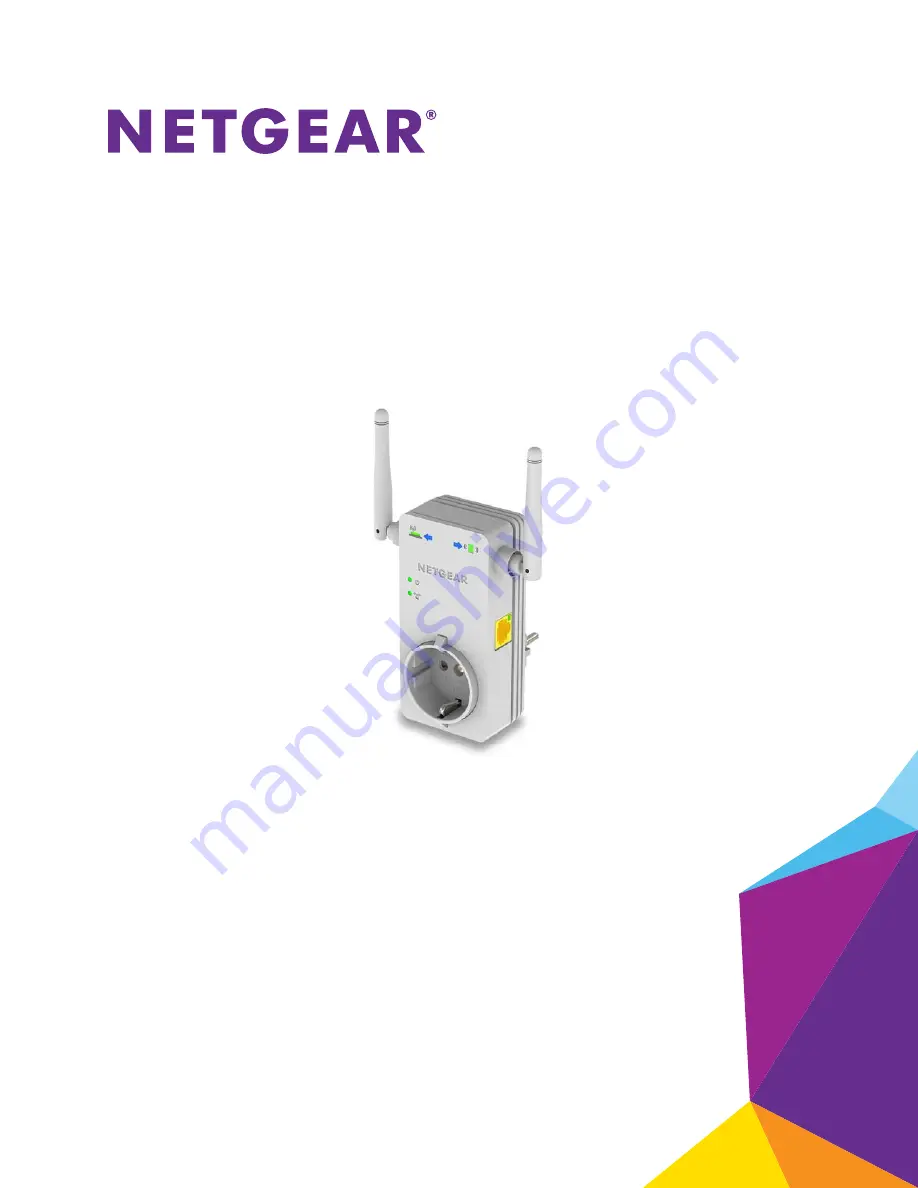
N300 WiFi Range
Extender
Model WN3100RPv2User Manual
Страница 1: ...350 East Plumeria Drive San Jose CA 95134 USA February 2015 202 11455 01 N300 WiFi Range Extender Model WN3100RPv2 User Manual...
Страница 2: ...the NETGEAR website For product updates and web support visit http support netgear com Phone US Canada only 1 888 NETGEAR Phone Other Countries Check the list of phone numbers at http support netgear...
Страница 3: ...Change the WiFi Network Name 21 Turn Off the SSID Broadcast to Create a Hidden Network 21 Disable or Enable the WiFi Radio 22 Change the WiFi Speed 23 Use WPS to Add a Computer to the Extender s WiFi...
Страница 4: ...ender to Factory Settings 38 Update the Firmware 39 Restart the Extender Remotely 40 Chapter 5 FAQs and Troubleshooting FAQs 42 Extend a Network with MAC Filtering or Access Control Lists 43 Cannot Co...
Страница 5: ...ter covers the following topics Meet Your Extender When to Use Your Extender How the Extender Works Note For more information about the topics covered in this manual visit the support website at suppo...
Страница 6: ...Power connector varies by region Figure 1 LEDs and USB port The following table describes the LEDs Table 1 Front panel LEDs LED Description Router Link This LED indicates the connection between the ex...
Страница 7: ...tender performs two main jobs The extender connects to a working WiFi network When the extender connects over WiFi to an existing network it functions as a network client similar to how a WiFi device...
Страница 8: ...er does not provide the WiFi coverage that you need WiFi Range Extender Boosts the range of your existing WiFi and creates a stronger signal in hard to reach areas Overview 8 N300 WiFi Range Extender...
Страница 9: ...2 2 Get Started This chapter covers the following topics Use the Extender in Extender Mode Use the Extender in Access Point Mode Log In to the Extender After Installation Run Smart Setup Installation...
Страница 10: ...es not light slide the Device On Off switch on the side of the extender to the On position Connect to an Existing WiFi Network To extend the range of your WiFi network you must connect the extender to...
Страница 11: ...er network 6 Plug the extender into an electrical outlet 7 Wait for the Power LED to light amber and then turn green If the Power LED does not light slide the Device On Off switch on the side of the e...
Страница 12: ...end and click the NEXT button If your existing WiFi network is hidden select the Manually input my wireless SSID radio button and type your WiFi network name You are prompted to enter the password for...
Страница 13: ...ignal The location that you choose must be within the range of your existing WiFi router network 15 Plug the extender into an electrical outlet Wait for the Power LED to light amber and then turn gree...
Страница 14: ...evice to the extender using an Ethernet cable The device can then access your existing network through the extender s WiFi connection Figure 3 Rear panel Ethernet LAN port Use the Extender in Access P...
Страница 15: ...ot 4 Use a WiFi network manager on a computer or WiFi device to find and connect to the NETGEAR_EXT SSID WiFi network After the connection with the computer or WiFi device is established the Client Li...
Страница 16: ...displays 15 Complete the registration fields and click the FINISH button to complete the setup If you do not want to register your extender click the Skip Registration link Note that you must registe...
Страница 17: ...s 6 Click the WIFI RANGE EXTENDER button The extender scans for WiFi signals and finds the WiFi networks in your area and displays a list 7 Select your WiFi network and click the NEXT button 8 When pr...
Страница 18: ...ings Change the WiFi Network Name Turn Off the SSID Broadcast to Create a Hidden Network Disable or Enable the WiFi Radio Change the WiFi Speed Use WPS to Add a Computer to the Extender s WiFi Network...
Страница 19: ...xtender menu displays 5 Select Do More WiFi Coverage 6 Select a Wireless Output Power radio button If your extender is covering a small area select a lower output power percentage If your extender is...
Страница 20: ...iew the WiFi settings 1 On a computer or WiFi device that is connected to the extender network launch a web browser 2 In the address field of your browser enter www mywifiext net You are prompted to e...
Страница 21: ...4 Click the Menu icon The extender menu displays 5 Select Settings Wireless 6 In the Network Name SSID field type a network name 7 Click the SAVE button Your settings are saved Turn Off the SSID Broad...
Страница 22: ...d 4 Click the Menu icon The extender menu displays 5 Select Settings Wireless 6 Clear the Broadcast Network Name SSID check box 7 Click the SAVE button Your settings are saved Disable or Enable the Wi...
Страница 23: ...clear the Enable 2 4 GHz WiFi check box 7 Click the SAVE button Your settings are saved Change the WiFi Speed To change the WiFi speed 1 On a computer or WiFi device that is connected to the extender...
Страница 24: ...iFi device that you are trying to connect must include a physical push button or a software button If you use the PIN method you must know the PIN of the WiFi device that you are trying to connect WPS...
Страница 25: ...email address and password 4 Click the Menu icon The extender menu displays 5 Select Settings Do More Connect Devices WPS 6 Leave the Push Button recommended radio button selected 7 Click the WIFI PR...
Страница 26: ...IN Number radio button 7 Type the PIN of the WiFi device in the field 8 Click the NEXT button For four minutes the extender attempts to find the computer or WiFi device 9 Within four minutes go to the...
Страница 27: ...aved Deny Access to a Computer or WiFi Device By default access control is disabled so that it is easy for you to connect to the extender s WiFi networks You can deny network access to specific comput...
Страница 28: ...ame and password 3 Enter your email address and password 4 Click the Menu icon The extender menu displays 5 Select Settings Wireless Connected Devices 6 In the WiFi Devices section select the Enable A...
Страница 29: ...aunch a web browser 2 In the address field of your browser enter www mywifiext net You are prompted to enter a user name and password 3 Enter your email address and password 4 Click the Menu icon The...
Страница 30: ...ser 2 In the address field of your browser enter www mywifiext net You are prompted to enter a user name and password 3 Enter your email address and password 4 Click the Menu icon The extender menu di...
Страница 31: ...d Password Turn Password Protection Off and On Recover a Forgotten User Name or Password Automatically Adjust for Daylight Saving Time Manually Set the Extender Clock Back Up and Manage the Extender C...
Страница 32: ...k launch a web browser 2 In the address field of your browser enter www mywifiext net You are prompted to enter a user name and password 3 Enter your email address and password 4 Click the Menu icon T...
Страница 33: ...t the Password Off or Password On radio button 7 Click the SAVE button Your settings are saved Recover a Forgotten User Name or Password If you changed the password to access the extender and set up p...
Страница 34: ...k box 7 Click the SAVE button Your settings are saved Manually Set the Extender Clock To manually set the extender clock 1 On a computer or WiFi device that is connected to the extender network launch...
Страница 35: ...configuration settings 1 On a computer or WiFi device that is connected to the extender network launch a web browser 2 In the address field of your browser enter www mywifiext net You are prompted to...
Страница 36: ...enu icon The extender menu displays 5 Select Settings Other 6 Click the BROWSE button 7 Locate and select the previously saved backup file By default the name of the backup file is NETGEAR_WN300RPv2 c...
Страница 37: ...xtender and reset it For a list of factory default settings see Factory Default Settings on page 48 Use the Factory Reset Button CAUTION This process erases any settings that you configured in the ext...
Страница 38: ...dress field of your browser enter www mywifiext net You are prompted to enter a user name and password 3 Enter your email address and password 4 Click the Menu icon The extender menu displays 5 Select...
Страница 39: ...nter your email address and password 4 Click the Menu icon The extender menu displays 5 Select Firmware Update 6 Click the CHECK ONLINE button 7 If new firmware is available follow the onscreen prompt...
Страница 40: ...nder remotely 1 On a computer or WiFi device that is connected to the extender network launch a web browser 2 In the address field of your browser enter www mywifiext net You are prompted to enter a u...
Страница 41: ...and Troubleshooting This chapter covers the following topics FAQs Extend a Network with MAC Filtering or Access Control Lists Cannot Connect to the Extender Cannot Join a WiFi Network and Receive an E...
Страница 42: ...en and that you are using a valid IP address Relaunch the web browser and enter www mywifiext net in the address field Type your user name and password and click the LOG IN button If you are installin...
Страница 43: ...ntrol list ACL on your existing router additional setup is required for your computers and WiFi devices to access the Internet through the extender network When the WiFi device connects through the ex...
Страница 44: ...extender s MAC 2 address to your router s MAC filter table You must type 02 0F B5 first then type the last six digits of your MAC 2 address after For example if your MAC 2 address is C4 04 15 5F 20 AC...
Страница 45: ...is 1100 0110 the new hexadecimal value is C6 Binary numbers Hexadecimal Values 0000 0 0001 1 0010 2 0011 3 0100 4 0101 5 0110 6 0111 7 1000 8 1001 9 1010 A 1011 B 1100 C 1101 D 1110 E 1111 F d Replace...
Страница 46: ...hat you typed the network name passphrase or key incorrectly Use Smart Setup see Run Smart Setup Installation on page 17 to select a WiFi network and retype the passphrase or key The passphrase or key...
Страница 47: ...47 A A Factory Settings and Technical Specifications This appendix covers the following topics Factory Default Settings Technical and Environmental Specifications...
Страница 48: ...nvironmental factors including volume of network traffic building materials and construction and network overhead lower actual data throughput rate Country region Varies by region Operating mode 802 1...