350 East Plumeria DriveSan Jose, CA 95134 USA
May 2016202-11611-01
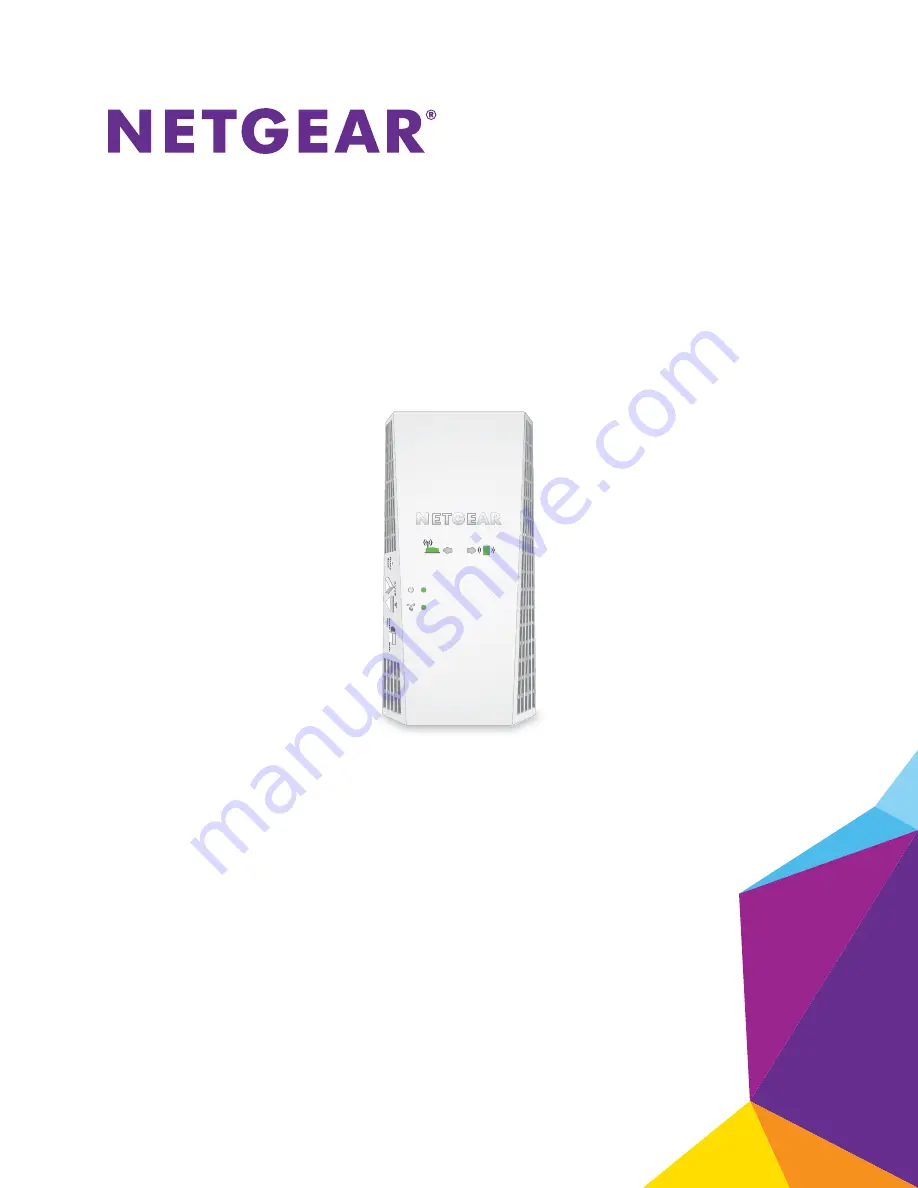
AC1900 WiFi Range Extender
Model E X6400User Manual
Страница 1: ...350 East Plumeria Drive San Jose CA 95134 USA May 2016 202 11611 01 AC1900 WiFi Range Extender Model EX6400 User Manual...
Страница 2: ...icial NETGEAR support resources Conformity For the current EU Declaration of Conformity visit http kb netgear com app answers detail a_id 11621 Compliance For regulatory compliance information visit h...
Страница 3: ...e WiFi Radios 23 Change the WiFi Speed 24 Use WPS to Add a Computer to the Extender s WiFi Network 25 Use WPS With the Push Button Method 26 Use WPS With the PIN Method 26 Deny Access to a WiFi Device...
Страница 4: ...ry Settings 39 Update the Firmware 40 Restart the Extender Remotely 41 Chapter 5 FAQs and Troubleshooting FAQs 44 Cannot Connect to the Extender 45 Cannot Join a WiFi Network 45 Appendix A Supplementa...
Страница 5: ...hen to Use Your Extender Support for the 802 11ac Networking Standard Note For more information about the topics covered in this manual visit the support website at netgear com support Note Firmware u...
Страница 6: ...ED Description Router Link LED This LED indicates the connection between the extender and the router or access point Solid green Best connection Solid amber Good connection Solid red Poor connection O...
Страница 7: ...int for WiFi devices The extender broadcasts its own WiFi network that WiFi devices can join In its role as an access point the extender performs tasks that WiFi routers do such as broadcasting its ne...
Страница 8: ...ed reliability and more range than older WiFi networking standards The extender is backward compatible with earlier WiFi standards However to get the benefits of 802 11ac your WiFi router must support...
Страница 9: ...9 2 2 Get Started This chapter covers the following topics Use the Extender in Extender Mode Use the Extender in Access Point Mode Access Extender Settings Run Smart Setup...
Страница 10: ...g the initial setup process 3 Plug the extender into an electrical outlet 4 Wait for the Power LED to light green If the Power LED does not light press the Power On Off button on the extender Connect...
Страница 11: ...l The location that you choose must be within the range of your existing WiFi router network 5 Plug the extender into an electrical outlet and wait for the Power LED to light green 6 Use the Router Li...
Страница 12: ...ile device closer to the extender until the Client Link LED turns solid green or amber Connect With the NETGEAR Installation Assistant To connect with the NETGEAR installation assistant 1 Connect your...
Страница 13: ...0 Connect your WiFi enabled computer or mobile device to the new extender WiFi network using the extender SSID and password that you created in Step 9 11 Make sure that your WiFi enabled computer or m...
Страница 14: ...he area with a poor router WiFi signal and return to the extender b Check the Client Link LED on the extender If the Client Link LED is solid green or amber your extender WiFi network reaches the area...
Страница 15: ...AN access The extender joins the LAN and creates a WiFi hotspot 4 On your WiFi enabled computer or mobile device open the WiFi connection manager and locate and connect to one of the following WiFi ex...
Страница 16: ...the connection with the WiFi enabled computer or mobile device is established the Client Link LED lights 2 Launch a web browser 3 Enter www mywifiext net in the address field of the browser A login wi...
Страница 17: ...A message displays when the extender connects to your existing router s WiFi network 9 Click the NEXT button The extender applies your settings to its WiFi network names and WiFi passwords During thi...
Страница 18: ...e WiFi Network Name Turn Off the SSID Broadcast to Create a Hidden Network Disable or Enable the WiFi Radios Change the WiFi Speed Use WPS to Add a Computer to the Extender s WiFi Network Deny Access...
Страница 19: ...opens 4 Enter your user name and password and click the LOG IN button The Status page displays 5 Select Settings Connected Devices Boost Your Video Streaming With FastLane Technology Get the most out...
Страница 20: ...and streaming support the 5 GHz band but your WiFi router supports the 2 4 GHz band To activate FastLane mode 1 On your WiFi enabled computer or mobile device open the WiFi connection manager and loc...
Страница 21: ...browser A login window opens 4 Enter your user name and password and click the LOG IN button The Status page displays 5 Select Settings Wireless Change the WiFi Network Name To change the WiFi networ...
Страница 22: ...computer tablet or smartphone You can turn off the SSID broadcast to create a hidden WiFi network To connect to a hidden network you must know its SSID and password and manually enter them To turn off...
Страница 23: ...cast signals in the 2 4 GHz and 5 GHz bands If you disable the WiFi radios then no one can connect with WiFi to the extender To enable or disable the WiFi radios 1 On your WiFi enabled computer or mob...
Страница 24: ...on Your settings are saved Change the WiFi Speed To change the WiFi speed 1 On your WiFi enabled computer or mobile device open the WiFi connection manager and locate and connect to the new extender W...
Страница 25: ...method the WiFi device that you are trying to connect must include a physical button or a software button If you use the PIN method you must know the PIN of the WiFi device that you are trying to con...
Страница 26: ...ss field of the browser A login window opens 4 Enter your user name and password and click the LOG IN button The Status page displays 5 Select Settings Do More Connect Devices WPS 6 Leave the Push But...
Страница 27: ...attempts to find the WiFi enabled computer or mobile device 9 Within four minutes go to the WiFi device and use its WPS software to join the WiFi network 10 To verify that the WiFi device is connecte...
Страница 28: ...er WiFi network 2 Launch a web browser 3 Enter www mywifiext net in the address field of the browser A login window opens 4 Enter your user name and password and click the LOG IN button The Status pag...
Страница 29: ...d locate and connect to the new extender WiFi network 2 Launch a web browser 3 Enter www mywifiext net in the address field of the browser A login window opens 4 Enter your user name and password and...
Страница 30: ...tton The Status page displays 5 Select Settings Wireless Settings The WiFi Settings page displays 6 Scroll down and click the IP Address heading 7 In the Device Name field type a name 8 Click the SAVE...
Страница 31: ...address of the WiFi device that is shown on the router is translated to another MAC address If your router s MAC filter WiFi access control or ACL is enabled the WiFi device connects to the extender b...
Страница 32: ...e displays 5 Select Settings Connected Devices The Connected Devices page displays the MAC addresses and virtual MAC addresses for computers and WiFi devices that are connected to the extender network...
Страница 33: ...and Password Turn Password Protection Off and On Recover a Forgotten User Name or Password Automatically Adjust for Daylight Saving Time Manually Set the Extender Clock Back Up and Restore the Extend...
Страница 34: ...and locate and connect to the new extender WiFi network 2 Launch a web browser 3 Enter www mywifiext net in the address field of the browser A login window opens 4 Enter your user name and password a...
Страница 35: ...VE button Your settings are saved Recover a Forgotten User Name or Password If you changed the password to access the extender and set up password recovery you can recover your password if you lose it...
Страница 36: ...ings time check box 7 Click the SAVE button Your settings are saved Manually Set the Extender Clock To manually set the extender clock 1 On your WiFi enabled computer or mobile device open the WiFi co...
Страница 37: ...the extender configuration settings 1 On your WiFi enabled computer or mobile device open the WiFi connection manager and locate and connect to the new extender WiFi network 2 Launch a web browser 3 E...
Страница 38: ...f the browser A login window opens 4 Enter your user name and password and click the LOG IN button The Status page displays 5 Select Settings Other 6 Click the BROWSE button 7 Locate and select the pr...
Страница 39: ...e the button All the LEDs turn off for about 3 seconds The Power LED lights solid amber for about 30 seconds The Power LED lights solid green The extender returns to its factory settings When you plug...
Страница 40: ...arts This process takes about one minute Update the Firmware Unless you changed the settings on the Firmware Update page previously the extender is set up to check for new firmware automatically at lo...
Страница 41: ...r until it finishes restarting 10 Click the UPLOAD button The firmware update starts and the extender restarts The firmware update process takes about two minutes Restart the Extender Remotely You can...
Страница 42: ...Maintain the Extender 42 AC1900 WiFi Range Extender 5 Select Settings Other Settings 6 Click the RESTART button 7 When prompted click the Yes button to confirm The extender restarts which takes about...
Страница 43: ...43 5 5 FAQs and Troubleshooting This chapter covers the following topics FAQs Cannot Connect to the Extender Cannot Join a WiFi Network...
Страница 44: ...ation about access point mode see Use the Extender in Access Point Mode on page 15 I forgot my login user name and password What can I do In the login window click the Username Password Help link to a...
Страница 45: ...f the extender does not connect to the network that you select the cause might be one of the following It is possible that you typed the network name passphrase or key incorrectly Use Smart Setup see...
Страница 46: ...46 A A Supplemental Information This appendix includes the following sections Factory Default Settings Technical Specifications...
Страница 47: ...tual throughput will vary Network conditions and environmental factors including volume of network traffic building materials and construction and network overhead lower actual data throughput rate Co...
Страница 48: ...140 F 0 to 40 C Operating humidity 90 maximum relative humidity noncondensing Electromagnetic emissions Meets requirements of FCC Part 15 Class B Interface Local 10BASE T 100 1000BASE Tx RJ 45 802 11a...