Model EA201 Network Card Installation Guide
This guide provides you with instructions for installing the Windows 95 Network Driver. All
versions of Windows 95 might not respond with the same screens. Therefore, windows that are
different than those shown in these instructions might open but prompt you for the same
information, and windows might open in a different order than the order of the steps in these
instructions.
Before you proceed with the installation steps, decide on a name for your network and for
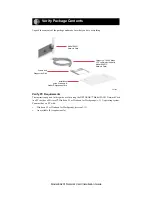
each PC (each name must be only one word). You also need to have the Windows 95 CD-ROM
and the EA201 Drivers and Diagnostics Disk ready to use in the installation process.
1.
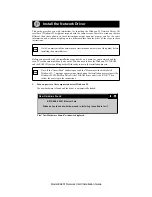
Turn on power to the computer and start Windows 95.
The new hardware is found and the driver is automatically loaded.
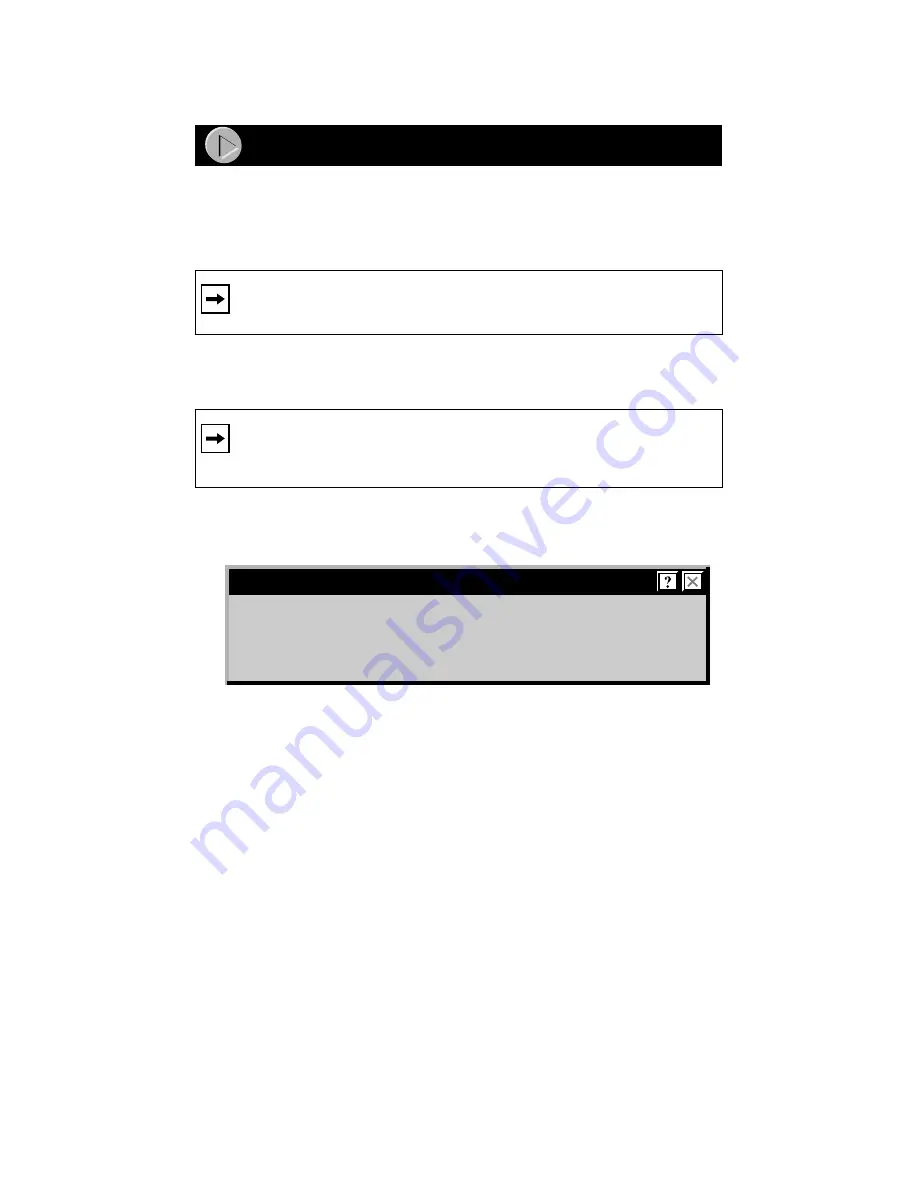
The “New Hardware Found” window is displayed.
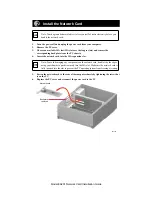
Note: You must install the network card (instructions on other side of this guide) before
installing the network driver.
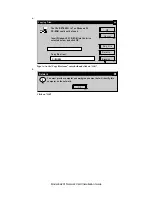
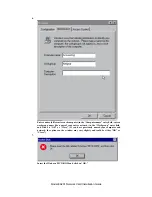
Note: If the “Insert Disk” window opens and the “Please insert the disk labeled
Windows 95...” message appears at any time during the installation process, insert the
Windows 95 CD-ROM in Drive D (the CD-ROM drive) and click on “OK.” Then
follow the next step in the instructions.
Install the Network Driver
New Hardware Found
NETGEAR EA201 Ethernet Card
Windows has found new hardware and is installing the software for it.
Install the Network Driver


