2 of 4
Generic VoIP Setup Guide
© NetComm Wireless 2017
5
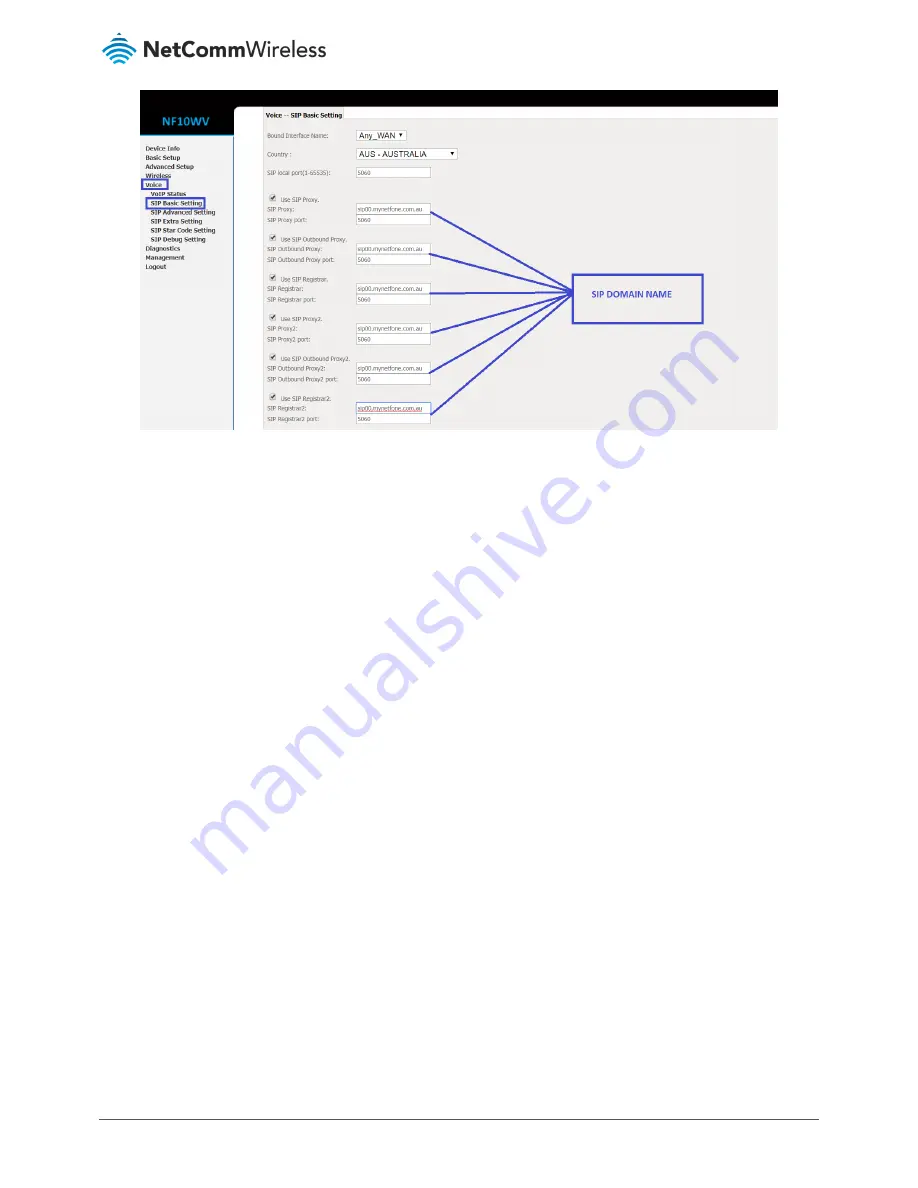
Please select the correct
Bound Interface Name
from your Internet WAN Service Connection or you can select
Any_WAN
6
Please note for
SIP Domain Name
: Please leave it blank unless required by your VoIP Provider.
7
Tick
Use SIP Proxy for SIP Account 1
,
Use SIP Outbound Proxy for SIP Account 1
and
Use SIP Registrar for SIP Account
1
and fill them with the SIP Domain name as given by your VoIP Provider.
8
If you have 2nd VoIP account then please also tick
Use SIP Proxy for SIP Account 2
,
Use SIP Outbound Proxy for SIP
Account 2
and
Use SIP Registrar for SIP Account 2
and fill them with the SIP Domain name as given by your VoIP
Provider; otherwise don't tick them.
9
Tick
Account Enabled 1
if you only use 1 VoIP account and tick
Account Enabled 2
as well if you use 2 VoIP accounts.
10
Type in your
Authentication Name
,
Cid Name
and
Cid Number
by using your VoIP Phone number and use the same
number for
Authentication name
as well or use the correct VoIP username if it's different from your phone number.
11
Type in your
VoIP password
as given to you by your VoIP Service Provider.
12
Click the
Apply
button.


