Page 8
wind and rain. This means that you could face it to the North East or South East.
The Nest Box should be fitted in a position where it is close enough to the Re-
ceiver so that you get a good picture. Although the nominal range is 100 metres,
the actual range depends on a number of factors, particularly including obstacles
close to and in between the Nest Box and the Receiver, such as
walls and trees. If you are in any doubt as to the position, it
may be better to fix the Nest Box temporarily until you have
checked the reception.
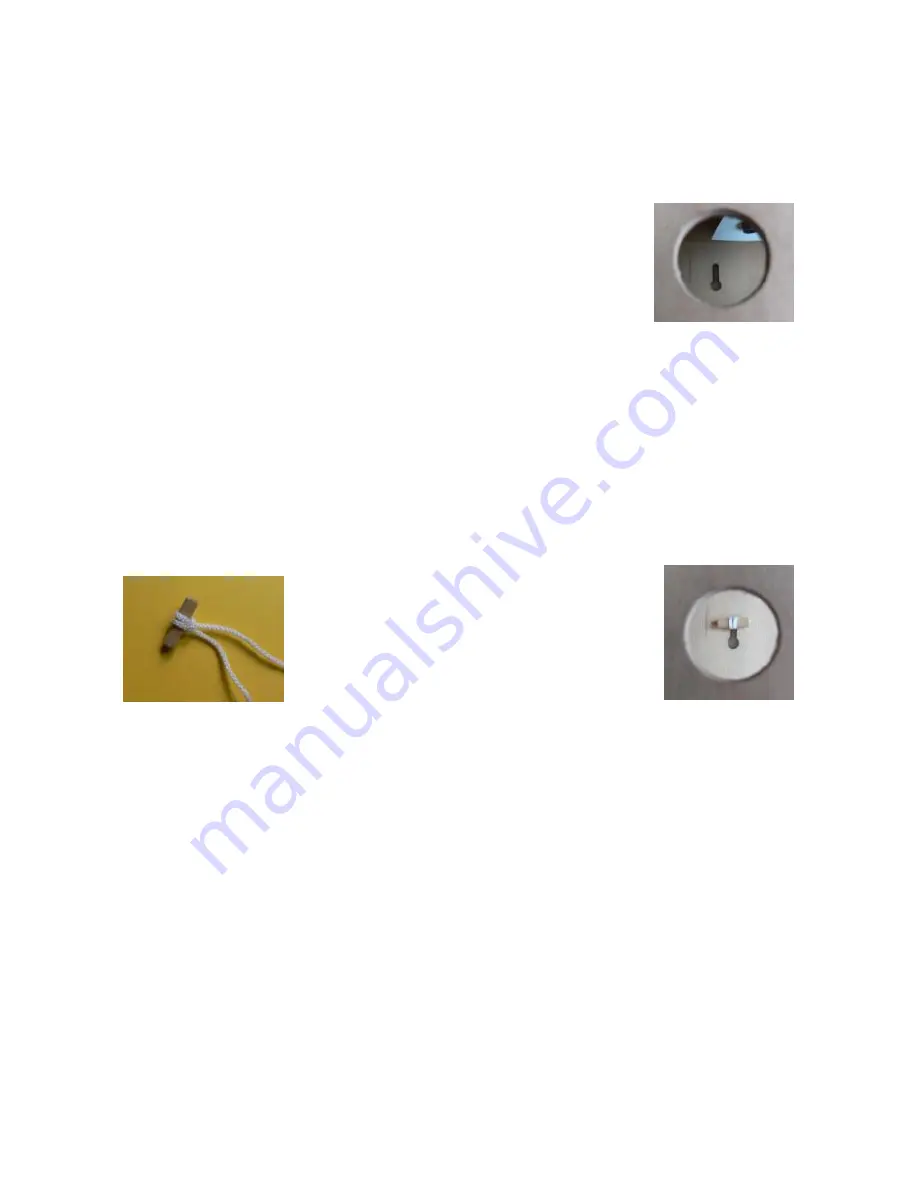
The Nest Box is designed to be fitted in most situations with
just 1 screw or nail, using the concealed keyhole in the back of
the box. Fit the screw into the tree or wall first, and then offer up the box onto
the screw so that the screw head goes through the lower part of the keyhole.
Then slide the box down so that the box is securely fitted. The keyhole is posi-
tioned opposite the entrance hole into the box so that it is easy to see through for
fitting, and the screw can be tightened once the box is fitted. If you wish to se-
cure the box with a second nail or screw, a hole in the base/back of the box has
also been provided, although in most situations this will not be needed.
Thin rope, cord, string or wire can also be used to fit the box. To do so, pass a
loop of string etc through the keyhole, and
attach it to a small twig, nail etc. Position
this horizontally at the top of the keyhole.
Tie the cord round the tree.
Position the box away from other trees,
bushes, branches etc which may make it
easier for predators. Try to provide a clear flight path into the entrance hole. It is
recommended that you do not place it near to a bird table or other place where
you feed the birds, because the constant traffic of birds will deter nesting.
Run the black cable down the tree or wall, to the Battery Box, which should be
fitted in a convenient location for changing batteries and reaching the control
switch.
The Battery Box can be mounted onto a wall or tree etc using just 1 nail or screw
through the mounting bracket at the rear of the Battery Box. If preferred, it can
alternatively be mounted using up to 4 screws through the concealed mounting
holes which are visible when the front of the box is removed.
Fit the solar panel in the sunniest location you can, angled to face the sun as far as
possible. You don’t require direct sunlight to charge the batteries but it helps. For
fixing the panel, you will either have been supplied with a metal bracket, or large
re-usable cable ties to go through the holes drilled in the sides of the panel.
Page 6


