13
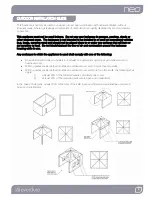
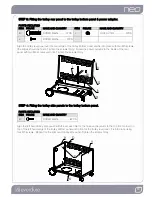
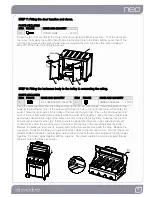
Align the trolley rear panel over the rear edge of the trolley bottom panel and fix into place with two M5 screws
(the edges should be flush). Tighten the screws firmly. Screw the power adaptor to the inside of the rear
panel with two M4 screws and nuts. Tighten the screws firmly.
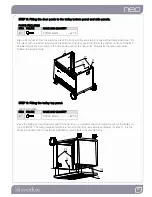
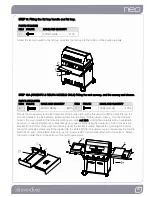
Align the left hand trolley side panel (with the access hole for the hose and regulator to the top front corner) on
top of the left hand edge of the trolley bottom panel and in front of the trolley rear panel. Fix into place using
four M5 screws. Repeat for the right hand trolley side panel. Tighten the screws firmly.
STEP 3: Fitting the trolley rear panel to the trolley bottom panel & power adaptor.
PARTS REQUIRED
ITEM FIGURE
NAME AND QUANTITY
ITEM
FIGURE
NAME AND QUANTITY
B
SCREW M5X15…..…..2PCS L
LOCK NUT M4……....…..2PCS
K
SCREW M4X15…….....2PCS
STEP 4: Fitting the trolley side panels to the trolley bottom panel.
PARTS REQUIRED
ITEM FIGURE
NAME AND QUANTITY
B
SCREW M5X15…..............8PCS
Содержание argento esee
Страница 18: ...18 Fully Assembled Product Argento...
Страница 19: ...19 Fully Assembled Product Figura...


