NVHMI SERIES User Manual
www.nemavision-ipc.com
83
6.
“Touch this screen to start its calibration” appears on one of the screens. Touch the
screen.
7.
“Touch the red square” messages appear. Touch the red squares in sequence.
8. Continue calibration for each monitor by clicking
Standard Calibration
and touching
the red squares.
NOTES:
1. If you use a single VGA output for multiple monitors, please do not use the
Multiple Monitor
function. Just follow the regular procedure for calibration on each
of your desktop monitors.
2. The Rotating function is disabled if you use the Multiple Monitor function.
3. If you change the resolution of display or screen address, you have to redo
Map
Touch Screens,
so the system understands where the displays are.
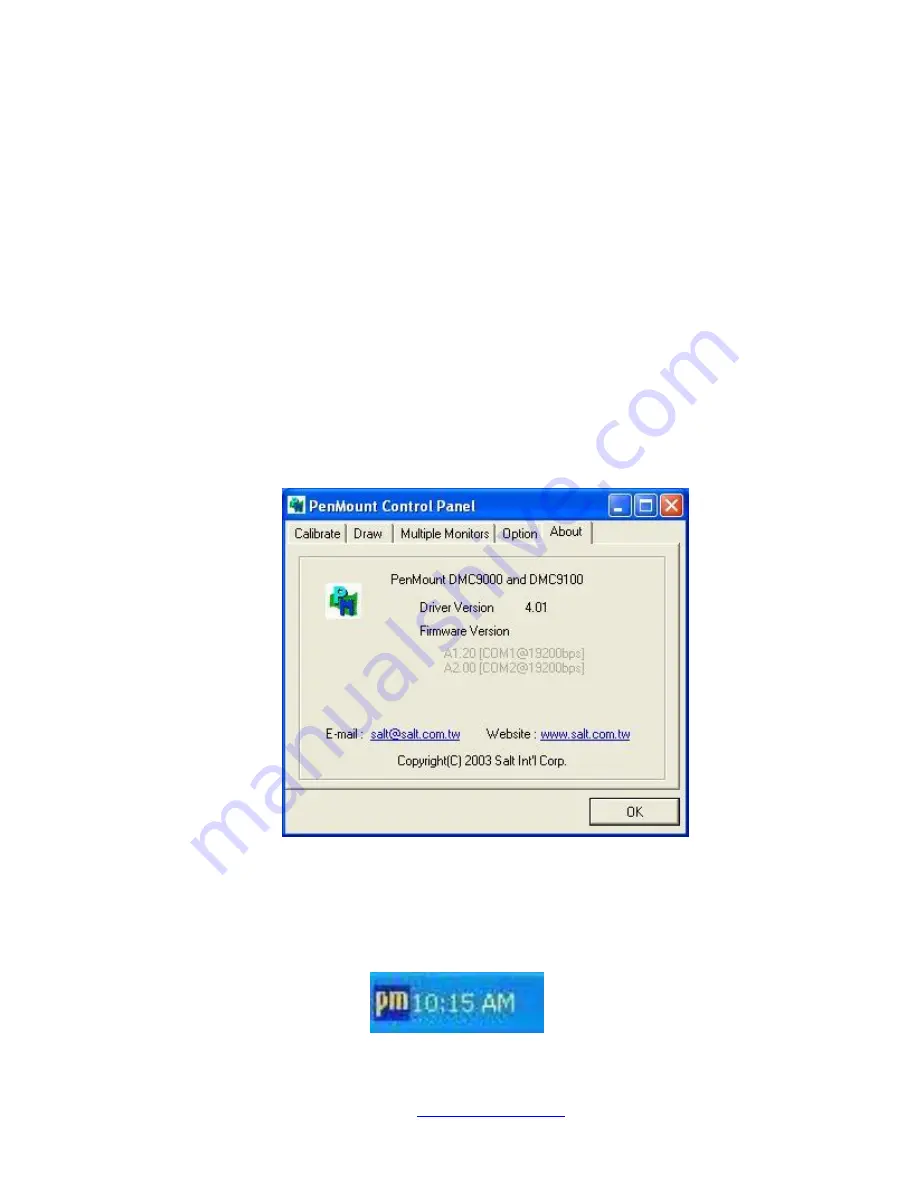
About
This panel displays information about the PenMount controller and this driver version.
PenMount Monitor Menu Icon
The PenMount monitor icon (PM) appears in the menu bar of Windows 2000/XP system when you
turn on PenMount Monitor in PenMount Utilities.
Содержание NVHMI-707
Страница 9: ...NVHMI SERIES User Manual www nemavision ipc com 9 Figure 1 4 Dimensions of NVHMI 715...
Страница 17: ...NVHMI SERIES User Manual www nemavision ipc com 17 units mm Figure 2 1 Mainboard Dimensions...
Страница 27: ...NVHMI SERIES User Manual www nemavision ipc com 27 3P3V_S5 57 58 3P3V_S5 12V 12V_S0 59 60 12V_S0 12V...
Страница 65: ...NVHMI SERIES User Manual www nemavision ipc com 65 Step 2 Select Resistive Touch Step 3 Click Next to continue...
Страница 68: ...NVHMI SERIES User Manual www nemavision ipc com 68 Step 8 Click Finish to complete installation...
Страница 79: ...NVHMI SERIES User Manual www nemavision ipc com 79 Setting...
Страница 91: ...NVHMI SERIES User Manual www nemavision ipc com 91 Hardware Saturn Hardware Configuration...


