


www.nektartech.com Using Nektar Panorama P-Series with Bitwig Studio 3
The Panorama Bitwig Studio Integration is compatible with Bitwig Studio and Bitwig Studio
8-Track. The instructions assume you have one of these programs installed running on either
Windows, Mac OS X, or Linux.
Installing Panorama P-series Driver (Windows only)
Installing the Panorama driver is required to get Panorama up and running with Reason. If you
have previously completed this part, jump straight to Firmware Update. To install the driver:
• Run the Panorama_P_1.2.3.5 installer (part of the zip file you downloaded with this guide) and
follow the on screen instructions until complete. This installs the Panorama driver.
Panorama P-series Firmware Update - Windows
1. Connect Panorama P-series to your computer via USB.
2. With Panorama P-series switched off, press and hold [Toggle/View]+[Mixer] while switching
the unit on (P1 needs to be plugged in while holding the buttons). The display will be white
when the unit is on.
3. Locate the downloaded package that this guide came with
and make sure it’s unzipped. The nkupdate app is in the
“Firmware” folder.
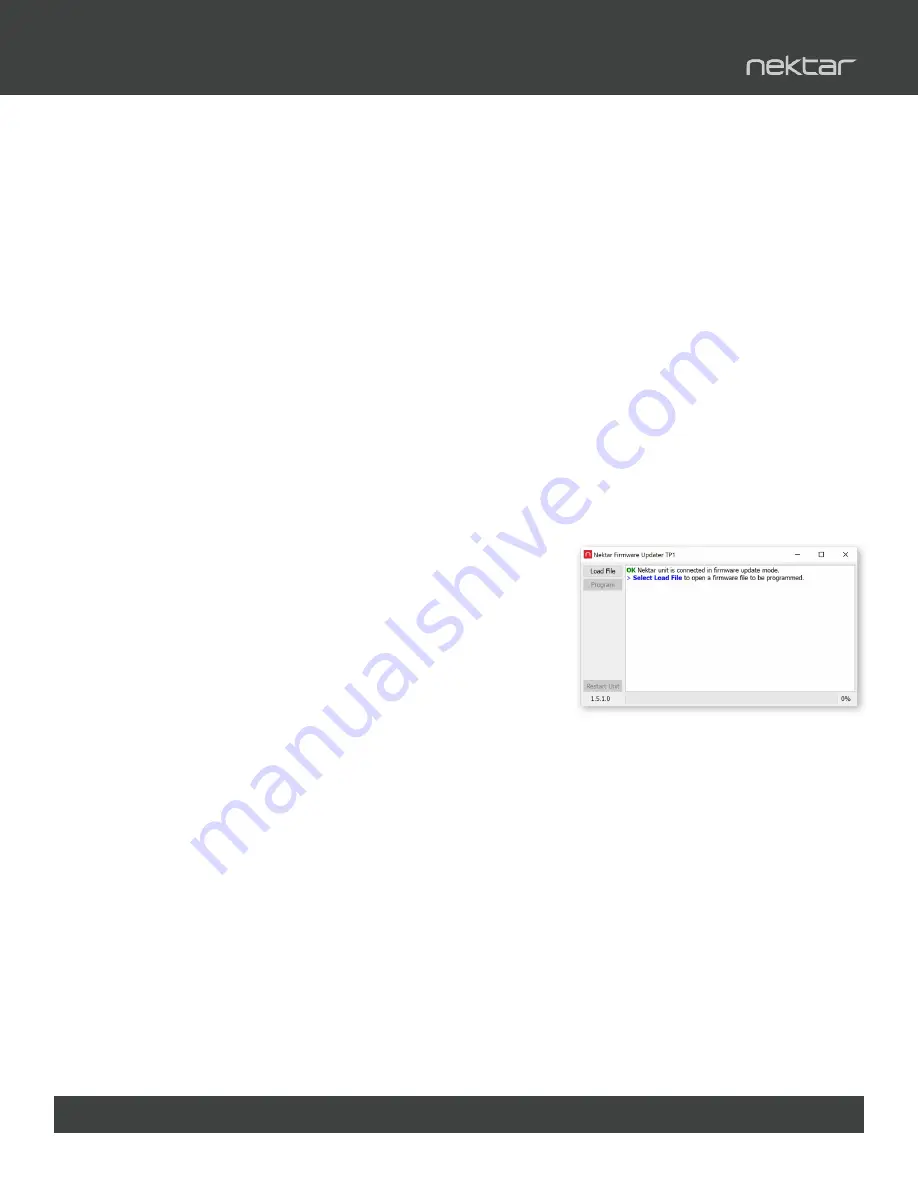
4. Launch the nkupdate application. Once launched, it should
look like the left image.
5. Follow the nkupdate on-screen instructions to load and
update Panorama P-series firmware. The firmware file should be selectable after clicking the
[Load File] button.* Close nkupdate app when complete
6. Reset Panorama to it’s default settings (note this will erase any internal preset or map
settings**) by switching the unit off and press [patch-]+[Patch+] while powering on again.
Keep holding the buttons until you see the fader display. On P1, press the [Cycle]+[Record]
buttons and then press the [Patch-] + [Patch+] buttons within the 2 seconds countdown.
*Note: If the Load button is not active, close nkupdate and open it again.
*Note: Firmware update can only be done on a Windows or Mac system.
**
Reset Panorama to default settings: If you want to keep your user memory banks; please
do a backup, and restore after resetting.
Bitwig Studio Integration Setup and Configuration
2
Using Panorama with Bitwig Studio 2.0 www.nektartech.com
Bitwig Studio Integration Setup and Configuration
The Panorama Bitwig Studio Integration is compatible with Bitwig Studio and Bitwig 8-Track 2.0 and above. The instructions
assume you have one of these programs installed running on either Windows or Mac OS X. If you are looking to run Bitwig
Studio on Linux, please get in touch with our support.
Installing Panorama P-series Driver
Installing the Panorama driver is required to get Panorama up and running with Reason. If you have previously completed
this part, jump straight to Firmware Update. To install the driver:
•
Run the Panorama_P_1.2.3.5 installer (part of the zip file you downloaded with this guide) and follow the onscreen
instructions until complete. This installs the Panorama driver.
Panorama P-series Firmware Update
1. Connect Panorama P-series to your computer via USB.
2. With Panorama P-series switched off, press and hold [Toggle/View]+[Mixer] while switching the unit on (P1 needs to be plugged in
while holding the buttons). The display will be white when the unit is on.
3. Locate the downloaded package that this guide came with and make sure it’s unzipped. The nkupdate app is in the “Firmware”
folder.
4. Launch the nkupdate application. Once launched, it should look like the left image.
5. Follow the nkupdate on-screen instructions to load and update Panorama P-series
firmware. The firmware file should be selectable after clicking the [Load File]
button.* Close nkupdate app when complete
6. Reset Panorama to it's default settings (note this will erase any internal preset or map
settings**) by switching the unit off and press [patch-]+[Patch+] while powering on
again. Keep holding the buttons until you see the fader display. On P1, press the
[Cycle]+[Record] buttons and then press the [Patch-] + [Patch+] buttons within the 2
seconds countdown.
*Note:
If the Load button is not active, close nkupdate and open it again.
** Reset Panorama to default settings: If you want to keep your user memory banks; please do a
backup
, and restore after resetting.
Nektar Bitwig Integration Setup
1. Make sure Bitwig is already installed on your computer.
2. Locate the Panorama_Bitwig_Support installer included with this package and run it.
3. With your Panorama’s firmware updated and the unit switched on, launch Bitwig. Panorama should be automatically
detected and ready for use.
Troubleshooting
If Panorama is not detected, check and complete step 6—’Reset Panorama to Default Settings’ as this may be the reason.
Next check that the Panorama control surface is available in the Bitwig Settings/Controllers menu, when you click Add and
select Nektar.
If all is ok and Panorama is still not detected, restart your computer.


