background image

8   NEC Versa FX Battery Packs

6. 

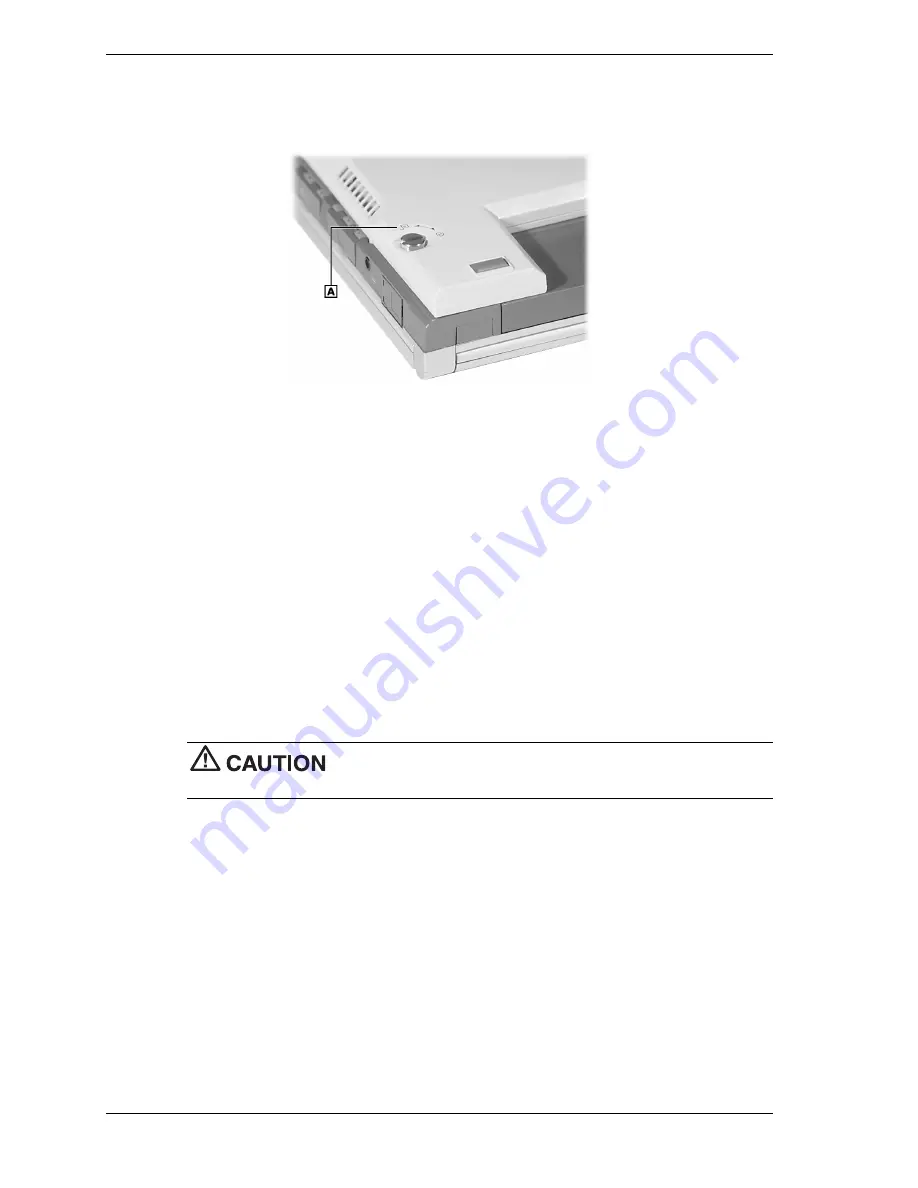
Use a coin or a screwdriver to turn the battery screws 90° as marked to secure the battery to
the computer (see the following figure).

Securing the coin-type screws

A – Turn Screws as Marked on Battery

7. 

Turn over the system.

8. 

Fully charge the new battery the first time you charge it (see the section, “Charging the
Battery”). Also see the section, “Battery Precautions” for important safety information.

Charging the Battery

Charge the main battery and secondary battery by simply connecting your NEC system to an
AC power source. To monitor the charging activity, observe the battery charging LED on the
front of the system. The battery charging LED lights as follows:

!


Lights amber when the primary battery is charging.

!


Blinks amber if the primary battery encounters an error while charging.

!


Lights green when the secondary battery is charging.

!


Blinks green if the secondary battery encounters an error while charging.

During charging, keep the environmental temperature between 32°F

and 104°F (0°C to 40°C).

For directions on getting a detailed battery status, see the section, “Determining Battery Status.”

Determining Battery Status

Your NEC Versa system provides tools to help you keep track of the main and secondary battery
power level. If your system is configured (default setting) to display the power icon on the
taskbar, an electrical plug is displayed when the system is connected to an AC power source or a
battery icon displays when the system is not connected to an AC power source.

Use the system’s power meter to determine battery status. Access the system’s power meter in
the following ways:

!


Move the cursor over the power icon on the taskbar to display the remaining battery
power for the system’s main battery.

Содержание OP-570-72501

Страница 1: ...on on handling installing removing and charging your NEC battery Standard Main Battery Extended Life Main Battery Maximum Life Secondary Battery To prevent accidental battery ignition or explosion adhere to the following Keep the battery away from extreme heat Keep metal objects away from the battery connectors to prevent a short circuit Make sure the battery is properly installed in the battery b...

Страница 2: ...Life main battery remove the existing main battery Follow the procedures in this section to remove the existing battery from your system If your system also has a secondary battery remove it before removing the main battery Note If your system has a secondary life battery you must remove it before removing the main battery In this case follow the procedure in the section Removing an Existing Secon...

Страница 3: ...ting the battery bay release latch A Main Battery B Battery Release Latch 4 Continue to hold the battery release latch as you slide the battery out of the system Removing the main battery A Battery Bay Connectors C Main Battery B Battery Bay Release Latch 5 If you discard the old battery see the section Battery Disposal ...

Страница 4: ...until securely locked into place See the figure that corresponds to your new battery Inserting the Standard main battery pack A Battery Bay Connectors C Alignment Grooves B Battery Bay Release Latch D Standard Main Battery Inserting the Extended Life main battery pack A Battery Bay Connectors C Alignment Grooves B Battery Bay Release Latch D Extended Life Main Battery 5 Turn over the system 6 Take...

Страница 5: ...ery pack Maximum Life secondary battery A Maximum Life Secondary Battery C Coin Type Screws B Connector D Clips Removing an Existing Secondary Battery If your system has an existing secondary battery you need to remove it Remove the secondary battery as follows 1 Save your files exit Windows and turn off system power Always power off the system before removing the secondary battery If the system i...

Страница 6: ...other edge of the battery to the computer Once the battery is angled up enough the clips disengage from their slots Lifting the edge of the secondary battery A Clips Hidden C Top of the Computer B Existing Secondary Battery D Main Battery 5 Lift the battery off the system 6 If you are not adding another secondary battery at this time slide the connector door closed 7 If you discard the old battery...

Страница 7: ...secondary battery 2 Slide open the connector door on the underside of the computer 3 Hook the battery clips into the matching slots in the computer Keep the other edge of the battery raised 4 Make sure the screws are turned so they can be inserted in their slots on the computer 5 Lower the battery onto the computer and then press it firmly to seat the battery connector in the computer Aligning the...

Страница 8: ...battery encounters an error while charging Lights green when the secondary battery is charging Blinks green if the secondary battery encounters an error while charging During charging keep the environmental temperature between 32 F and 104 F 0 C to 40 C For directions on getting a detailed battery status see the section Determining Battery Status Determining Battery Status Your NEC Versa system pr...

Страница 9: ...e ovens and high voltage containers Temperatures over 140º F 60ºC may cause damage Do not drop or impact the battery Do not disassemble the battery Do not solder the battery Do not puncture the battery Do not use a battery that appears damaged or deformed has any rust on its casing is discolored overheats or emits a foul odor Keep the battery dry and away from water Keep metal objects away from ba...

Страница 10: ...10 NEC Versa FX Battery Packs NEC Versa FX Battery Packs 819 200627 001 12 99 ...

Отзывы: