background image


20 


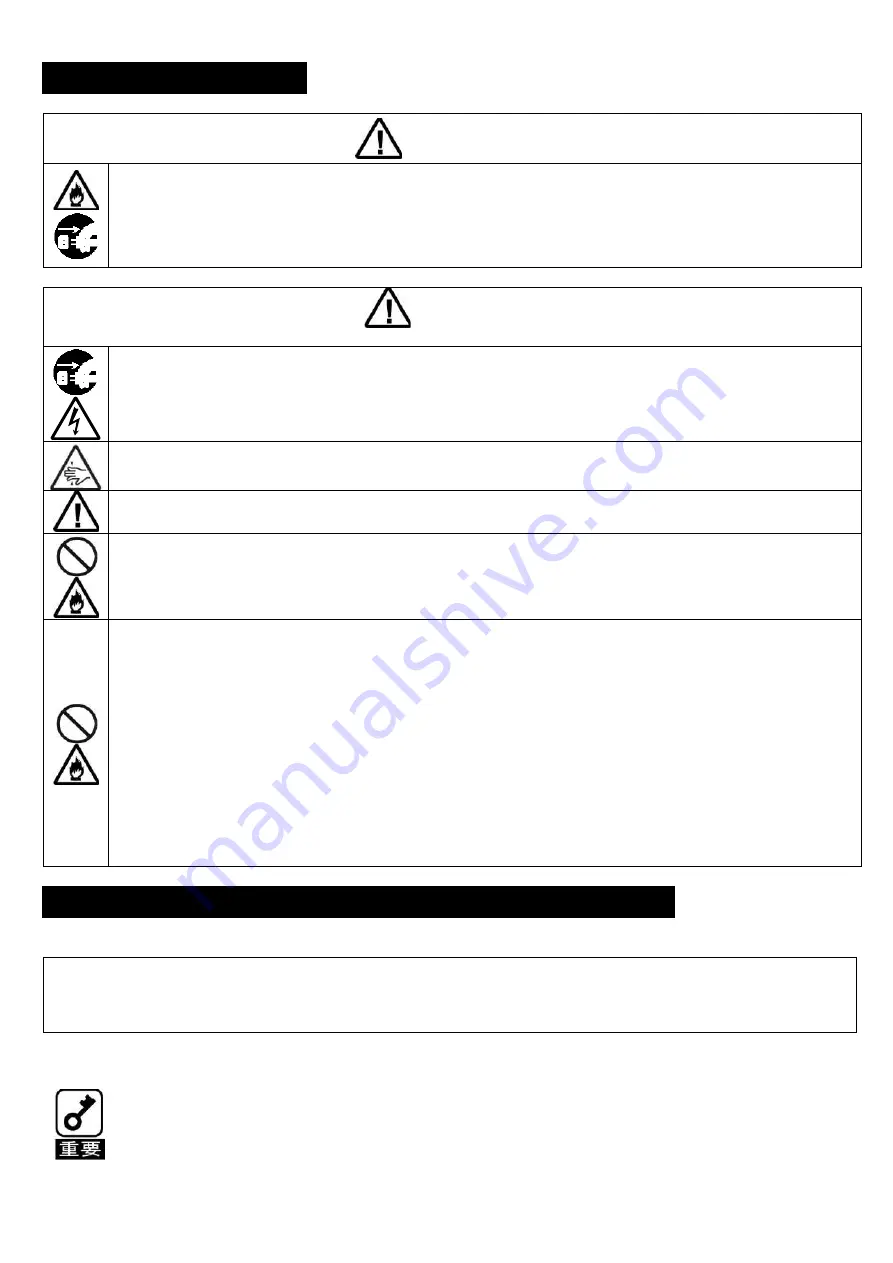
Observe the following notes to use the product safely. 


WARNING


If smoke, odor, or noise is present, immediately turn off the server and disconnect the power plug from the 
outlet, then contact the store where you purchased the product or your maintenance service company. Using 
the server in such conditions may cause a fire. 


CAUTION


Make sure to refer to the User

s Guide provided with your server when installing this product into your server. 


Prior to installing or removing an option, make sure to unplug all system AC power cords from their 
electrical outlets.    Remove all cables connecting the system with external devices. Failure to disconnect 
the power cords before opening the system can result in personal injury and equipment damage. 


Note sufficiently that your fingers may not be caught or cut by a mechanical part at inside of server. 


Note sufficiently that your fingers may not be caught or cut by a mechanical part at inside of server. 


Be sure to install the product on a server specified in this manual. Installing the product on any other server 
than  specified  may  cause  malfunction  of  the  server  or  a  fire  due  to  insufficient  cooling  effect  in  the  target 
server. 


Do not install or store the server in the following places or any place that does not satisfy the environmental 
conditions specified in this manual. Failure to follow this instruction may cause a fire or malfunction of the 
server. 

Places near chemicals or chemical substances 

Places exposed to direct sunlight 

Places where the air includes much humidity 

Places of uneven or slanting floor 

Places with drastic changes in temperature 

Place where vibration or impact may be generated 

Places with corrosive gas (sulfur dioxide, hydrogen sulfide, nitrogen dioxide, chlorine, ammonia, ozone, etc.) 

in presence 

Places where the air includes components accelerating corrosion (ex. sulfur, sodium chloride) or conductive 

metals. 


Be  sure  to  observe  the  following  precautions  for  the  proper  functioning  of  the  product.  Ignoring  the  precautions  may 
cause server malfunction or failure. 

Do not pile up the products. 

Pay attention not to hit the product against a solid object during installation, removal, or storage. 

Do not drop the product even when it is packaged. Doing so may cause damage to the product. 


< Notations used in this User's Guide > 
The following symbol is used in this document. It has the following meaning. 


Indicates items that are mandatory or require attention when using the product. 

Handling precautions (for proper operations)


Safety Precautions


Содержание N8146-59

Страница 1: ...1 N8146 40 59 EXPRESSBUILDER DVD ROM...

Страница 2: ...2 OFF...

Страница 3: ...1 0 Express5800 GT110f S 13 T110f S 1 0 Express5800 T110f S 14 NS100Td 1 0 iStorage NS100Td 15 GT110f S 1 0 Express5800 GT110f S 16 T110f S 1 0 Express5800 T110f S 17 GT110g S 0 1 Express5800 GT110g...

Страница 4: ...0f S NEC Express5800 T110f S T110f S HDD DVD NS100Td GT110f S T110f S 21 NEC Express5800 GT110f S GT110f S NEC Express5800 T110g S T110g S NEC Express5800 GT110g S GT110g S GT110g S T110g S NEC Expres...

Страница 5: ...5 22 23 25 24...

Страница 6: ...6 3 98 0 mm X 415 7 mm X 347 1 mm 200 0 mm X 423 0 mm X 347 1 mm 1 2...

Страница 7: ...7 3 2 5 HDD HDD 2 5 HDD...

Страница 8: ...8 4 2 5 USB...

Страница 9: ...9 6 USB S1 LED S2 7 S1 S2...

Страница 10: ...10 8...

Страница 11: ...11 2 5 HDD HDD 2 5 HDD HDD...

Страница 12: ...12 3 5 8 1 8 2 HDD 3 5 HDD...

Страница 13: ...13 8 3 8 4 HDD...

Страница 14: ...14 9 10 GT110f S T110f S NS100Td GT110g S T110g S NS100Te GT110f S T110f S GT110g S T110g S...

Страница 15: ...15 4 6 1 N8147 23 1 2 2 1...

Страница 16: ...16 2 2 2 3 11...

Страница 17: ...17 5 CD ROM User s Guide...

Страница 18: ...18 1 2 3 4 5 4 856 180193 040 02 3...

Страница 19: ...erstand the meaning of symbols before reading this manual In this User s Guide WARNING or CAUTION is used to indicate a degree of danger These terms are defined as follows Precautions and notices agai...

Страница 20: ...in the target server Do not install or store the server in the following places or any place that does not satisfy the environmental conditions specified in this manual Failure to follow this instruct...

Страница 21: ...l cover 1 Installed on Item No 1 7 DVD cover 1 Installed on Item No 1 8 Filter frame 1 Installed on Item No 1 9 Dust proof filter 1 Installed on Item No 1 10 Key 2 11 M3 Screw 1 12 Nameplate GT110f S...

Страница 22: ...T110g S NEC Express5800 T110g S NEC iStorage NS100Te Dust proof bezel Bezel base HDD cover Device cover Cylinder lock DVD cover Bezel cover Filter frame Dust proof filter Key M3 screw Nameplate GT110f...

Страница 23: ...23 User s Guide Filter Monitor CD ROM Sensor Cable Filter Replacement Sensor 24 23 22 21...

Страница 24: ...alled 98 0 mm Width 415 7 mm Depth 347 1 mm Height With air duct stabilizers and projection excluded 200 0 mm Width 423 0 mm Depth 347 1 mm Height With air duct stabilizers and projection included 1 P...

Страница 25: ...then remove the front bezel When 2 5 inch Hot Plug Drive Cage Kit is implemented open the door of front bezel and press the stopper then remove the front bezel Remove a screw Pull the left side of the...

Страница 26: ...See the figure below 5 Pull in the sensor cable from the gap between the optical disk drive and front USB port on the front of the server See the figure below Dust proof Filter Inside of the bezel Ins...

Страница 27: ...ont USB port S1 and the right side of the LED S2 the sensor cable See the figure below 7 The Sensor cable connect to the connector on the motherboard to match the orientation of the arrow Air cooling...

Страница 28: ...bezel in reverse order of removal procedure of front bezel Insert two tabs at the right of dust proof bezel Fix a screw Connector for the Sensor cable Caution Be careful to do not pinch the sensor ca...

Страница 29: ...age Kit is implemented remove the door from the drive cage kit then install the dust proof front bezel When 2 5 inch Hot Plug Drive Cage Kit is implemented remove the door Open the door and remove the...

Страница 30: ...over from the dust proof bezel then install the dust proof front bezel 8 1 Push the hook of the bezel cover then remove the bezel cover 8 2 Open the key then remove the HDD cover When 3 5 type device...

Страница 31: ...31 8 3 Push the hook of the device cover then remove the device cover 8 4 Install the HDD cover and lock the key then install the bezel cover Device cover...

Страница 32: ...er in reverse order of removal procedure of side cover 10 Stick the nameplate on the bezel shown by the slant lines in the figure below Air cooling model T110f S T110g S Silver Water cooling model T11...

Страница 33: ...r replacement If the server is operated for long time without replacing the filter a malfunction may be generated due to the temperature rise of the device caused by clogged 1 Push the hook of the bez...

Страница 34: ...eplace of the dust proof filter then insert the dust proof filter and filter frame 2 3 Install the bezel cover to the server chassis Engage the end faces of filter and filter frame with these claws 11...

Страница 35: ...Filter Monitor Software Install Regarding the installation procedure of the Filter Monitor Software refer to Filter Monitor Software Instruction Guide in the User s Guide folder of the attached CD ROM...

Страница 36: ...on 4 All efforts have been made to ensure the accuracy of all information in this User s Guide If you notice any part unclear incorrect or omitted in this User s Guide contact the sales agent where yo...

Отзывы: