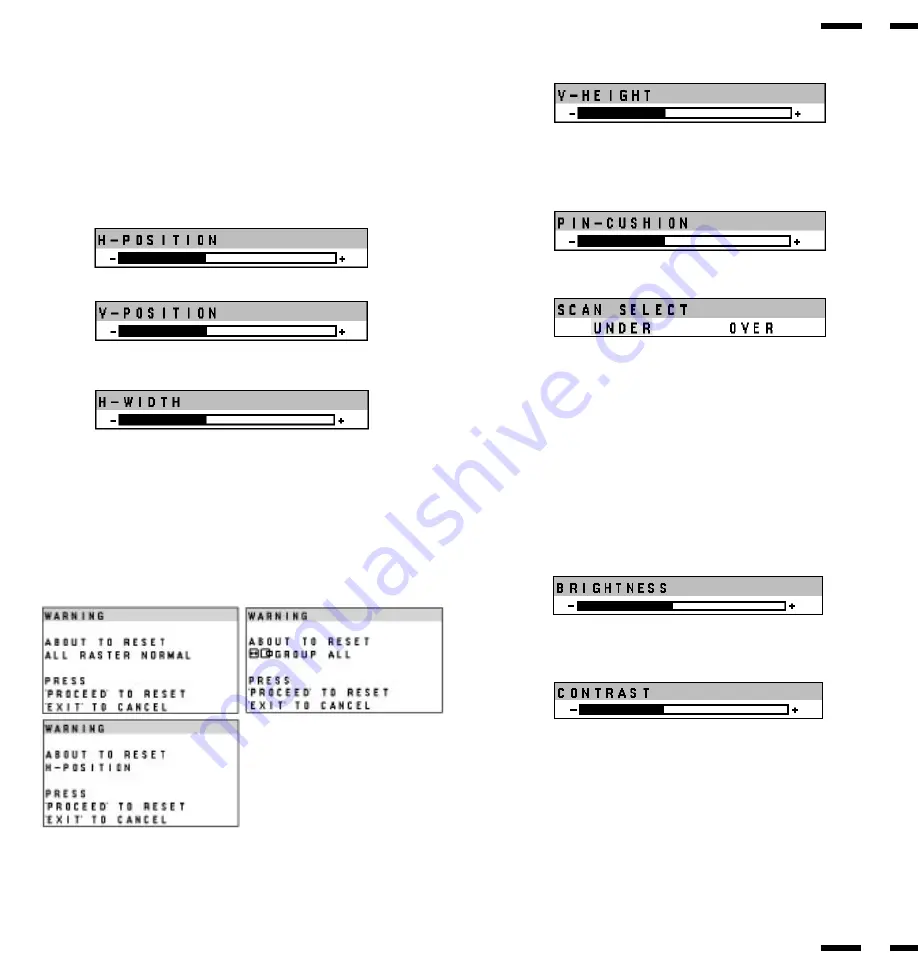
c. HEIGHT
Press to adjust the vertical size of the image.
d. SIDE PIN
Press to adjust the curvature of the edges of the left and right side of the
display image either inward or outward. The image should be adjusted to
attain a straight line on the left and right sides.
e. SCAN
Press to select the scan mode: over scan and under scan.
Direct Control Screen
You can adjust the raster, visual and sound using the direct key on the remote
control.
To switch to another control screen, press any one of the other keys.
* To end the OSM display, press EXIT.
* If no key operation is made within 3 seconds, the OSM display will
disappear.
a. POSITION/CONTROL
Press
©
to move the image right. Press
§
to move the image left.
Press
▲
to move the image up. Press
▼
to move the image down.
b. WIDTH
Press to adjust the horizontal size of the image.
g. BRIGHT
Press to adjust the brightness of video display.
h. CONTRAST
Press to adjust the contrast of video display.
f. NORMAL (raster)
Press to reset all the stored adjustment raster data and recall the factory
preset data. When a specific control is selected, this key resets the
selected raster adjustments.
23
24


