20
Picture Adjustment
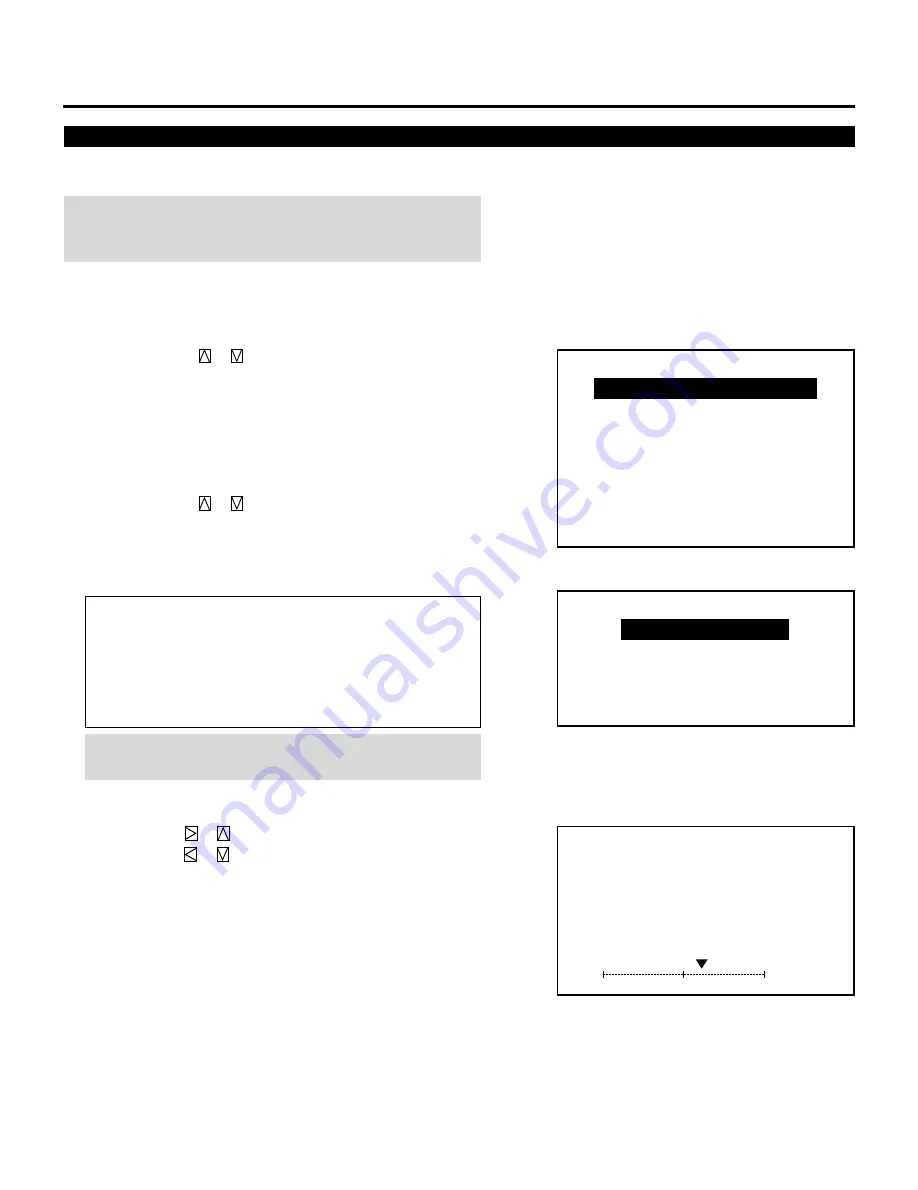
To adjust the picture for each input, proceed as follows:
NOTE: The color, sharpness, and tint controls are not selected in
the “PICTURE” menu for RGB signal. The tint control is not
selected in the “PICTURE” menu for SECAM/PAL signal.
1
Press the OPERATE button.
• The “OPERATE” menu is displayed.
2
Use the CURSOR
or
button to highlight the “1/PICTURE”
line and press ENTER to display the “PICTURE” menu. You can
also select the “PICTURE” menu directly by pressing the INPUT
“1” button.
3
Use the CURSOR
or
button to select a picture function and
then press ENTER. You can also select an item directly by
pressing the corresponding number button.
• The picture adjustment screen will be displayed.
Items to select:
• BRIGHT (Brightness control)
• CONTRAST (Contrast control)
• COLOR (Color intensity control)
• SHARPNESS (Picture detail control)
• TINT (Red and green values control)
NOTE: When you are in the BRIGHT adjustment mode, all the
CRTs will be in use. The CRT beam cannot be cut-off.
4
Use the CURSOR buttons to adjust a picture to your preference.
• The CURSOR
or
button increases the level.
The CURSOR
or
button decreases the level.
5
To end this adjustment, press the END button.
• Wherever the END button is pressed, the screen changes in this
order:
“PICTURE” menu
→
”OPERATE” menu
→
Source screen
– O P E R A T E –
1 / P I C T U R E
2 / P O S I T I O N
3 / S O U N D
4 / I N P U T S E L E C T
5 / S O U R C E I N F O
6 / S T A T I C
7 / C L O S E D C A P T I O N
8 / T I M E R
– P I C T U R E –
1 / B R I G H T
2 / C O N T R A S T
3 / C O L O R
4 / S H A R P N E S S
5 / T I N T
6 0 %
P I C T U R E
– B R I G H T –
BASIC OPERATION


