


English-29
English
STAND-ALONE CALIBRATION
Stand alone calibration can recalibrate the display without using a computer by the integrated front sensor or connecting an
external sensor. There are 5 functions in STAND-ALONE CALIBRATION.
•
Self Calibration:
Calibrates the integrated front sensor based on the USB color sensor. Alternatively, manually adjust the
integrated front sensor with an external near range color analyzer reference, which is traceable to a primary standards
laboratory.
•
Copy Calibration:
Copies the luminance from one display to one or more additional displays.
•
Gamma Adjust:
Recalibrates Gamma data by the integrated front sensor.
•
DICOM Measurement:
Measures DICOM response.
•
AMBIENT SENSOR CALIBRATION:
To manually adjust the integrated ambient light sensor with an external color analyzer
reference, which is traceable to a primary standards laboratory.
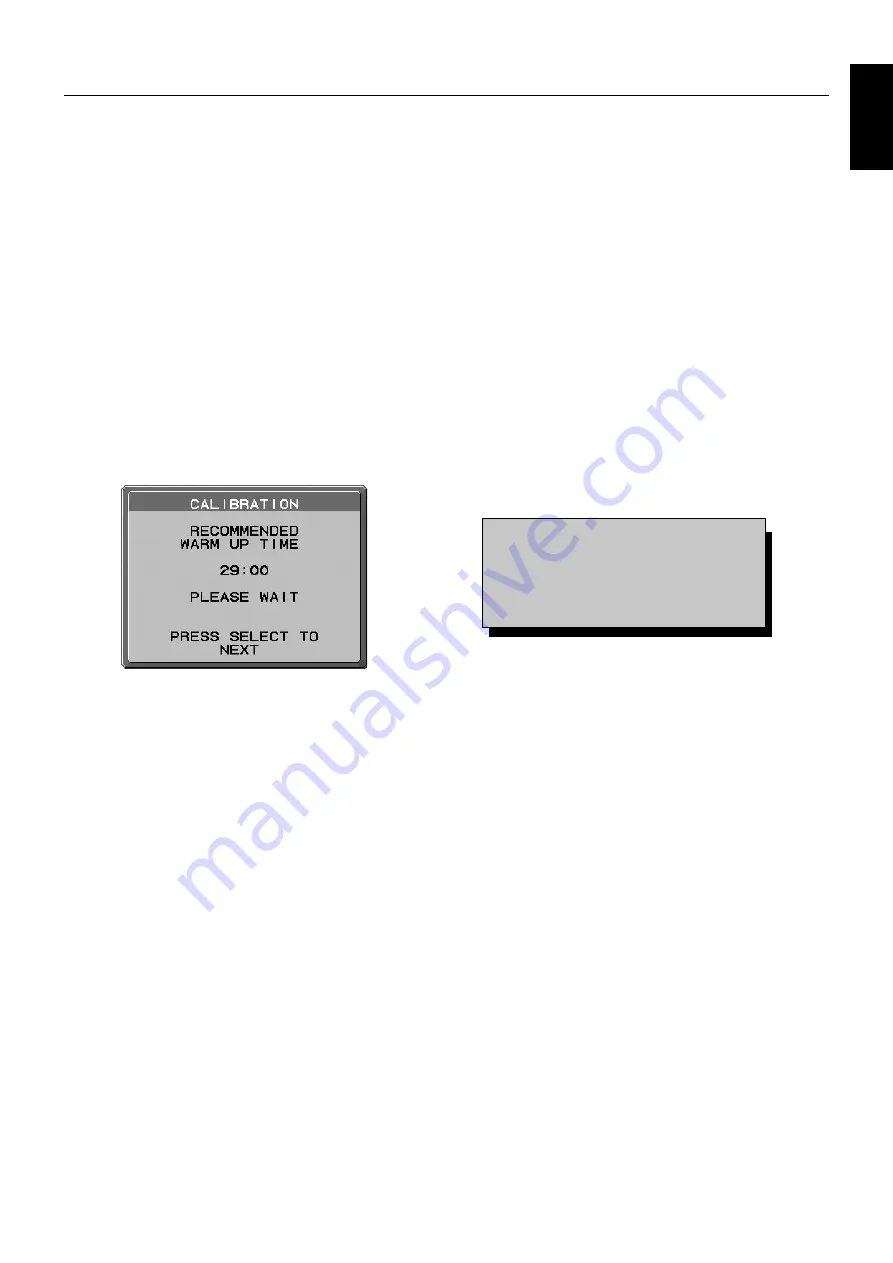
NOTE:
Stand before proper Stand-Alone calibration can be performed, the display should warm-up for a minimum of
30 minutes. If Stand-Alone calibration is started before the monitor is warmed up, a warning will appear on-screen
(Figure A.1)
.
NOTE:
Please only use an USB color sensor according to our specifi cation.
Refer to the KEY MAP
(Figure A.2)
to adjust the settings for calibration.
Stand-Alone calibration should be performed in either portrait or landscape orientation.
NOTE:
To start calibration without a computer, perform the following steps.
When the “NO SIGNAL” message appears on screen, press the “LEFT” and then “RIGHT” buttons and hold them
down simultaneously. The CALIBRATION menu will appear.
Figure A.2
KEY MAP
UP/DOWN:
Changes from setting to setting
LEFT/RIGHT:
Changes the setting selection
(ie...SELF or COPY)
SELECT:
Moves to the next step of calibration
EXIT:
Moves back one step of calibration
Figure A.1
CAUTION: Please use a properly-managed USB color sensor. If there is any doubt about the result of the Stand-
Alone calibration result, please contact your supplier.


