NEC MD210C3, Инструкция по установке и обслуживанию
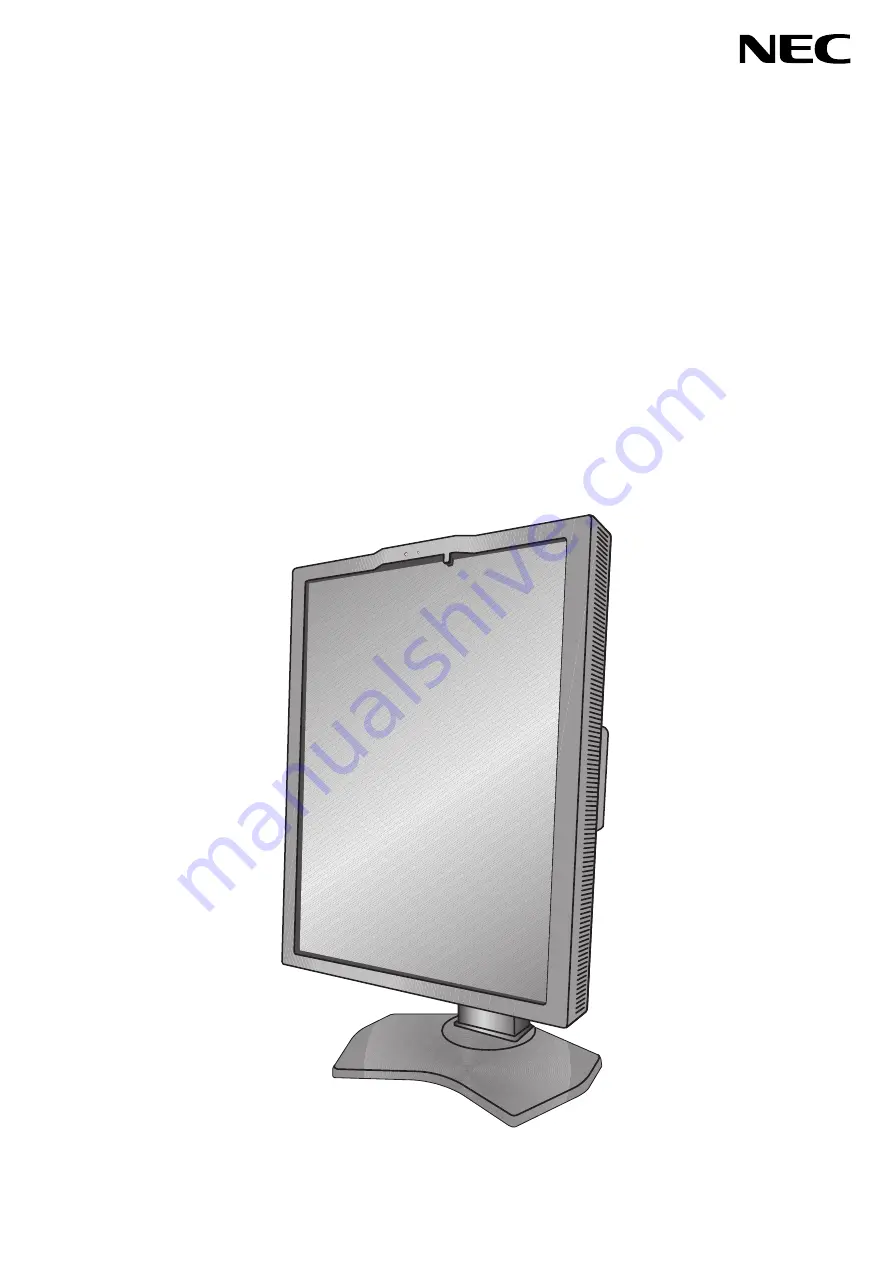
NEC MD210C3 - это профессиональный медицинский дисплей высокого разрешения. Для установки и обслуживания не забудьте загрузить бесплатное руководство по установке и обслуживанию с manualshive.com. В нем вы найдете подробную информацию о продукте, чтобы наслаждаться его преимуществами на полную мощность.
Поделиться
Скачать


Отзывы:
Нет отзывов
Похожие инструкции для MD210C3

300 Series
Бренд: LaCie Страницы: 15

S243HL - Bmii Widescreen Slim WLED Display
Бренд: Acer Страницы: 2

B247Y
Бренд: Acer Страницы: 2

B243H
Бренд: Acer Страницы: 2

B248Y
Бренд: Acer Страницы: 2

CB271H
Бренд: Acer Страницы: 2

CB272U
Бренд: Acer Страницы: 3

CB242Y
Бренд: Acer Страницы: 15

BE270U
Бренд: Acer Страницы: 4

B247Y
Бренд: Acer Страницы: 28

EI242QR
Бренд: Acer Страницы: 16

Computer monitor
Бренд: Acer Страницы: 20

B248Y
Бренд: Acer Страницы: 29

B277
Бренд: Acer Страницы: 18

CB242Y
Бренд: Acer Страницы: 28

B227Q
Бренд: Acer Страницы: 35

DV650C
Бренд: Acer Страницы: 50

A181HL
Бренд: Acer Страницы: 2


