Release 6.0
267
User Guide
Chapter 9 Changes to the Configuration
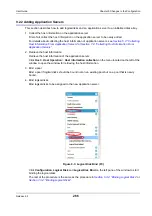
5. Assign the logical disks to the host
Lastly, assign the logical disks you have created to the application server.
On the
Logical Disk Binding Completion
window, click
Assign logical disk to the host
to start
assigning the logical disks.
The rest of the procedure is the same as the procedure in
Section 5.3.5: “Collecting Host
9.2.3 Using the Initialization Wizard to Modify the Configuration
The configuration can be modified by re-running the initialization wizard.
The procedure is the same as the procedure for the first settings. For details of the procedure see
Section 5.3.1: “Initialization Wizard”
or
Section 7.3.1: “Initialization Wizard”
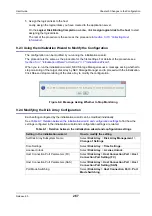
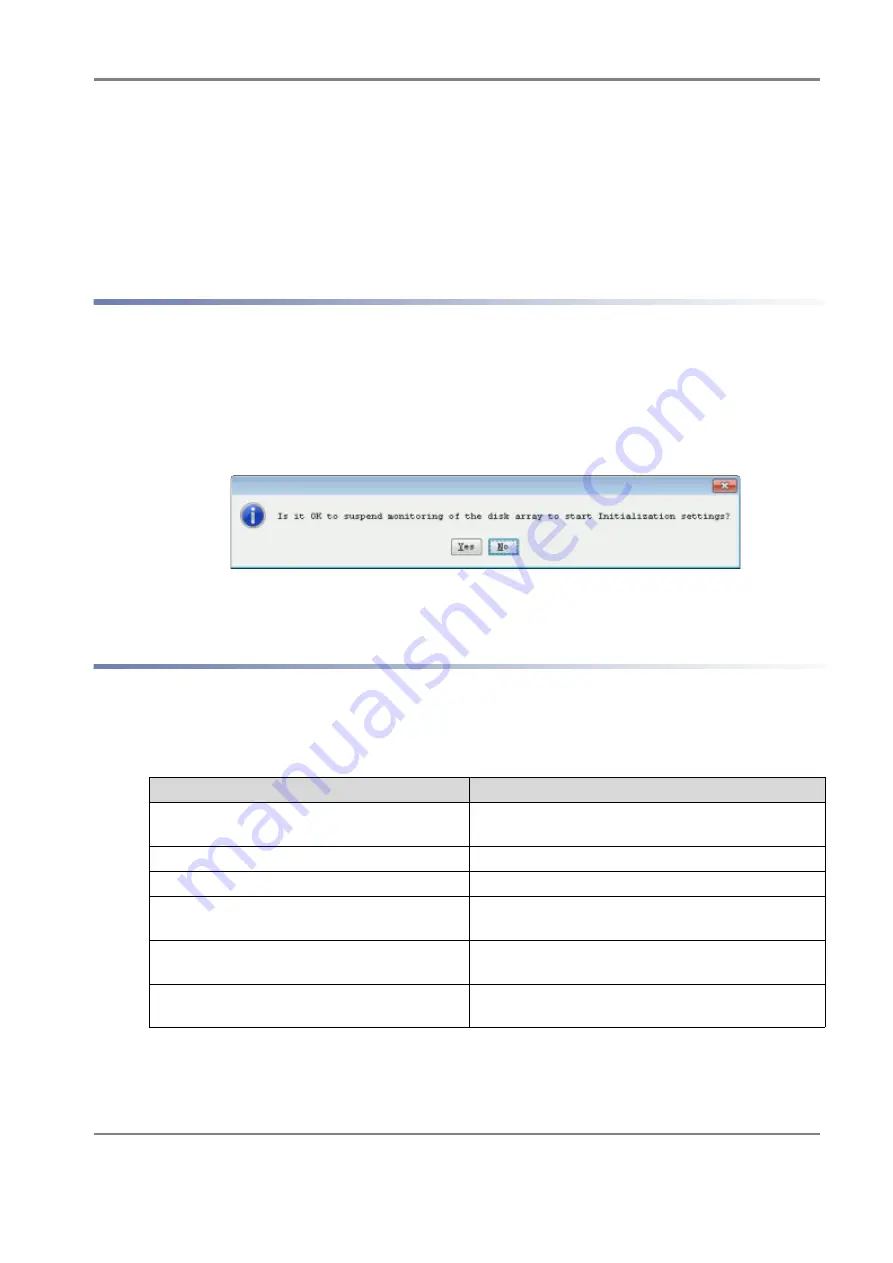
When you re-run the initialization wizard, NEC Storage Manager issues a message asking whether to
stop monitoring of the target disk array by NEC Storage Manager and to proceed with the initialization.
Click
Yes
and stop monitoring of the disk array to modify the configuration.
Figure 9-4: Message Asking Whether to Stop Monitoring
9.2.4 Modifying the Disk Array Configuration
Each setting configured by the initialization wizard can be modified individually.
Table 9-1: Relation between the initialization wizard and configuration settings
to find how the
settings configured in the initialization wizard and configuration settings are related.
Table 9-1: Relation between the initialization wizard and configuration settings
Setting in the initialization wizard
How to modify the setting
Set Disk Array Subsystem Name
Select
Disk Array
>
Disk Array Management
>
Change of Settings
.
Time Settings
Select
Disk Array
>
Time Settings
.
License Unlock
Select
Disk Array
>
License Unlock
.
Host Connection Port Parameters (FC)
Select
Disk Array
>
Host Connection Port
>
Host
Connection Port Setting (FC)
.
Host Connection Port Parameters (SAS)
Select
Disk Array
>
Host Connection Port
>
Host
Connection Port Setting (SAS)
.
Port Mode Switching
Select
Disk Array
>
Host Connection Port
>
Port
Mode Switching
.
Содержание M100
Страница 25: ...Release 6 0 25 User Guide About Warning Labels Power Supply AC Power Supply ...
Страница 27: ...Release 6 0 27 User Guide About Warning Labels Battery ...
Страница 29: ...Release 6 0 29 User Guide About Warning Labels Power Cable AC Power Supply ...
Страница 40: ...Release 6 0 40 User Guide Chapter 1 Overview 1 2 1 4 Controller CONT ...
Страница 48: ...Release 6 0 48 User Guide Chapter 1 Overview 1 2 3 3 Controller CONT ...
Страница 75: ...Release 6 0 75 User Guide Chapter 3 Installing the Disk Array System Figure 3 10 Securing Unit 2 ...
Страница 88: ...Release 6 0 88 User Guide Chapter 4 NEC Storage Manager Figure 4 1 Example of Recommended Configuration ...
Страница 125: ...Release 6 0 125 User Guide Chapter 4 NEC Storage Manager d Click Login to open the main screen Figure 4 26 Main Screen ...
Страница 194: ...Release 6 0 194 User Guide Chapter 6 Initializing a Disk Array iSCSI Figure 6 16 Hot Spare Bind View Display ...
Страница 260: ...Release 6 0 260 User Guide Chapter 8 Installing Optional Parts Figure 8 12 Removing the DIMMs ...
Страница 388: ...Release 6 0 388 User Guide Appendix F How to Set Check Application Server Linux iSCSI Figure F 3 Configuration Example ...
Страница 459: ...NEC Corporation 7 1 Shiba 5 chome Minato ku Tokyo 108 8001 Japan URL http www necstorage com ...


