General Description 2-39
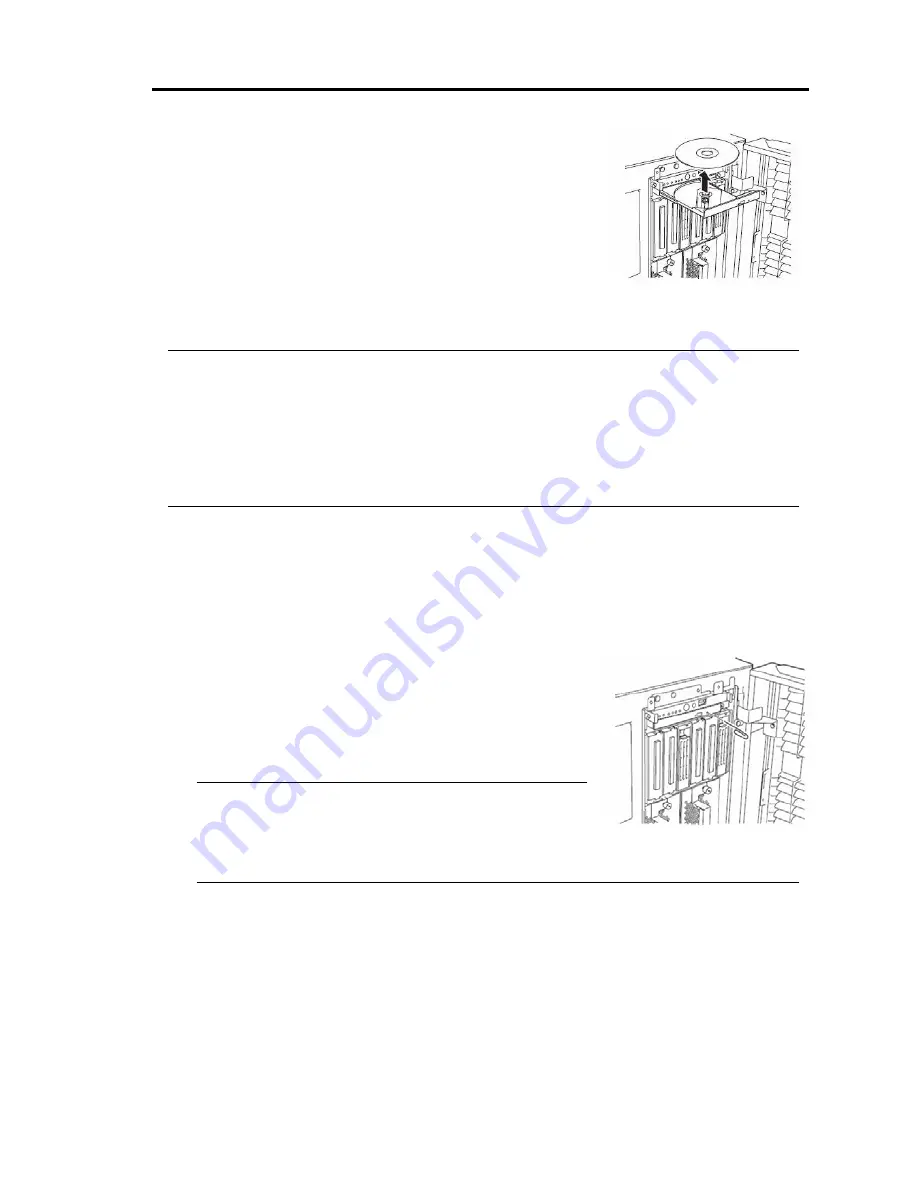
To remove the CD-ROM, press the CD-tray-eject button as you did
in setting the CD-ROM.
ᴾ
When the access LED illuminates in orange, it indicates the
CD-ROM is being accessed. Make sure the access LED is not
illuminating in orange before you press the CD-tray-eject button.
Press the locking part in the center of the tray and pick the CD-ROM gently. When you have
removed the CD-ROM, push the tray to the drive-closed position.
IMPORTANT:
When you click the “Safely Remove Hardware” icon on the task-tray, device names such as
“USB Mass Storage Device” are displayed. Never attempt to remove devices other than “USB
Floppy drive.” If the removal operation is done, system performance is not guaranteed.
If you did removal operation of these devices by mistake, click “Safely Remove Hardware”
icon again and select “Safely remove AMD PCI to USB Open Host Controller.” The removed
device will be then recognized again.
When you cannot eject a CD-ROM
When you cannot eject the CD-ROM from the server even by pressing the eject button, follow the
steps below to eject it:
1.
Press the POWER switch to power off this server (i.e. the POWER/SLEEP LED is off).
2.
Use a metal pin of about 1.2 mm in diameter and 100 mm
long (alternatively, you can use a fairly large paper clip after
straightening). Insert it gently into the manual release hole
located at the low front side of the server until the tray is
ejected.
ᴾ
IMPORTANT:
Do not use a toothpick, plastic pin, or other breakable
objects.
If you cannot eject the CD-ROM by following the steps above, contact your sales agent.
3.
Hold the tray and pull it out.
4.
Take out the CD-ROM.
5.
Push the tray back.
Содержание EXP320A
Страница 15: ......
Страница 22: ...Precautions for Use 1 3 Rack model Front Rear ...
Страница 24: ...Precautions for Use 1 5 Water Cooling kit ...
Страница 52: ...Precautions for Use 1 33 ء ข Δ ਢ ڼط ข س ऱధჾࢨਚᎽΔ ڇঁܛ অଥཚၴփՈ گ ፂଥ၄ ش Ζ ...
Страница 68: ...General Description 2 13 Rack model with the front door open ...
Страница 73: ...2 18 General Description Rear View Tower model ᴾ Rack model ...
Страница 110: ...Windows Setup and Operation 3 15 7 Configure the mirror of the extended volume ...
Страница 128: ...Windows Setup and Operation 3 33 4 The confirmation dialog box appears Click Yes button ᴾ ᴾ ...
Страница 164: ...System Configuration 4 27 Exit Move the cursor onto Exit to display the Exit menu ...
Страница 225: ...4 88 System Configuration This page is intentionally left blank ᴾ ...
Страница 286: ...Installing and Using Utilities 5 61 Sample screen of Server Maintenance Utility ...
Страница 327: ...6 14 Maintenance This page is intentionally left blank ...
Страница 328: ...Chapter 7 Troubleshooting If the product does not work properly see this chapter before deciding that it is a breakdown ...
Страница 381: ...7 54 Troubleshooting This page is intentionally left blank ...
Страница 424: ...Specifications A 3 ...
Страница 425: ......


